Affiliate Disclosure: This post may contain affiliate links. As an Amazon Associate planeview.farm earns from qualifying purchases. This means I may receive a commission if you click on a link and make a purchase, at no extra cost to you. For more information see Terms of Service.
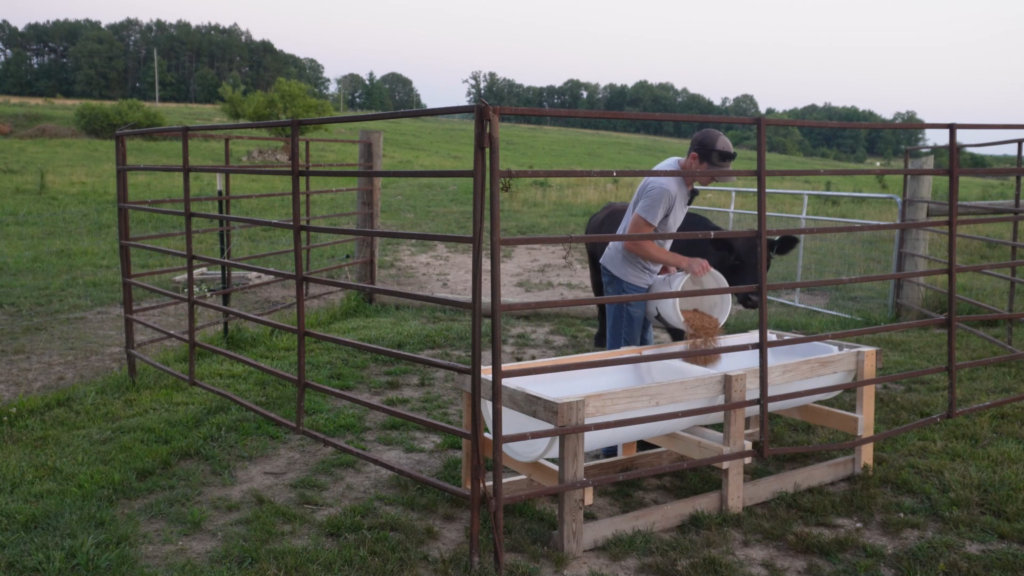
Are you tired of expensive farm equipment? Building your own solutions can save a lot of money. A DIY feed bunk made from a 55-gallon drum is a perfect example. It’s cheap, customizable, and helps you feed your animals efficiently. This post provides a step-by-step guide on how to build a feed bunk for $40.00. This is a great example of how using readily available materials from your farm can save you money while also providing a useful product for your livestock.,
Before you start building, you need to gather your materials and tools. Having everything ready will make the project go smoothly. Let’s dive into what you’ll need.
Materials you will need:
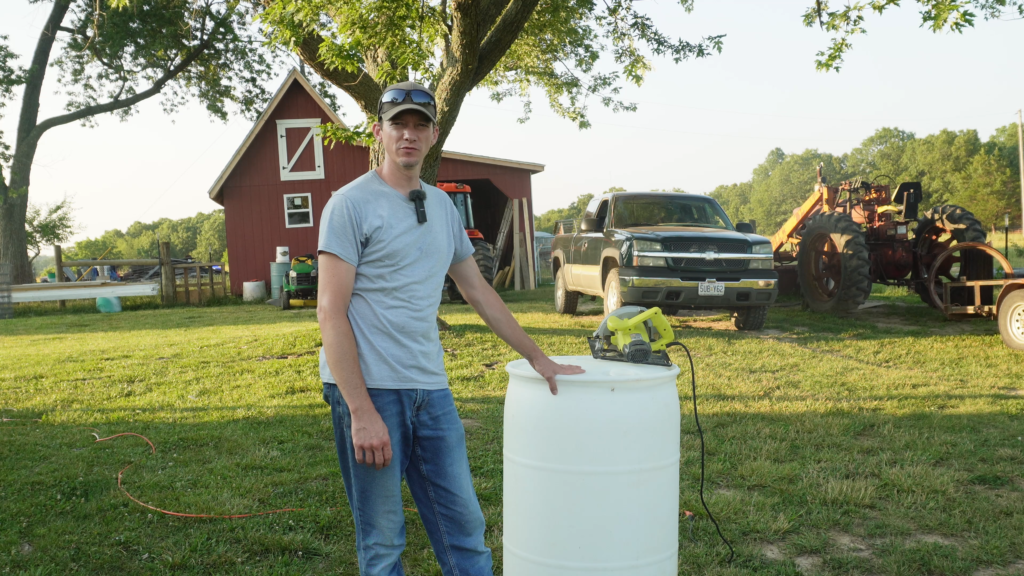

A 55-gallon plastic drum is the main component. Try to find a repurposed one to save money. Make sure it’s clean! You’ll also need lumber for the frame.
Treated Lumber:
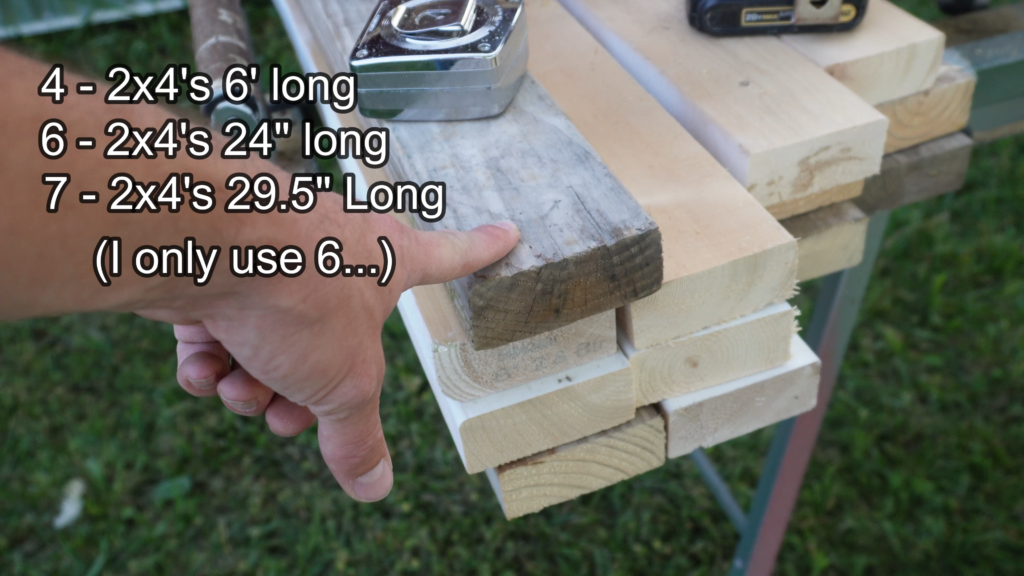
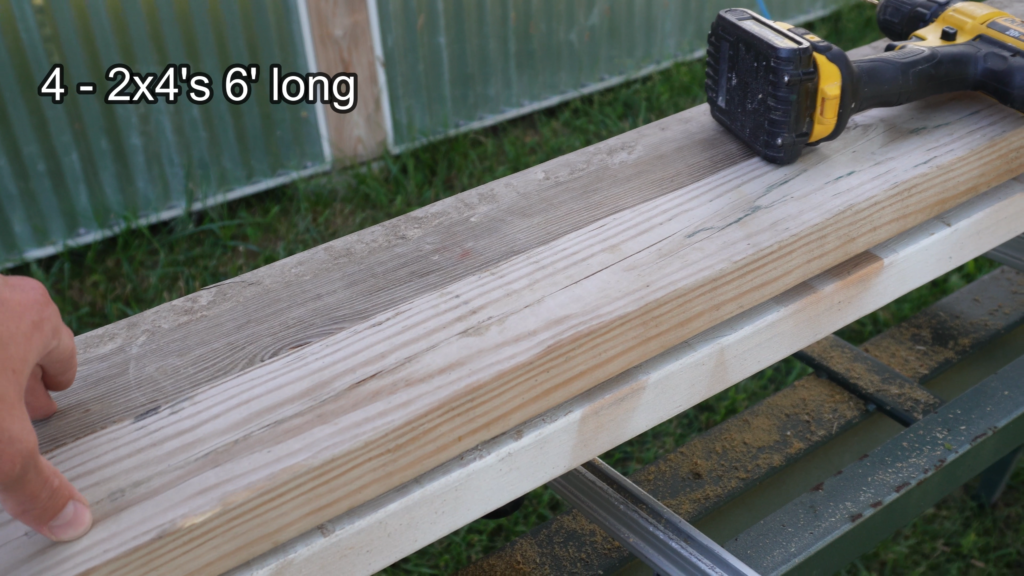
– Four 2x4s cut to 6 feet
– Six 2x4s cut to 24 inches
– Seven 2x4s cut to 29.5 inches
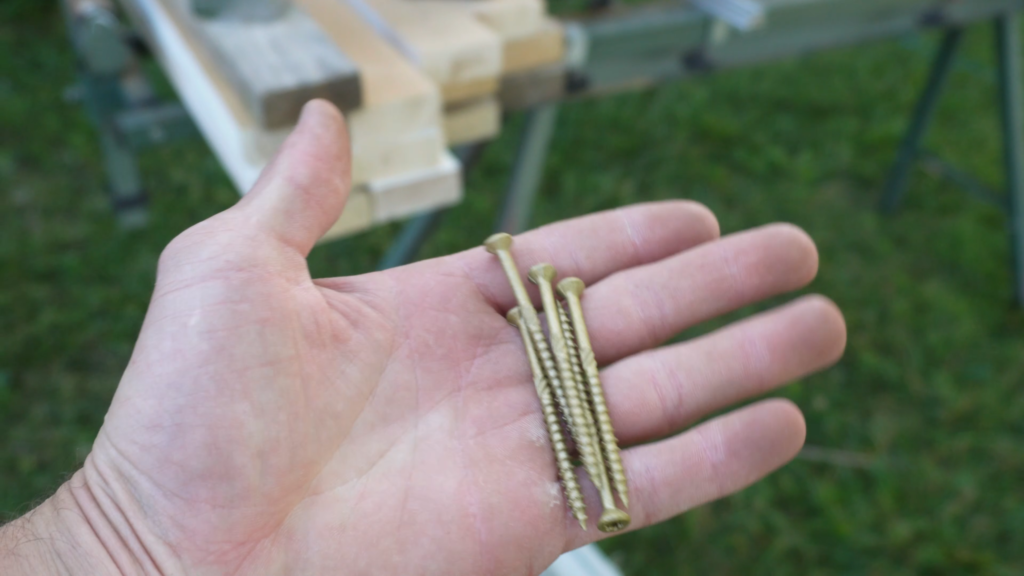
– Exterior Deck Screws (2.5 inches)
For the drum, a plastic one that used to hold soap works great. Just ensure it’s well-cleaned. The lumber will create a strong frame, and exterior screws will hold everything together, even in bad weather.
Tools you will need:
Having the right tools makes the job much easier. Here’s what you’ll need.
– Circular Saw
– Drill
– Measuring Tape
– Pencil
A circular saw is essential for cutting the drum and wood. The drill drives in the screws to assemble the frame. Use the measuring tape and pencil for accurate measurements. Safety first. Always wear eye protection.
Step-by-Step Guide to Cutting the 55-Gallon Drum
Cutting the drum is a key step. Accuracy here ensures the feed bunk works well. Let’s get into the process.
Preparing the Drum for Cutting
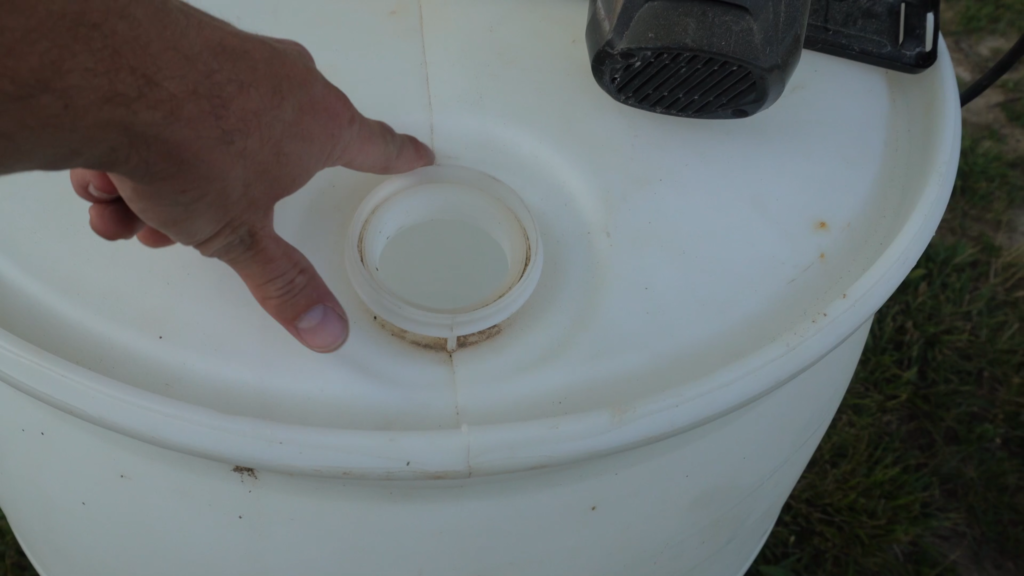
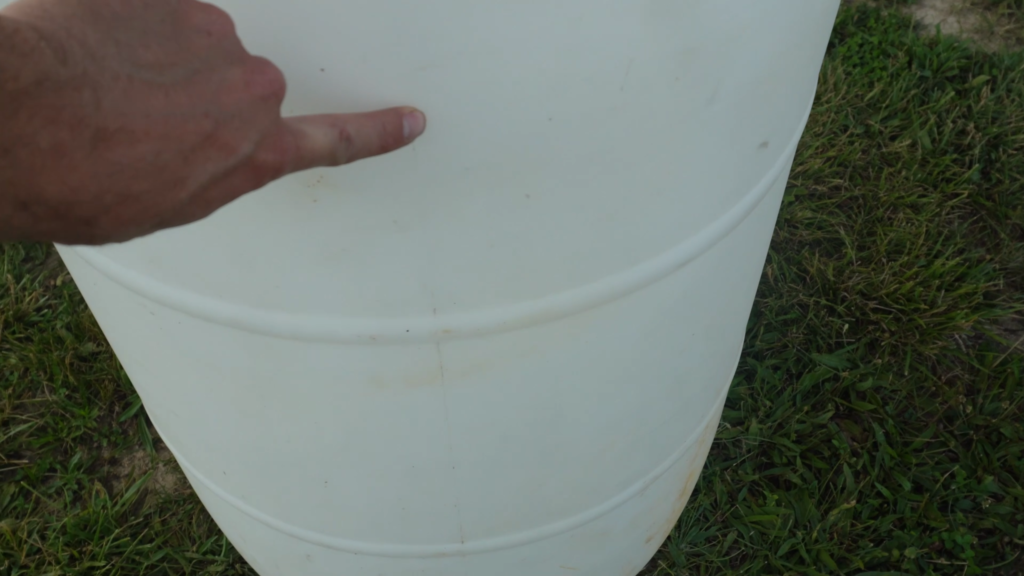
Before you cut, clean the drum thoroughly. Remove any soap or residue. Mark the drum along its seam lines; these lines guide your cut.
Cleaning prevents contamination and helps with smooth cuts. Use soap and water to scrub the inside and outside of the drum. Marking the seam lines with a pencil will give you a clear cutting path.
Cutting the Drum in Half
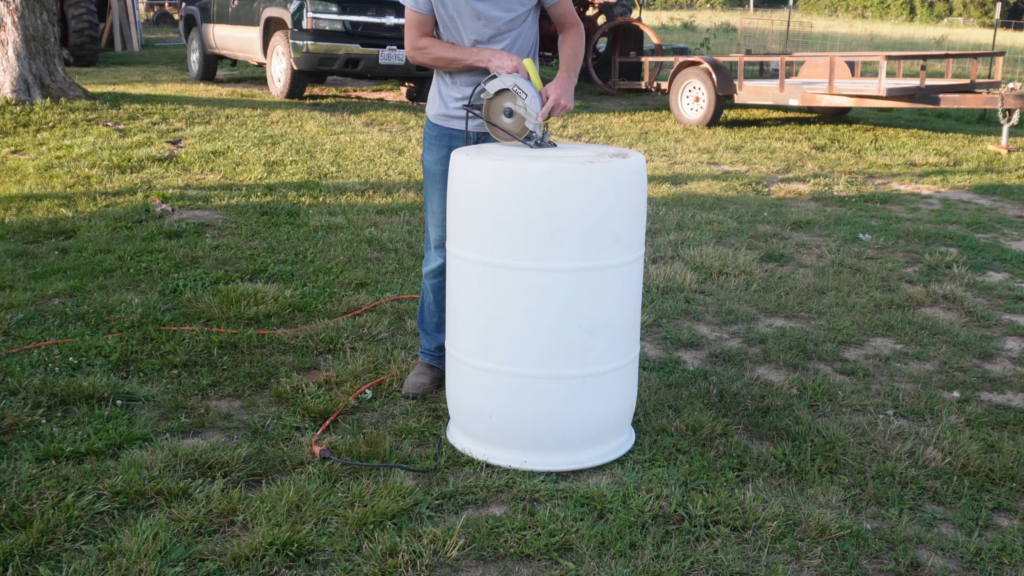
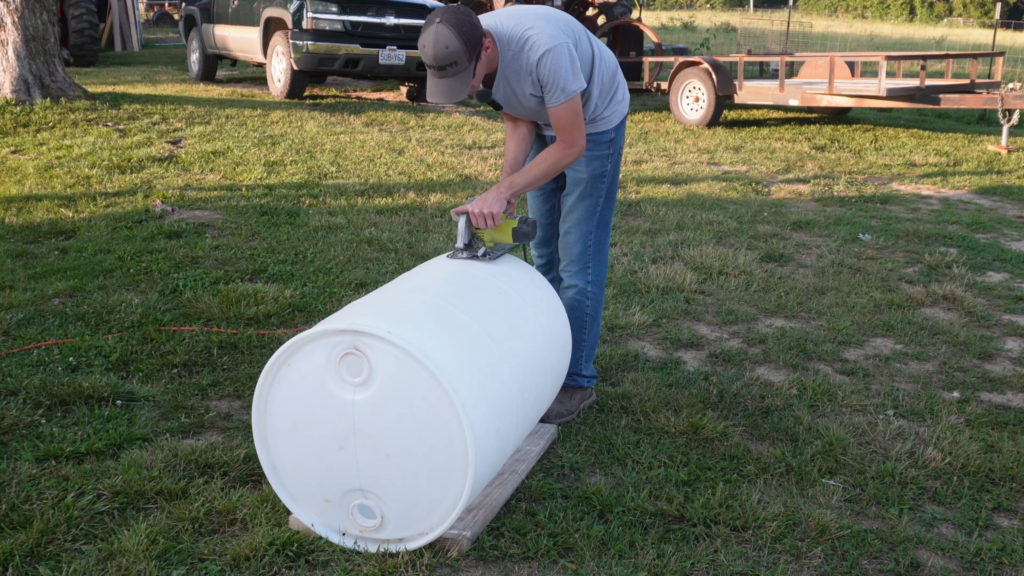
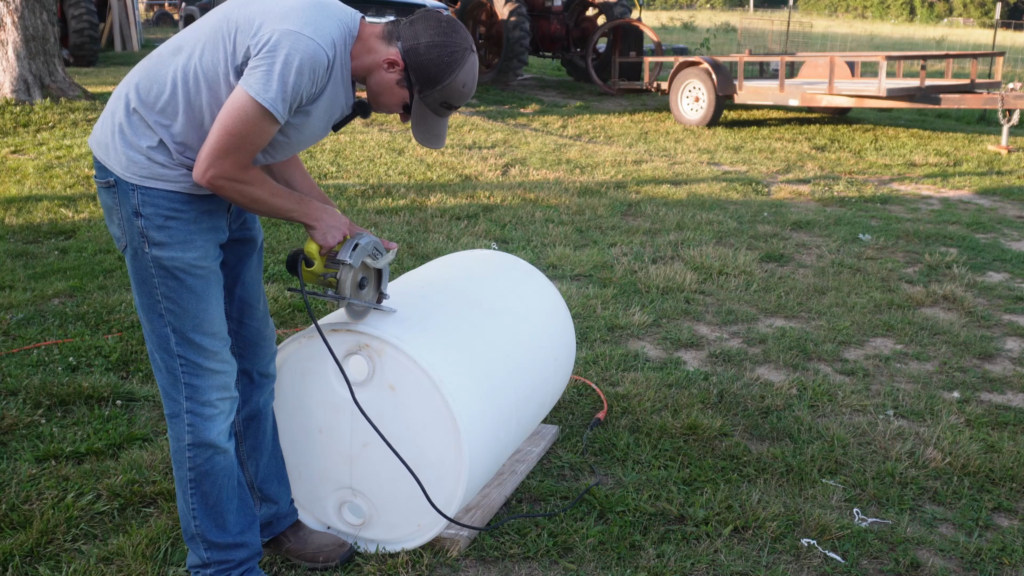
Now, cut the drum carefully. Using a circular saw, follow the seam lines you marked.
Turning the blade backward can reduce splintering. Start with a plunge cut at the bottom and work your way around. Be cautious and wear safety glasses.
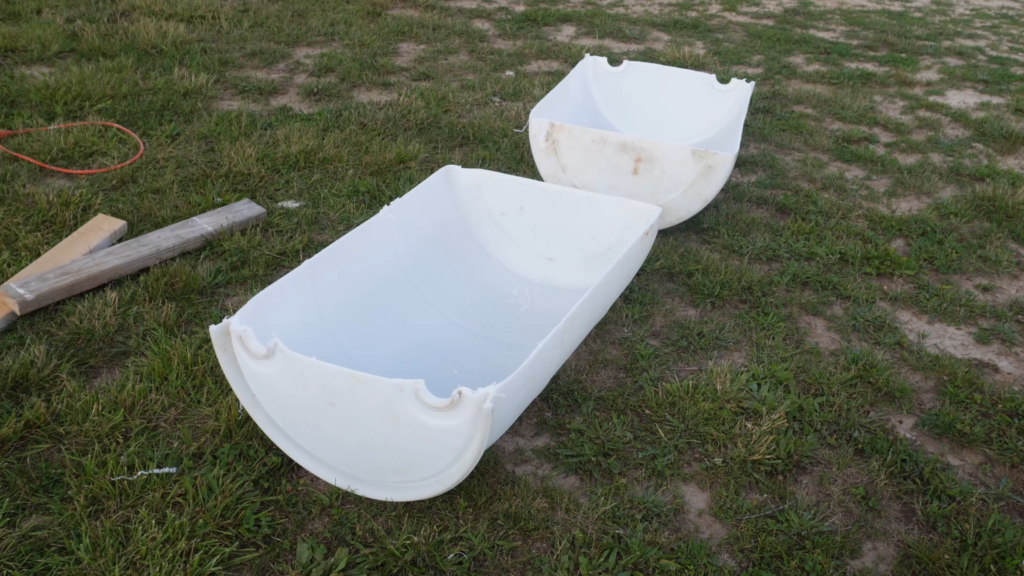
Rinsing and Drying the Drum Halves
After cutting, rinse the drum halves. Get rid of any plastic shavings. Let them dry while you assemble the frame.
Removing residue prevents animals from ingesting plastic. Use water to wash out the halves. Drying them keeps the wood from rotting and screws from rusting.
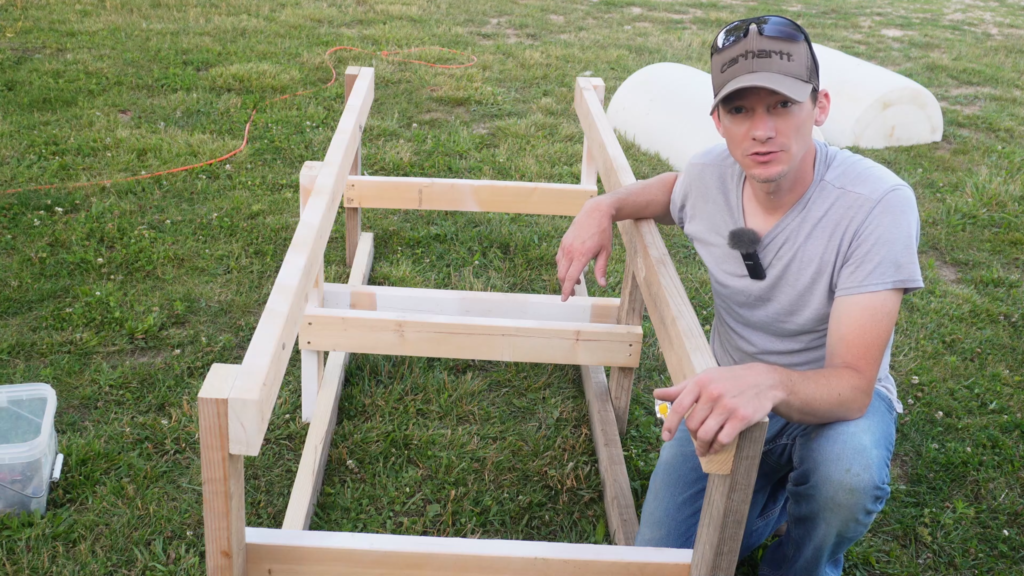
Constructing the Wooden Frame for the Feed Bunk
A strong wooden frame supports the drum halves. It’s crucial for a durable feed bunk. Let’s build it!
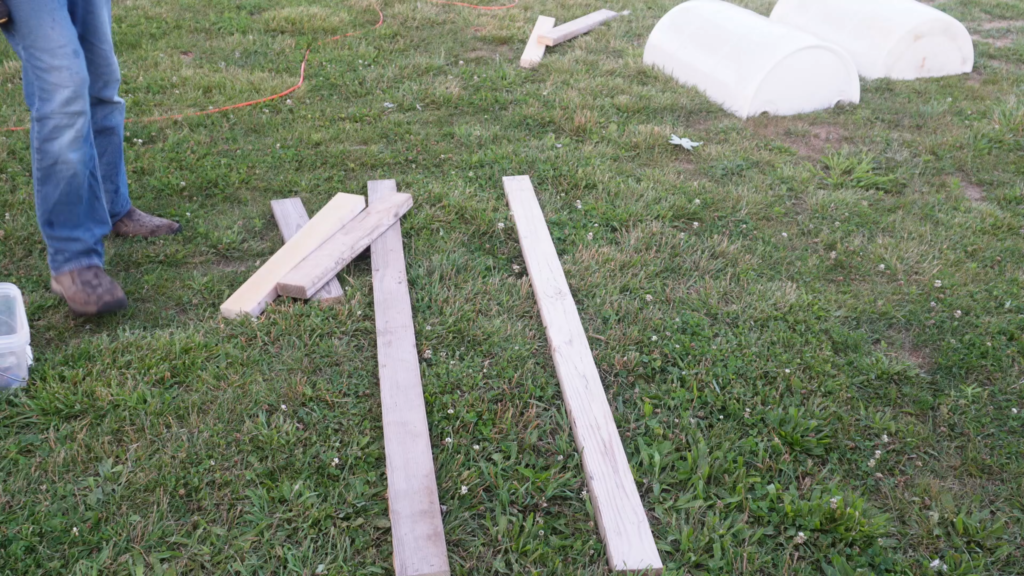
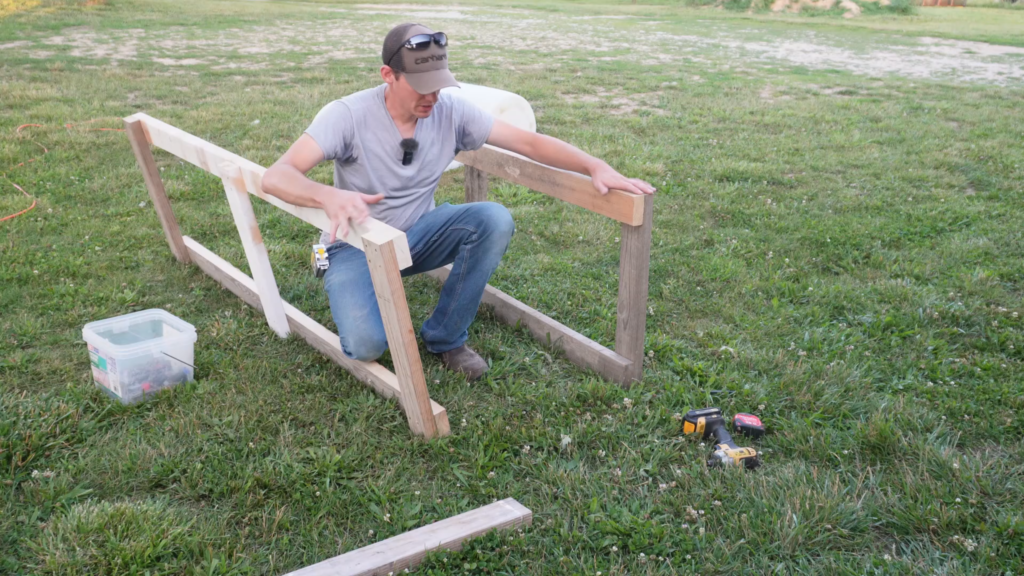
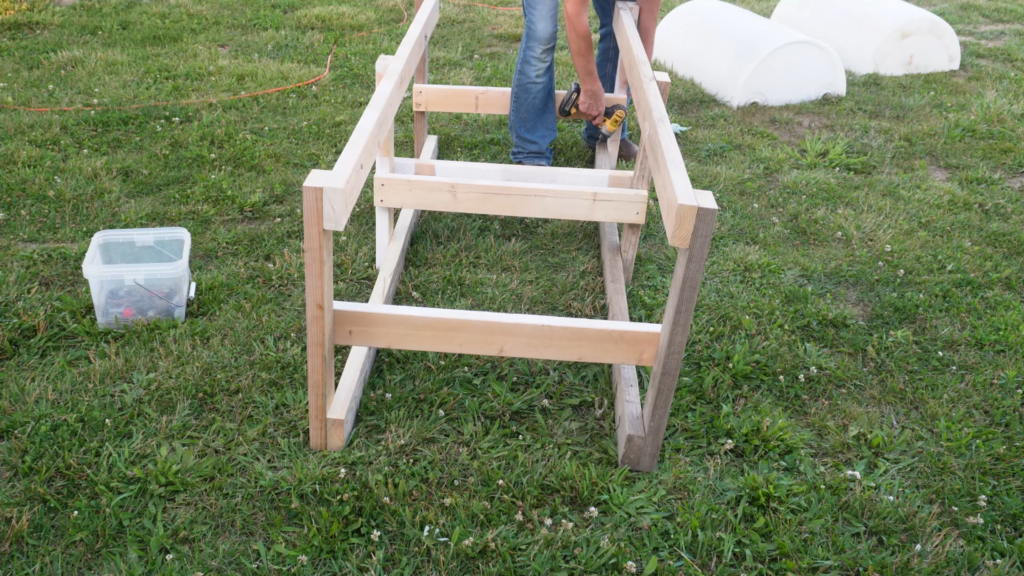
Assembling the Side Frames


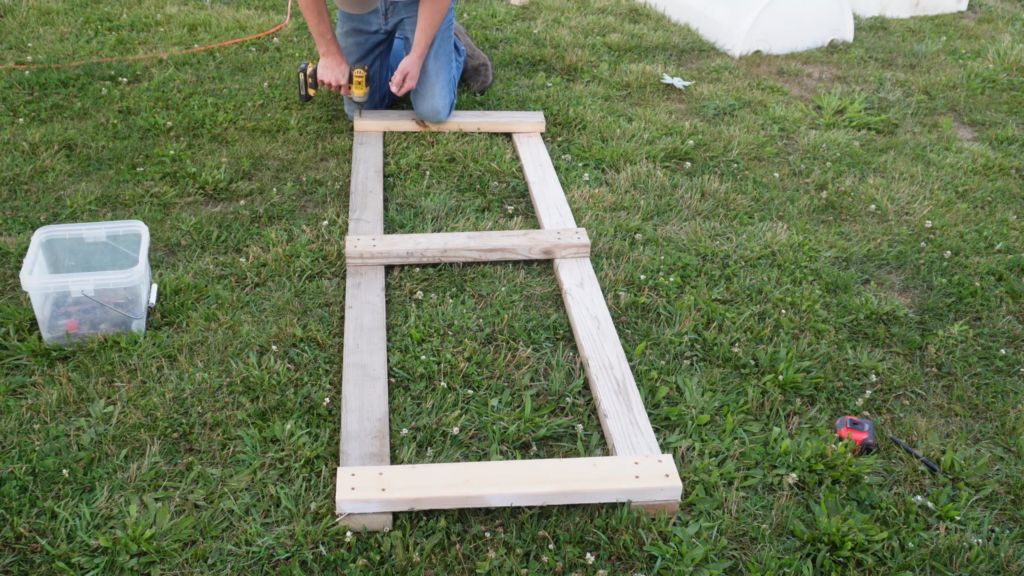
Build two rectangular frames using the lumber. These frames will hold the drum halves in place.
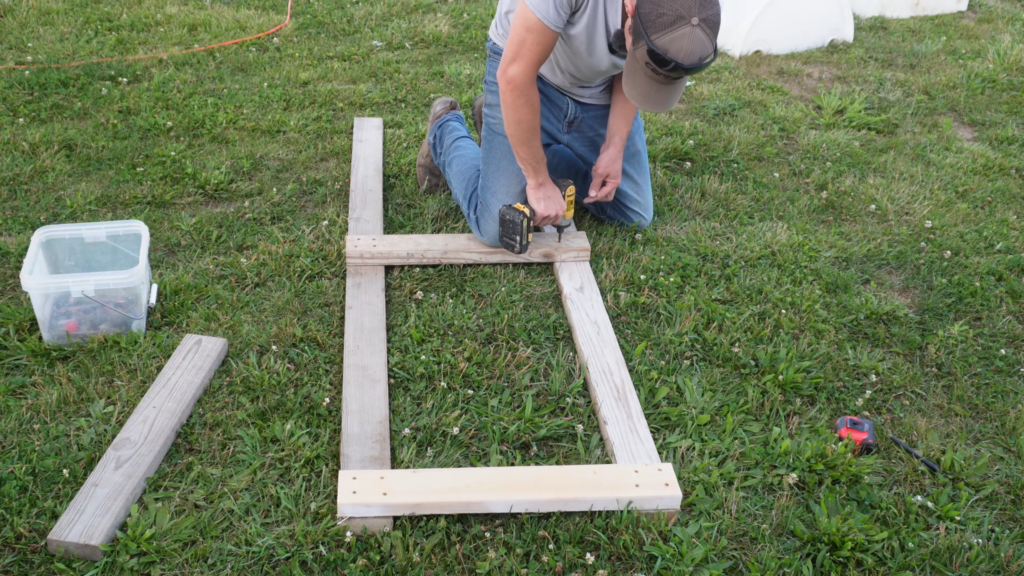
Lay out the six-foot and 24-inch two-by-fours to form the rectangular frames.
Use the six-foot pieces for the long sides and the 24-inch pieces for the ends. Screw them together at the corners with the deck screws. Make sure the frames are square and sturdy.
Adding Support Pieces
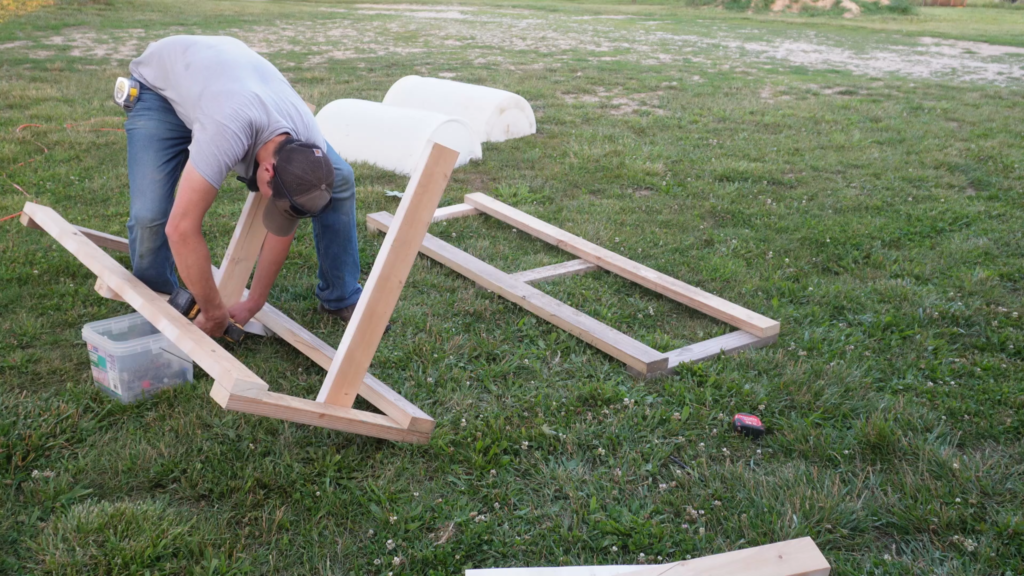
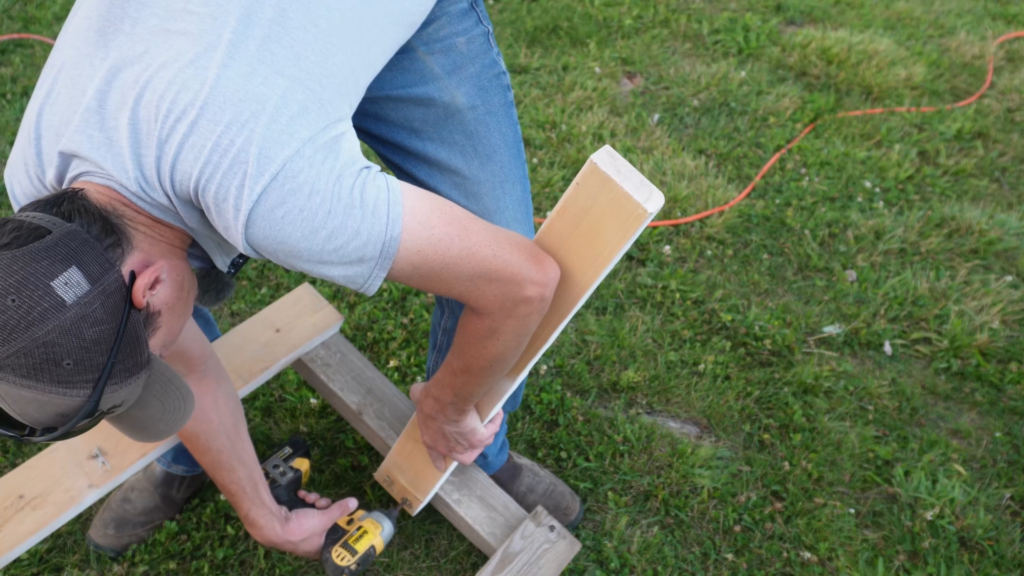
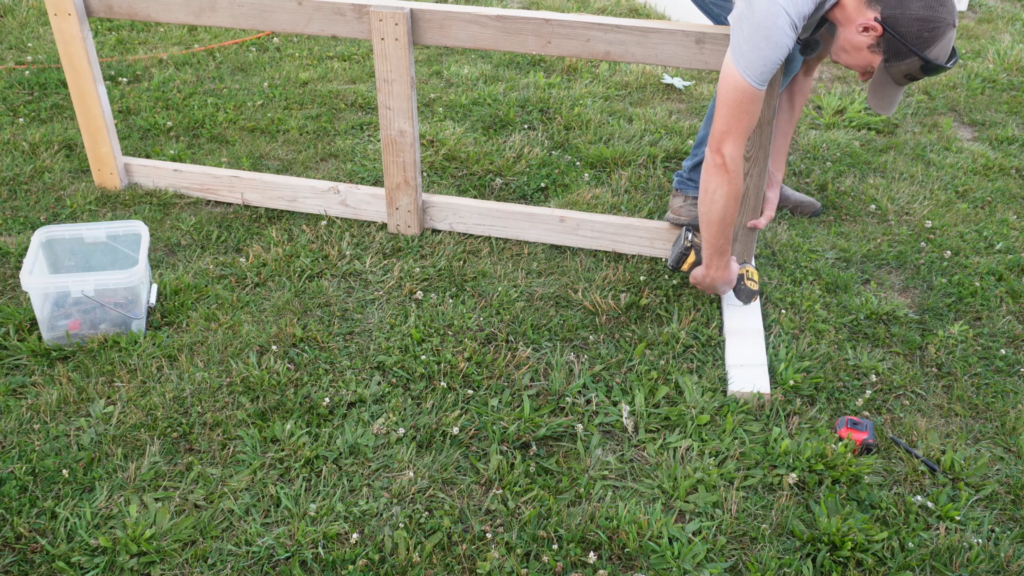
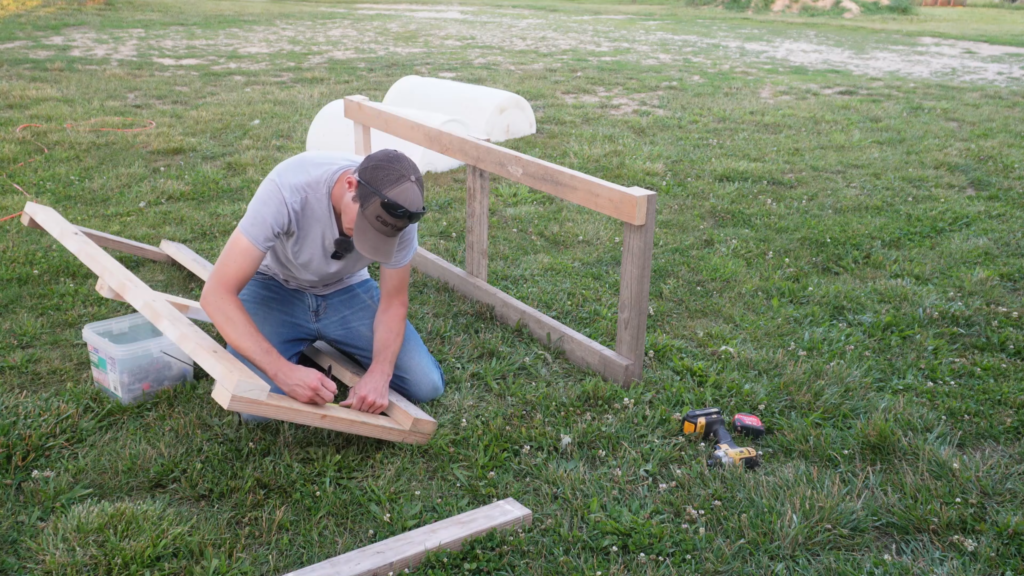
Support pieces add strength to the frame. They also hold the drum halves securely.
Measure 12 inches down from the top. Attach the 29.5-inch pieces across the frame at those points. These supports will cradle the drum halves.
Assembling and Securing the Feed Bunk
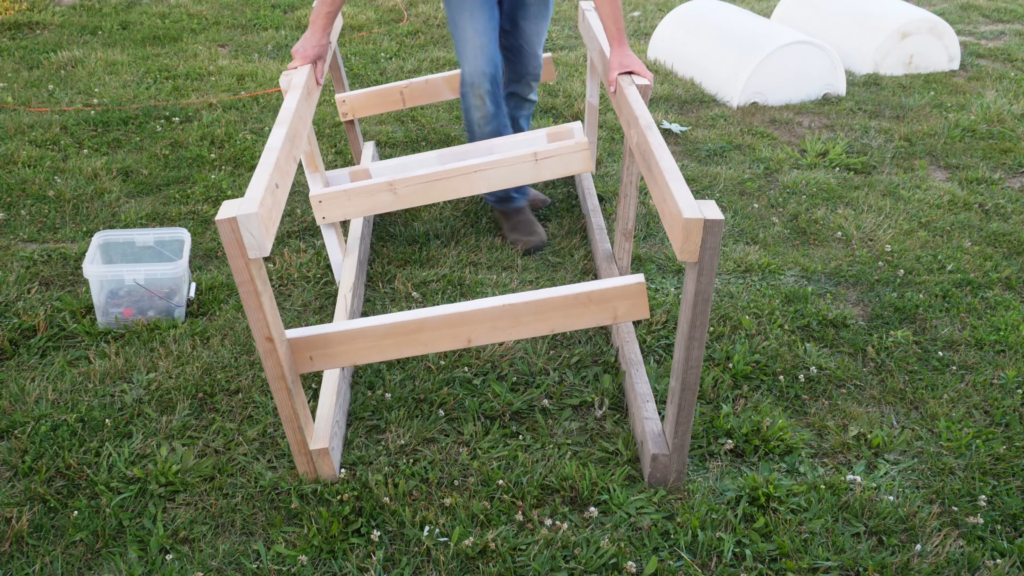
Now, put everything together. Properly aligning and securing the components ensures a long-lasting feed bunk.
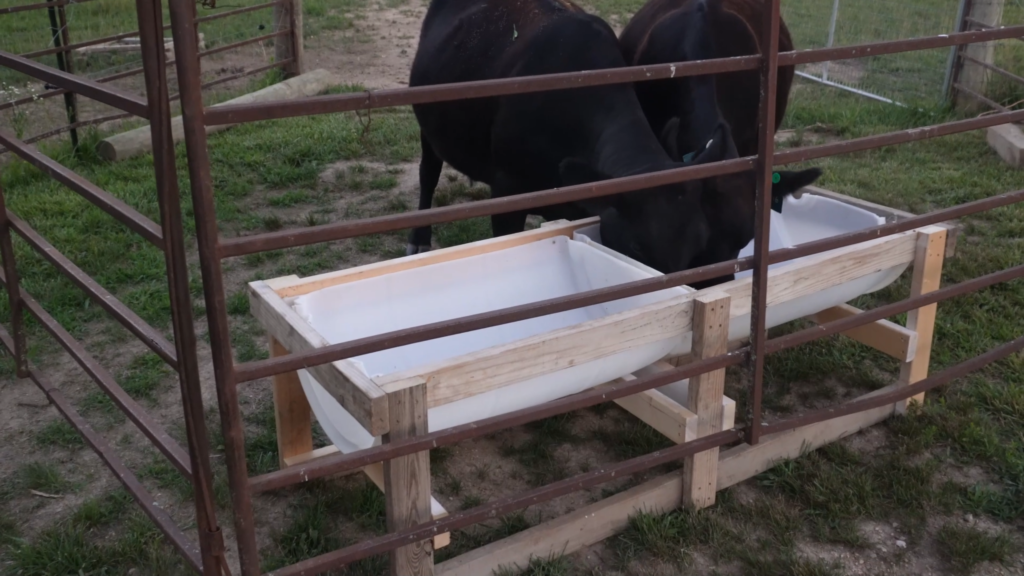
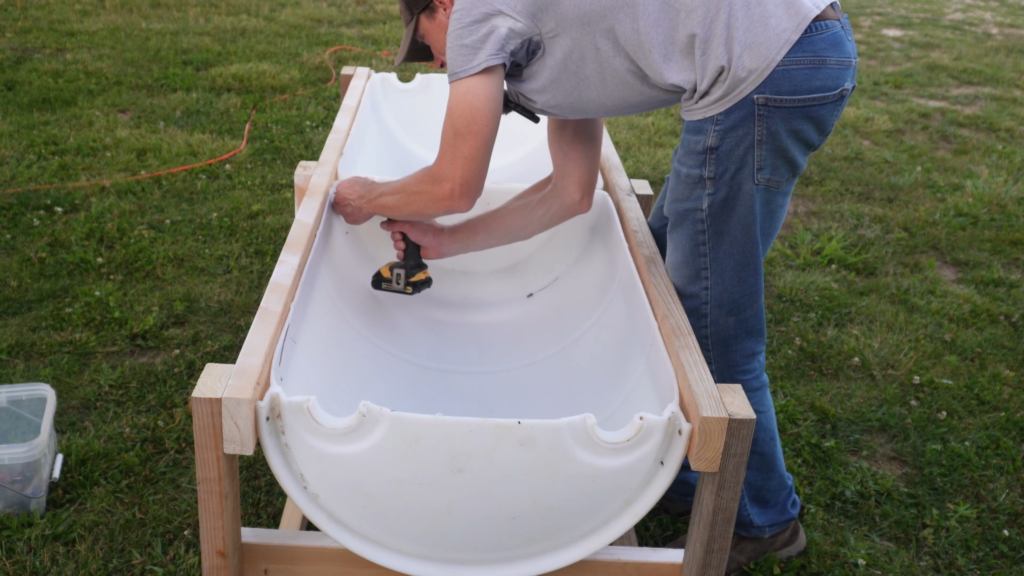
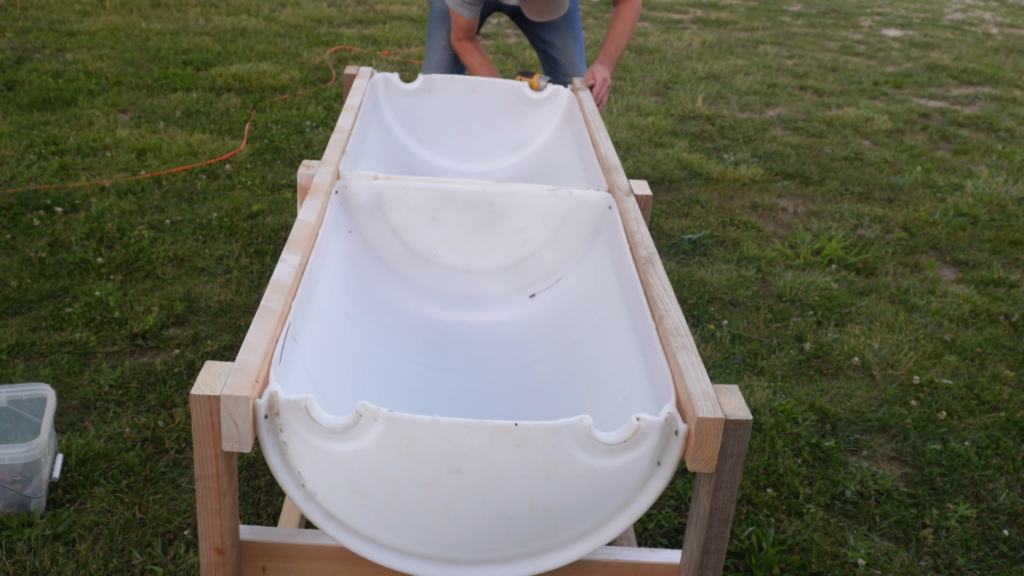
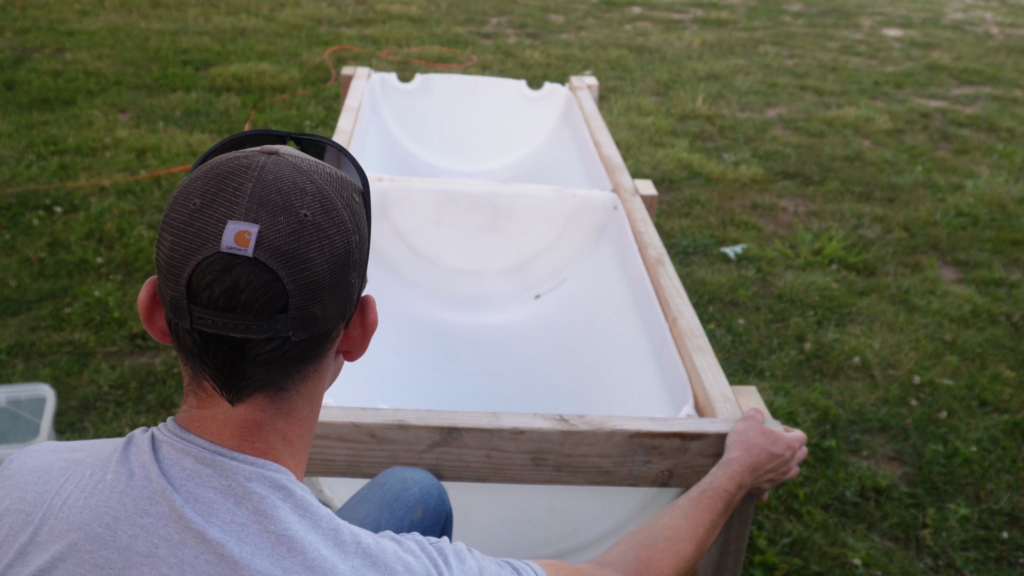
Placing the Drum Halves into the Frame
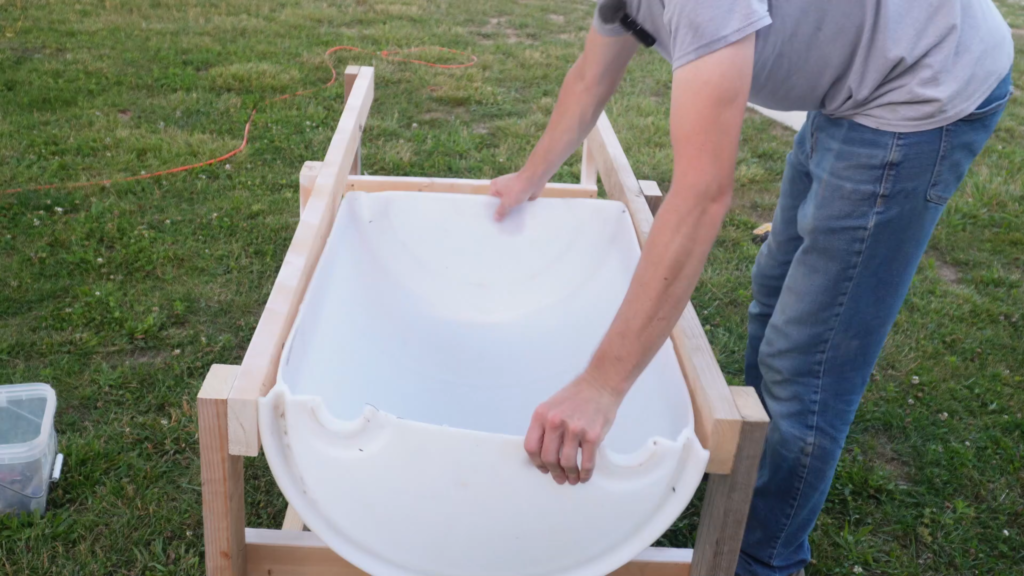
Carefully set the drum halves into the wooden frame. Adjust them for the best fit.
Make sure the curved sides of the drum halves face upward. This creates the trough for the feed. Adjust their position so they sit evenly in the frame.
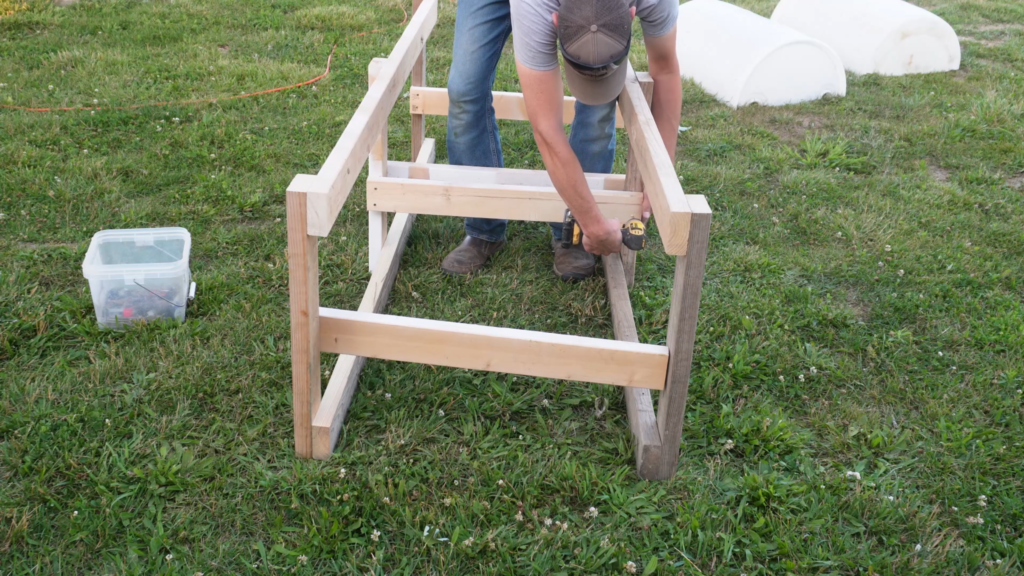
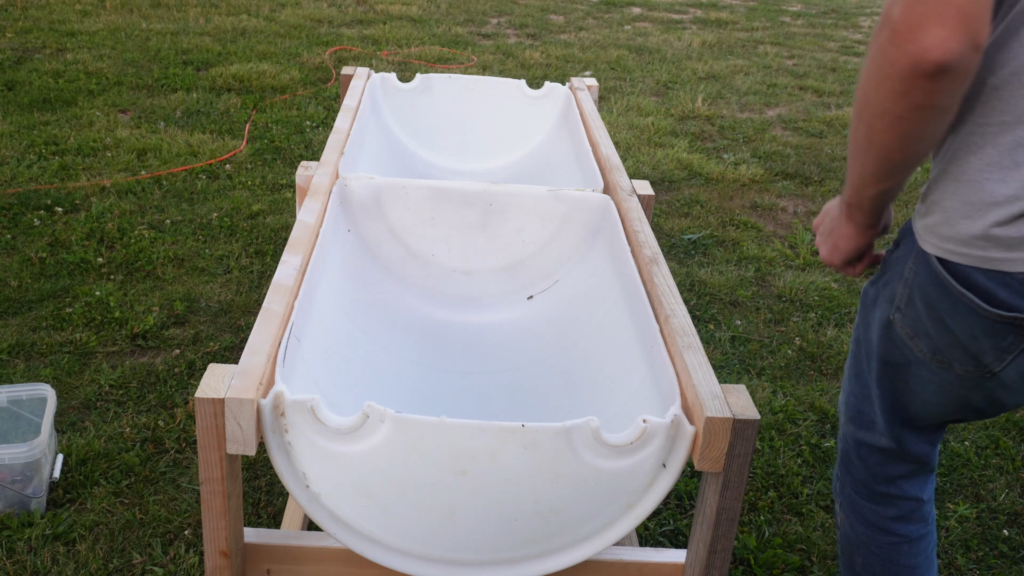
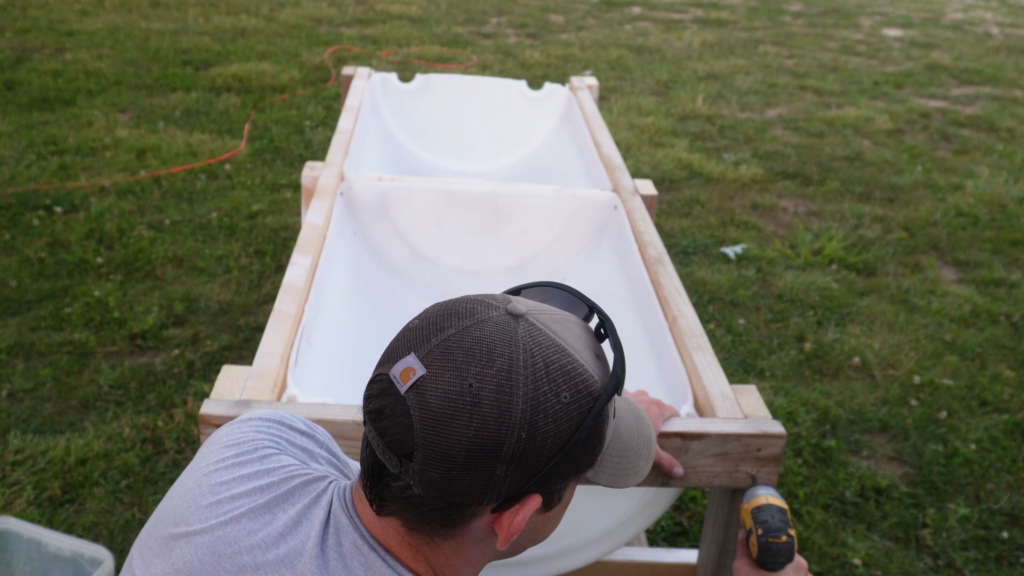
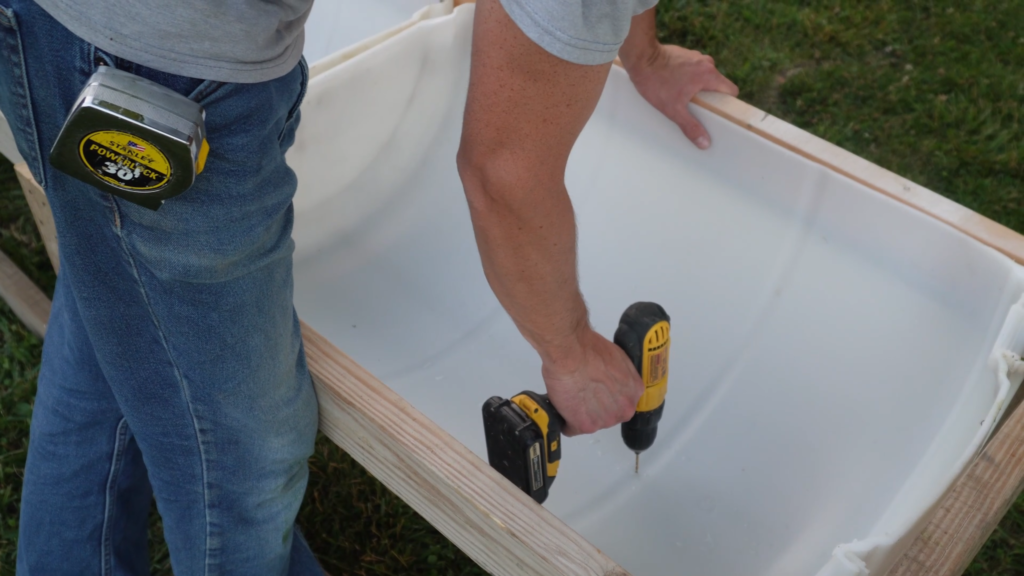
Securing the Drum Halves
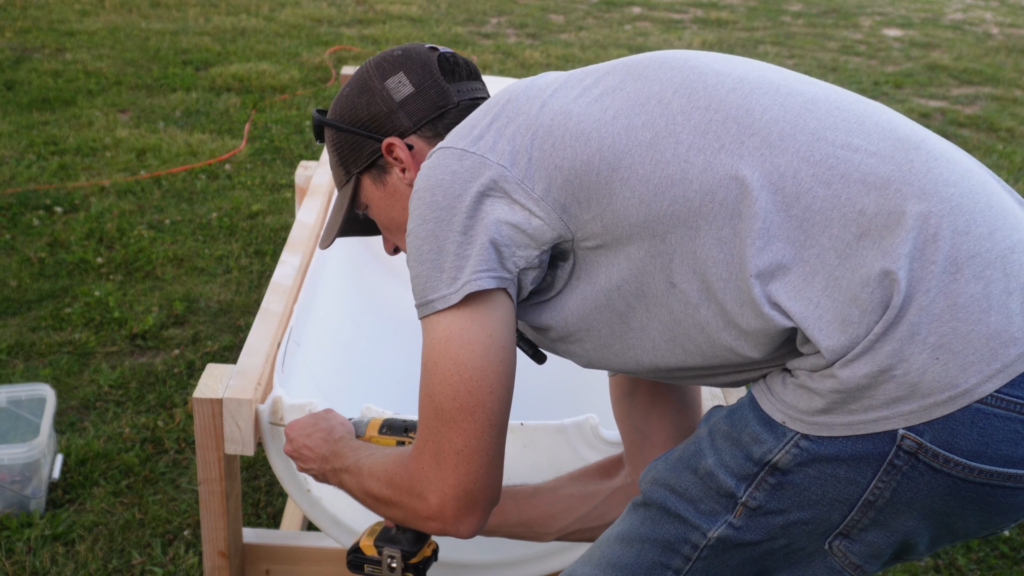
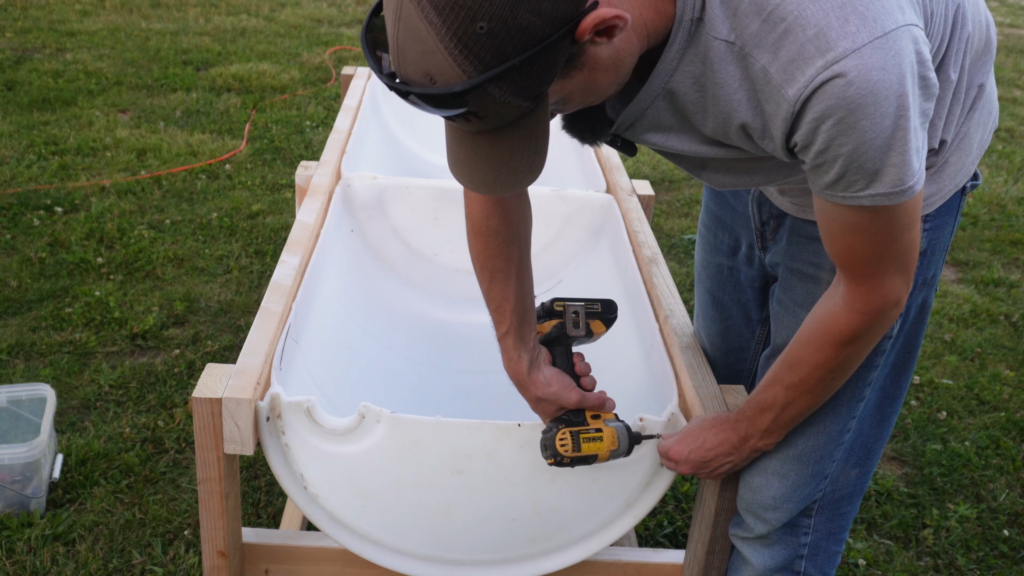
Attach the drum halves to the frame with screws. This keeps them from moving.
Drilling pilot holes makes screwing easier and prevents the plastic from splitting. Drive screws through the wood into the drum halves. Ensure they are snug and secure.
Adding End Caps
Attach end caps to the frame. This finishes the structure.
Use the last 29.5-inch boards as end caps. Screw them to the frame. These caps prevent feed from spilling out the ends.
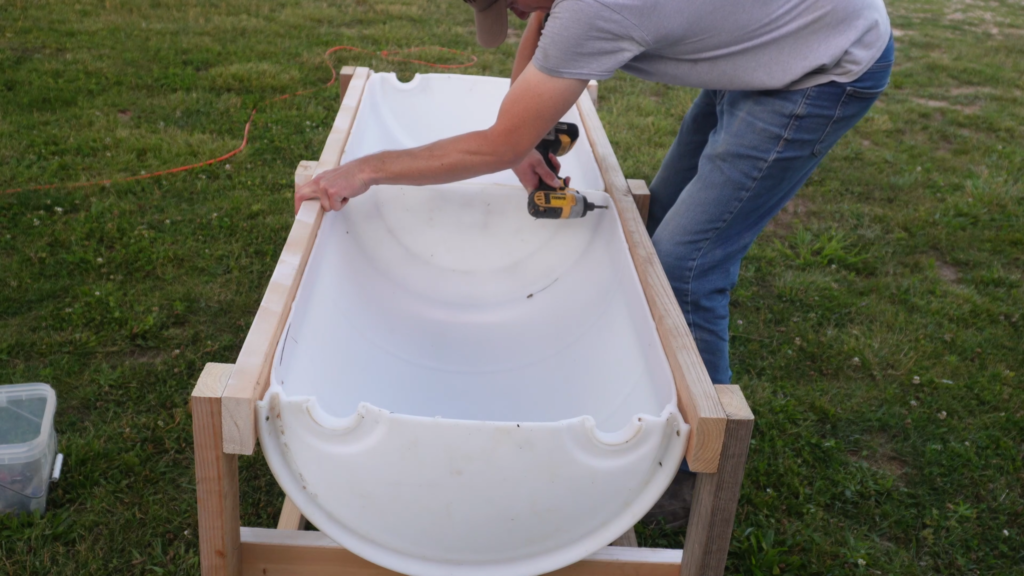
Drilling Drainage Holes
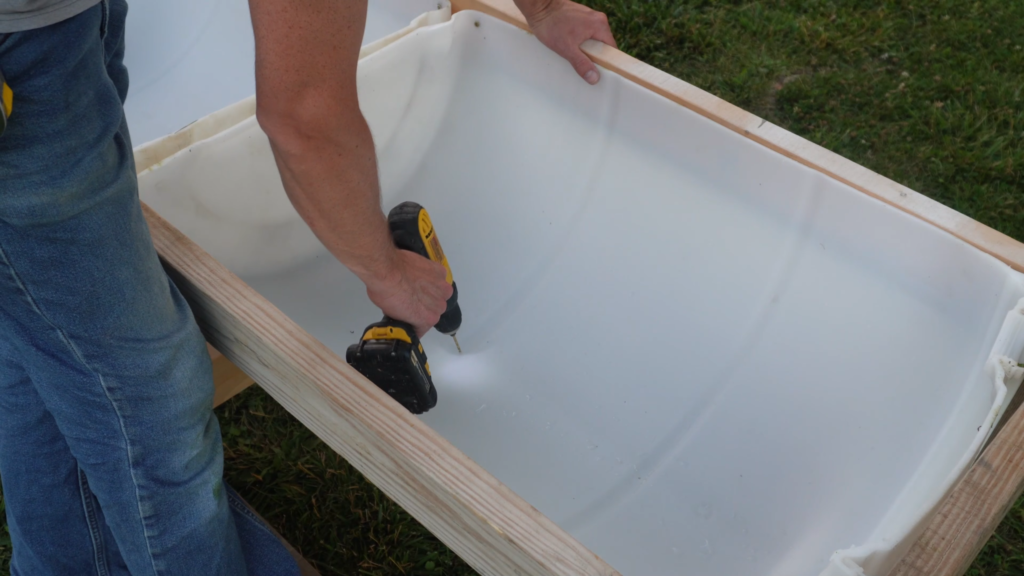
Drill drainage holes in the bottom of the drum halves. This prevents water from collecting.
Identifying the ribs at the bottom of the drum.
Drill holes at the bottom of the ribs. This allows water to drain out. Dry feed is essential for animal health.
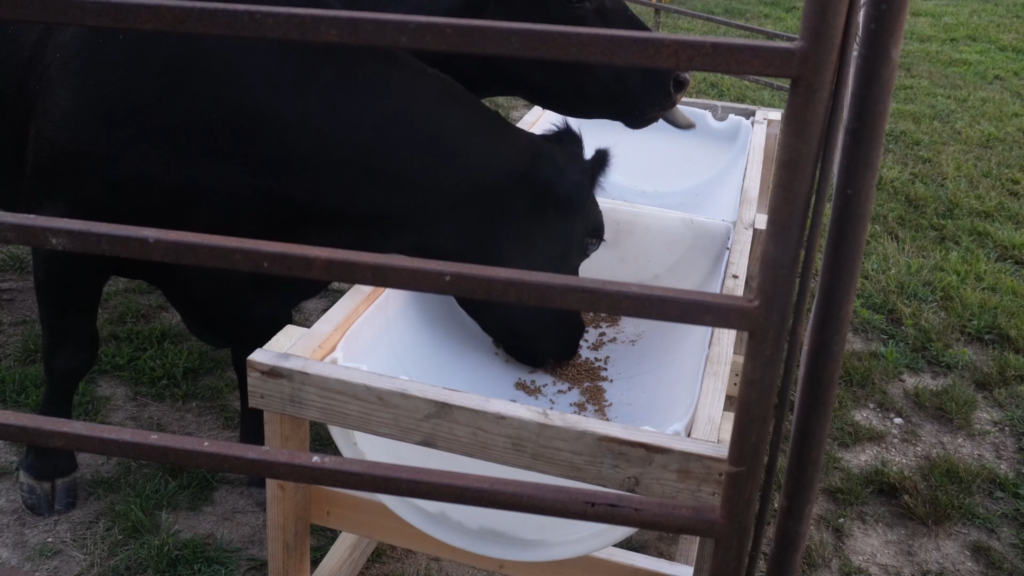
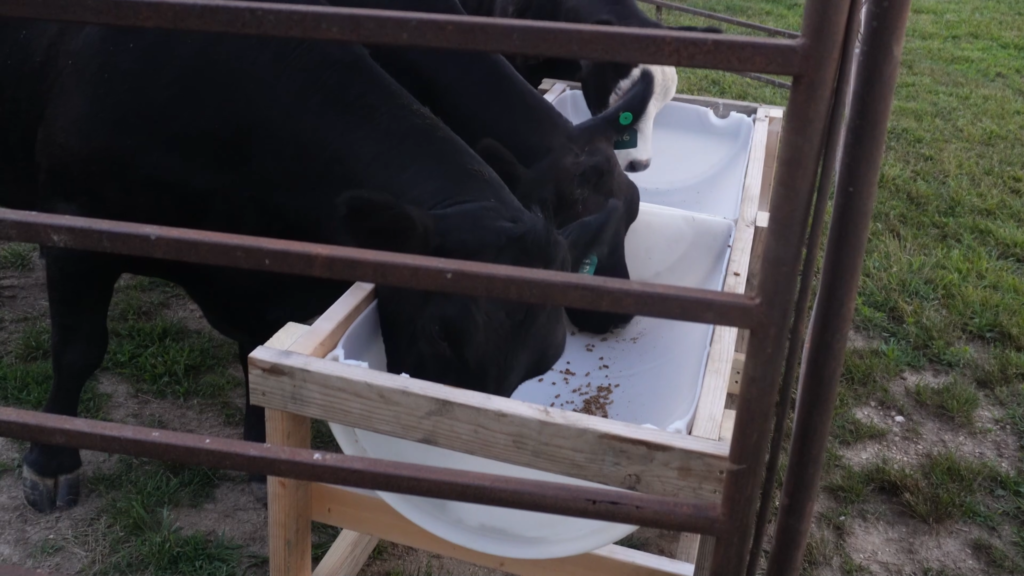
Testing the Feed Bunk with Animals