Have you seen the price of eggs lately? Of course you have, unless you live under a rock or even better a fully sustainable homestead in the middle of nowhere. The rest of us, however, are trying to decide whether to live without eggs or commit to the scariest thing in the world living right in our backyard.
I’m just kidding, although I am actually scared of chickens, they move too fast and love to peck my toes. I hate anything touching my feet, so you can imagine how I feel about my toes getting pecked. Anyhow, I have since faced my fear given that I am more afraid of going broke buying these crazy expensive eggs.
As of the last week of March 2025, the price of a dozen eggs in my local Walmart is $4.97. That’s just the cheap store brand eggs. The healthier options are a few dollars more.
We are definitely living in crazy times. I read a meme on Facebook that said “We buy our pot from the store, and our eggs from a dealer in a parking lot.” This is so funny and true. I mean, I don’t actually buy pot, but I still thought it was funny.
So, now we have backyard Queens that I am growing more thankful for by the day. They lay the prettiest variety of brown eggs and to my surprise brown eggs can be dyed.
With Easter only a few weeks away, I wasn’t sure how I was going to give my kids the tradition of dyeing Easter eggs, because I am not buying store eggs. I was always told that you couldn’t dye brown eggs.
I decided to just try dyeing our farm fresh eggs and the outcome was so amazing, I will be doing this every year. Here’s how I did it.
Preparing the Dye
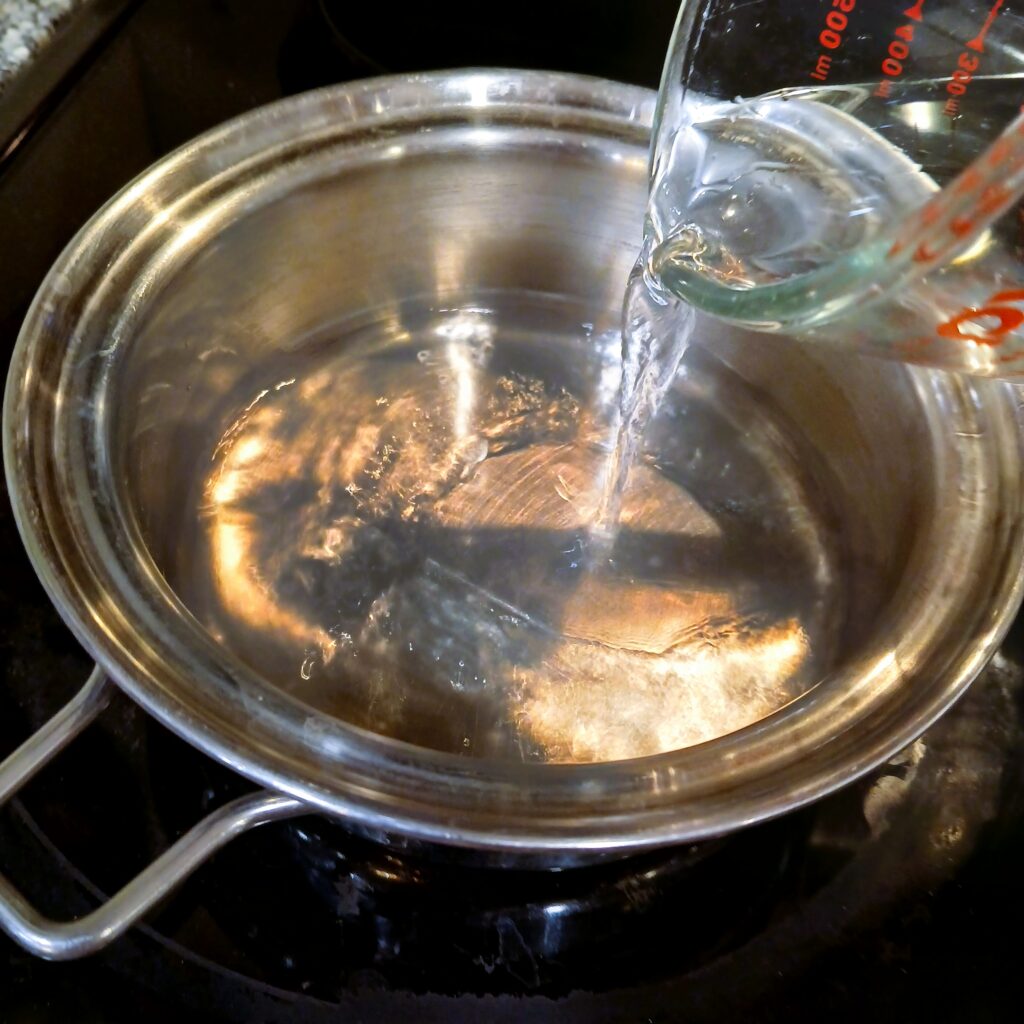
The first thing you need to do is boil a 1/2 cup of water in a saucepan on the stove.
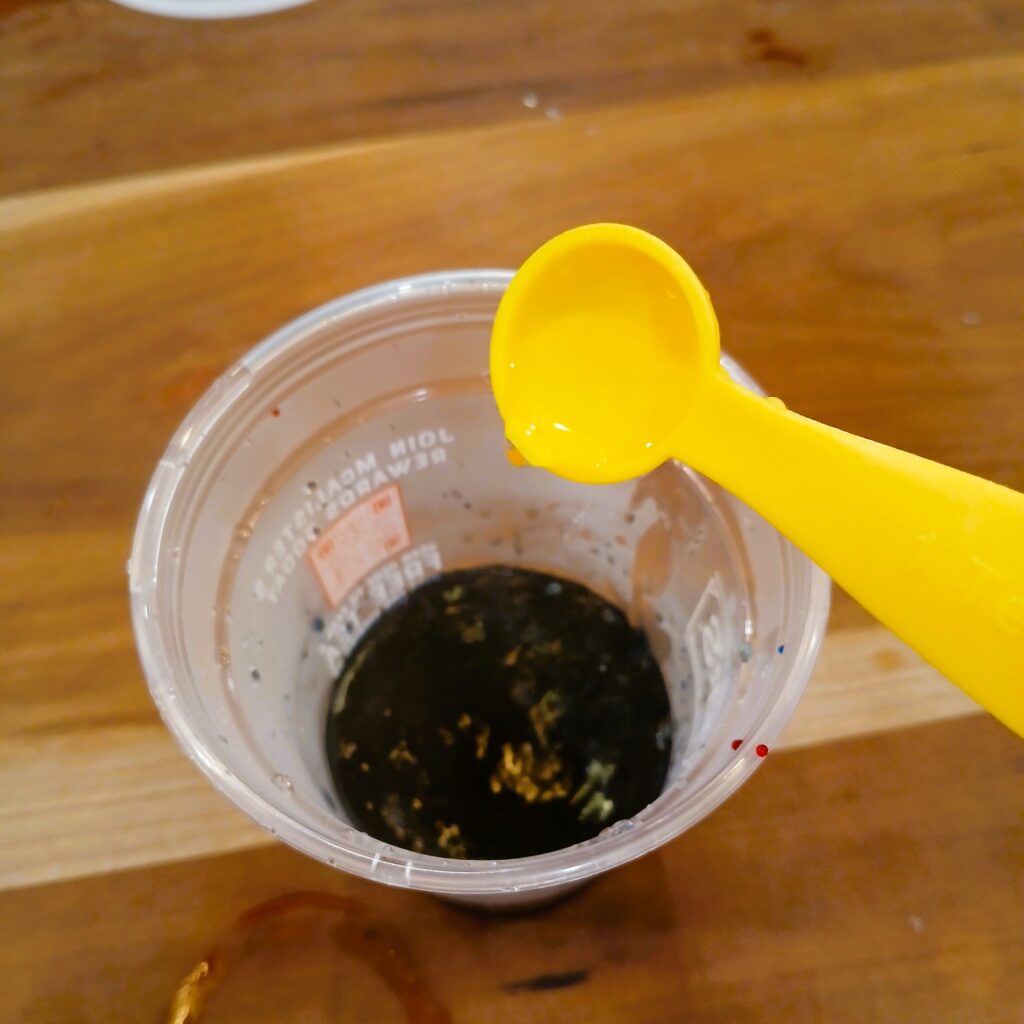
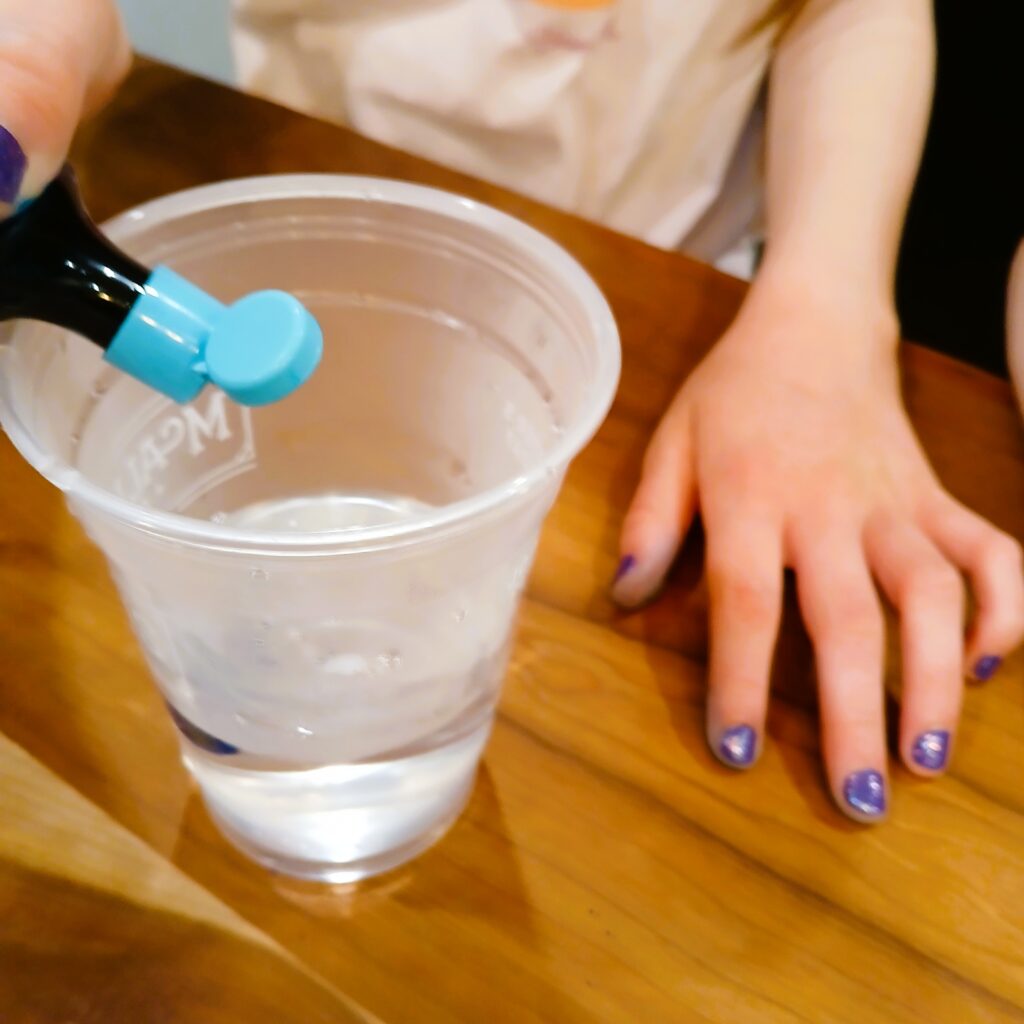
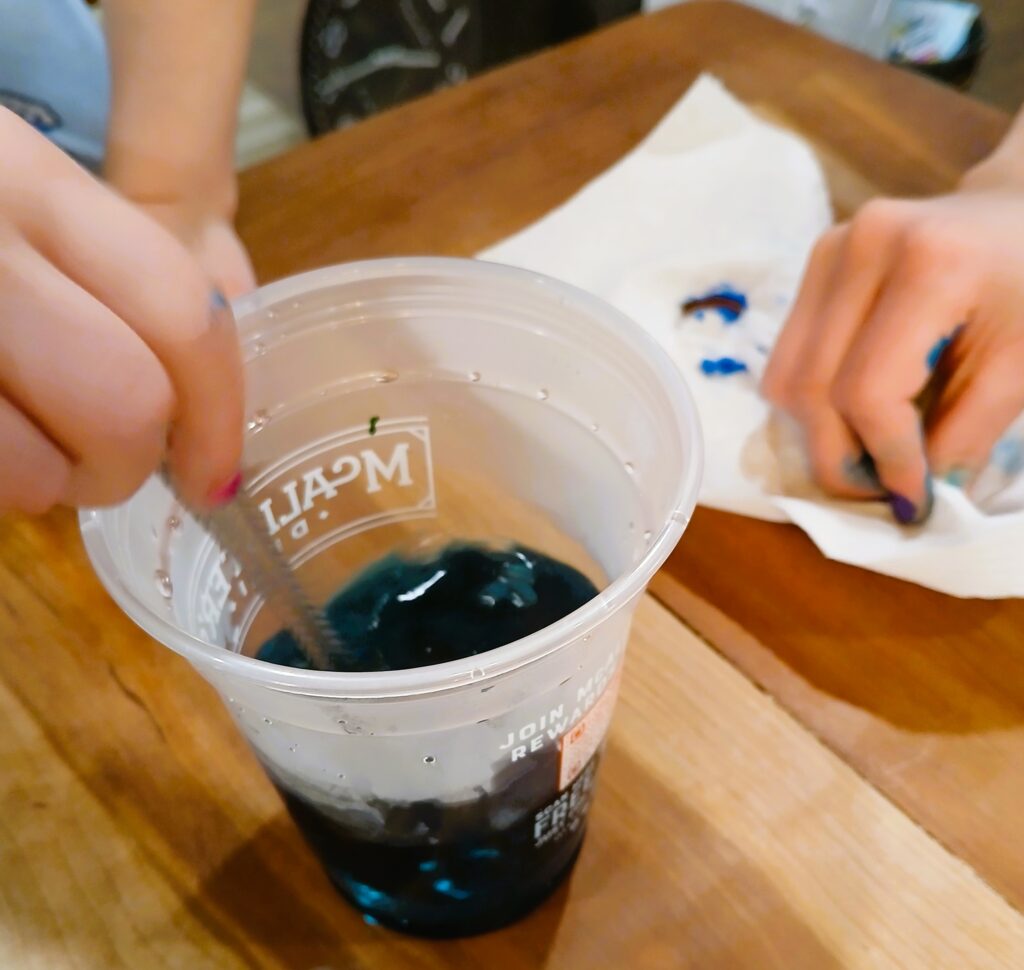
Once the water begins to boil, remove and pour into a cup. We used a disposable plastic cup. Add 1 teaspoon of white vinegar to the water. You will need to do this for each color you want to make.
Next, add as many drops of dye as you would like. This is a great time for the younger kids to practice mixing colors.
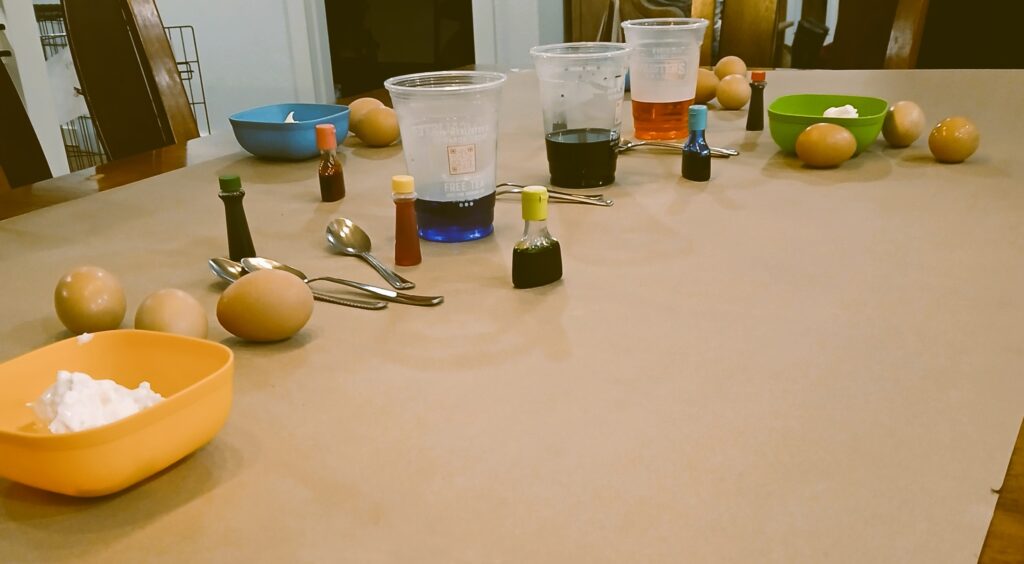
Prepping the Table with Supplies
It’s always a good idea, before any craft project, to cover your surface first. This makes for easier clean up and protects your surface.
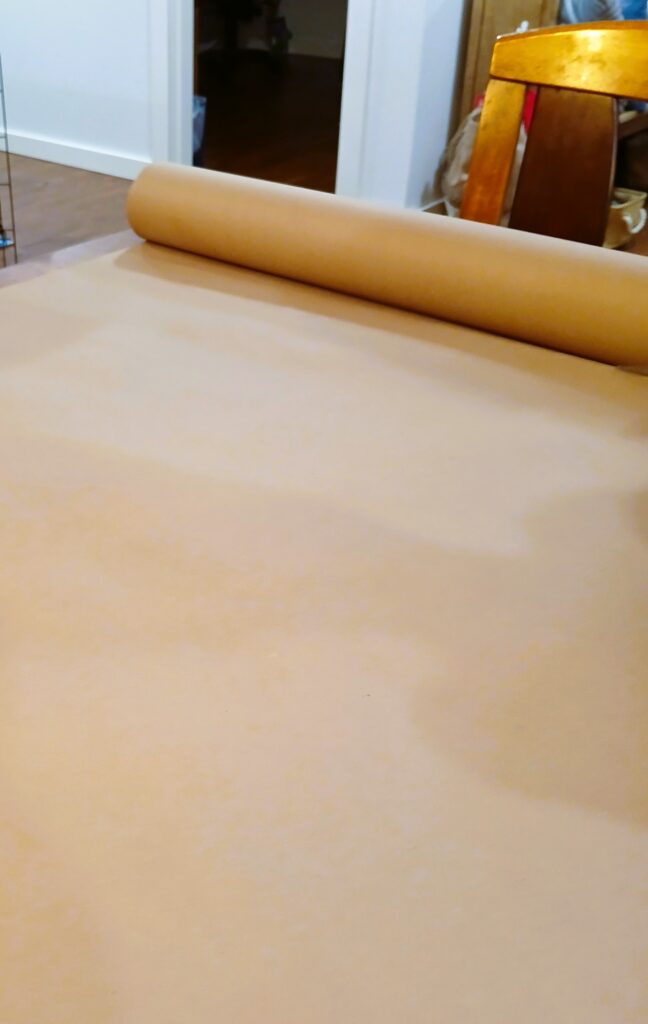
I always have a roll of brown paper, so I covered the table with brown paper and taped it on the sides to keep it from sliding around.
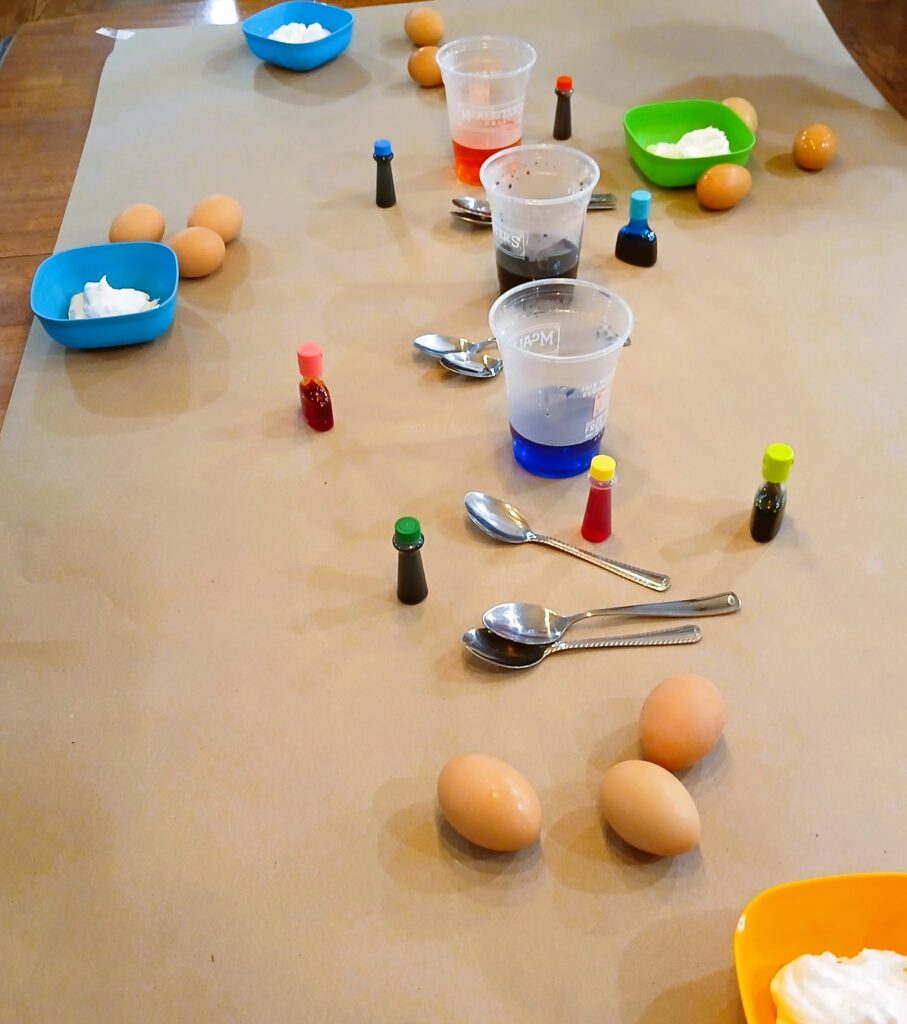
To make it more fun for the kids, I laid all the supplies they would need out on the table. I make a spot for each kid and divided up the eggs by four.
You’ll notice in my pictures that there are also bowls of whipped cream. I saw a recipe for dyeing eggs using whipped cream and food coloring. I thought the kids would enjoy rolling the eggs around in the colored whipped cream. This did not work for our eggs, the color didn’t take at all. So we stuck with the liquid dye.
Dyeing the Eggs
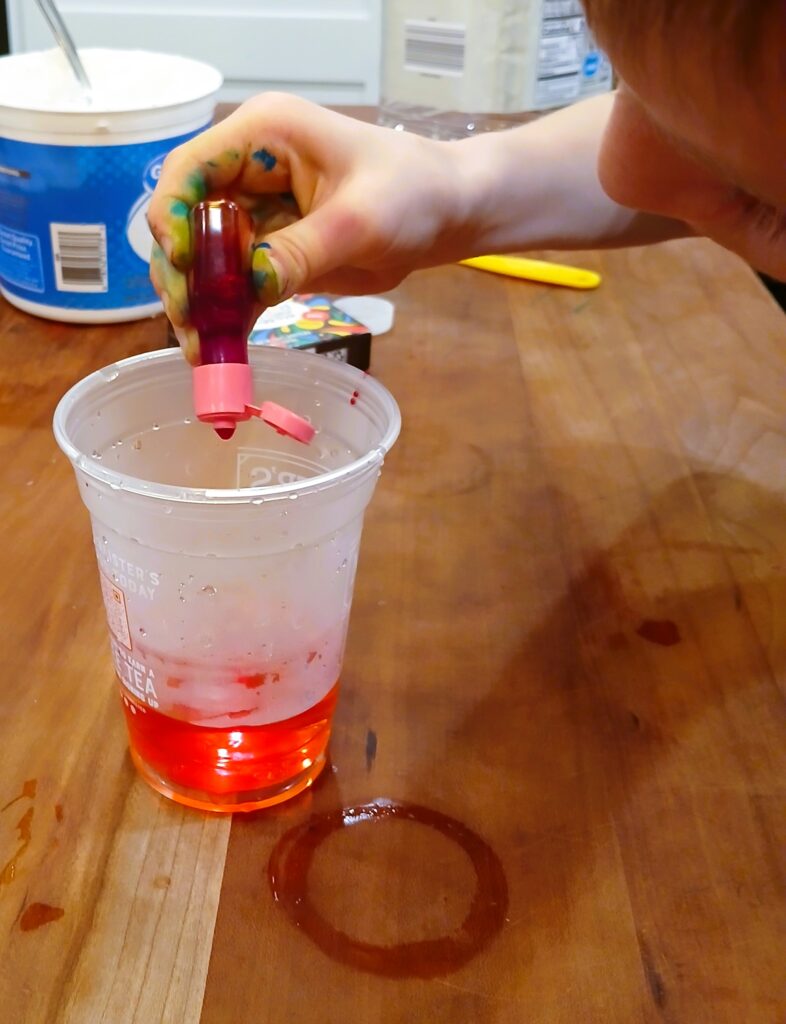
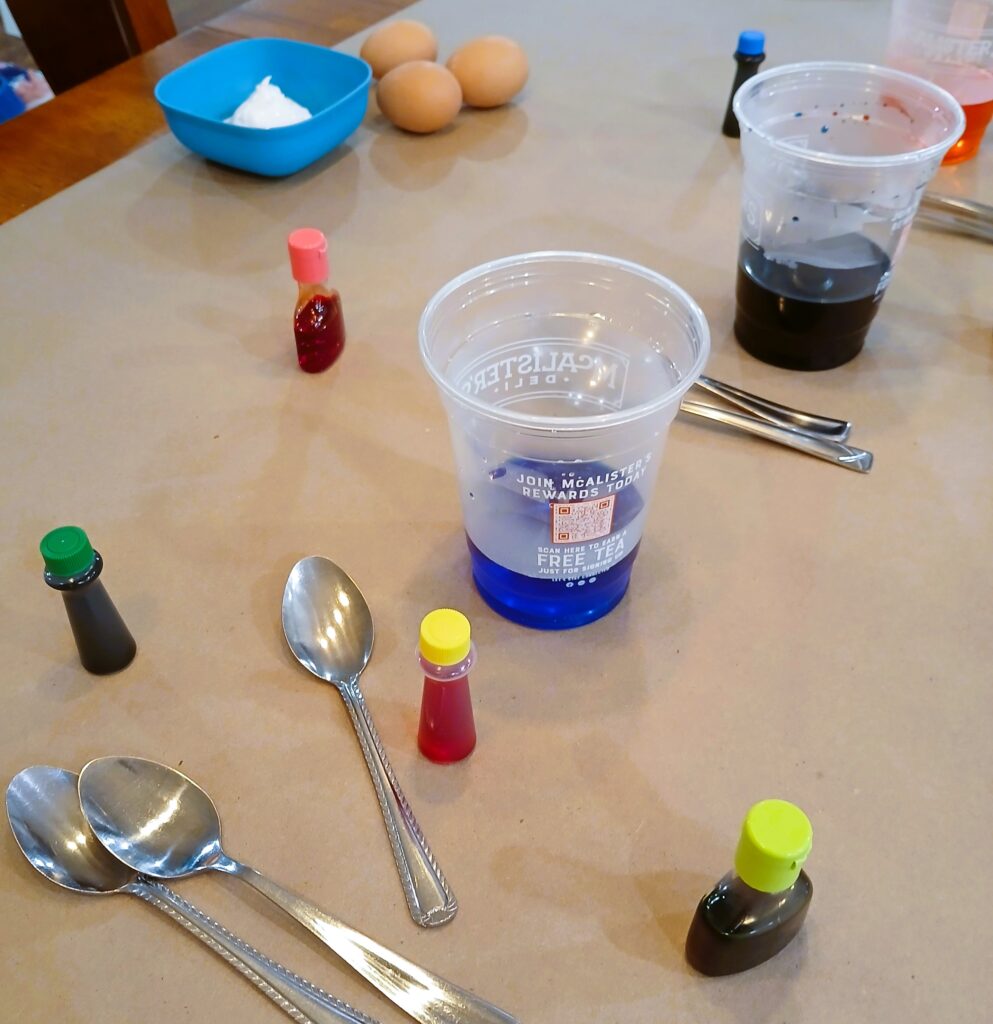
When it comes to dyeing the eggs, it’s pretty self explanatory. Using some kind of spoon, place one egg at a time into you dye solution and let sit for at least five minutes. The longer it sits, the deeper color you should have.
Kids really bring to light just how long five minutes can be. Ha. We checked on our eggs multiple times before they were actually done.
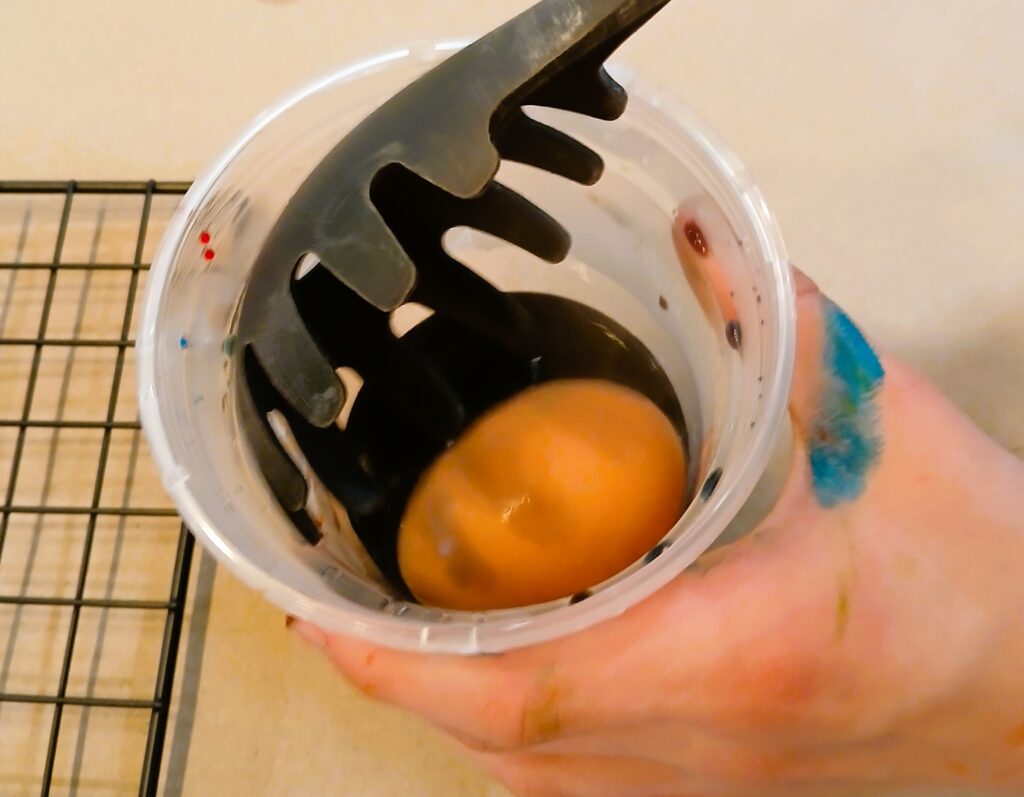
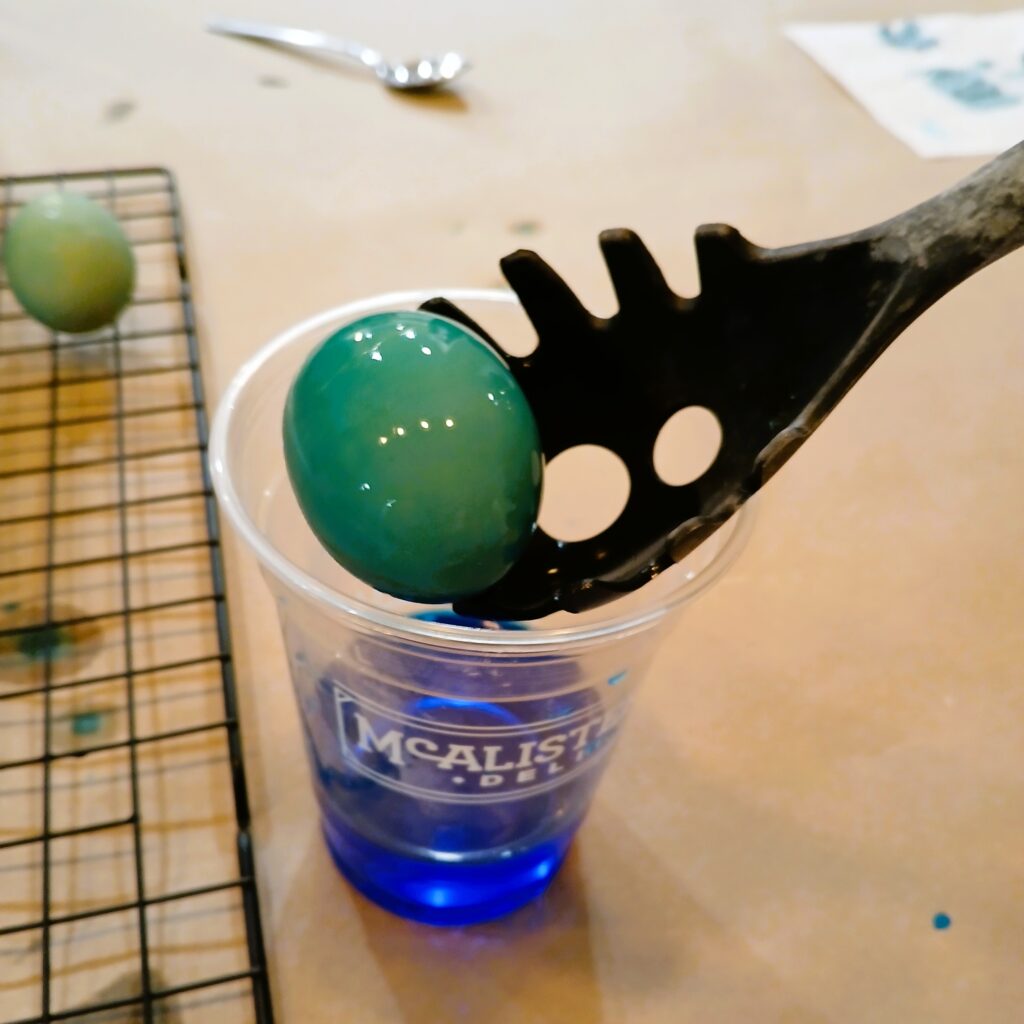
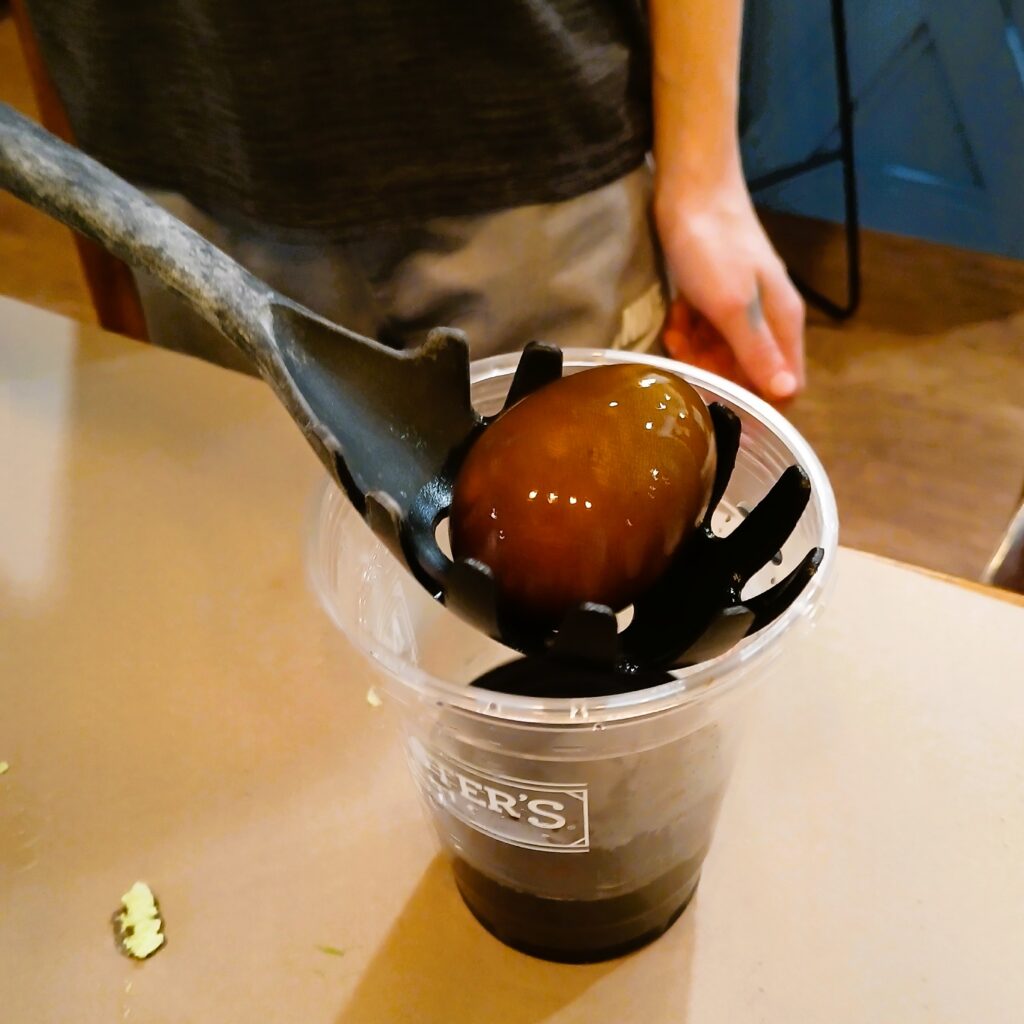
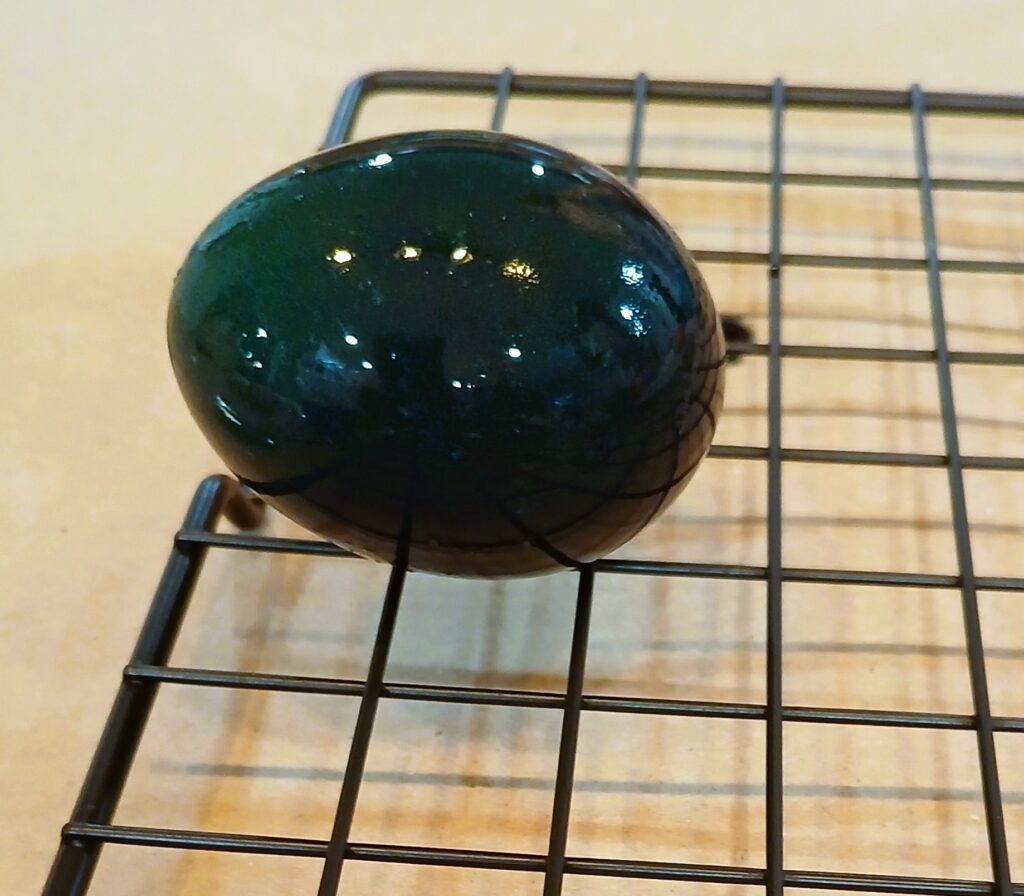
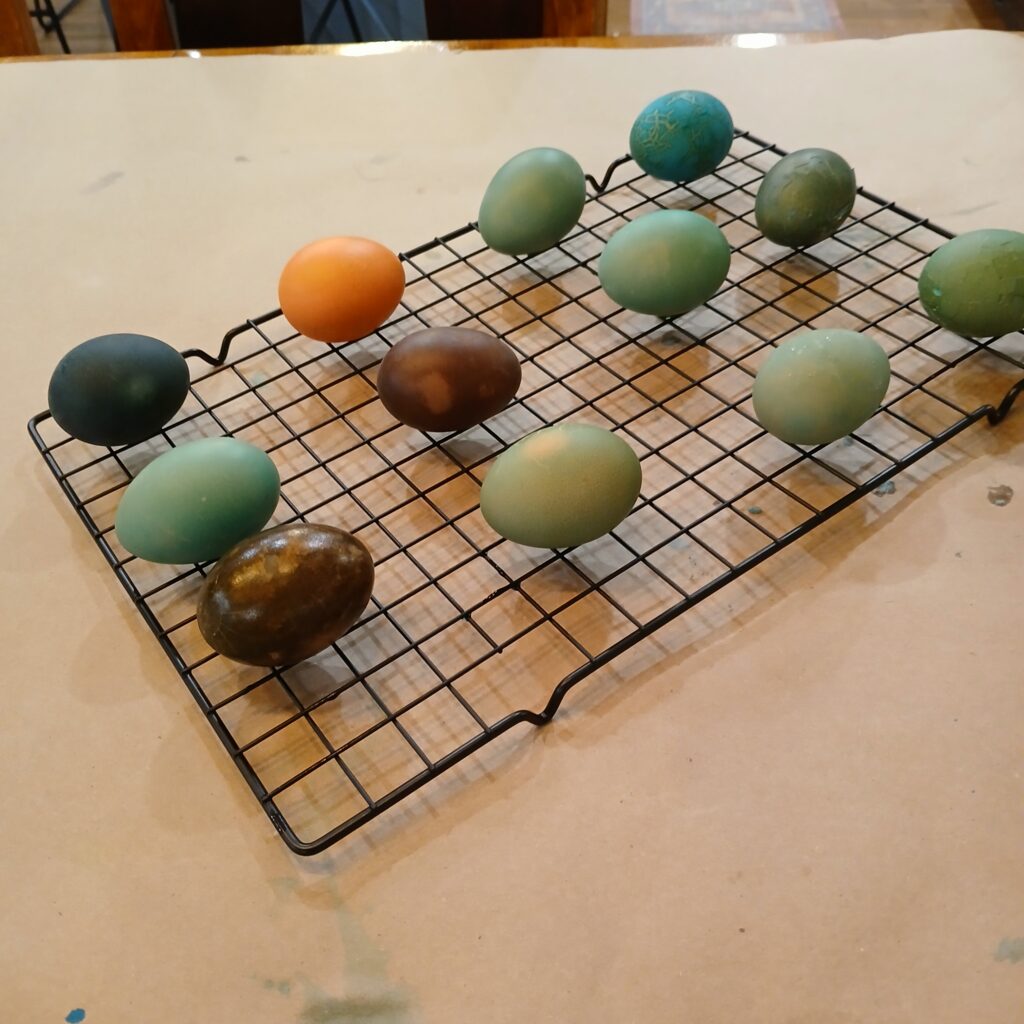
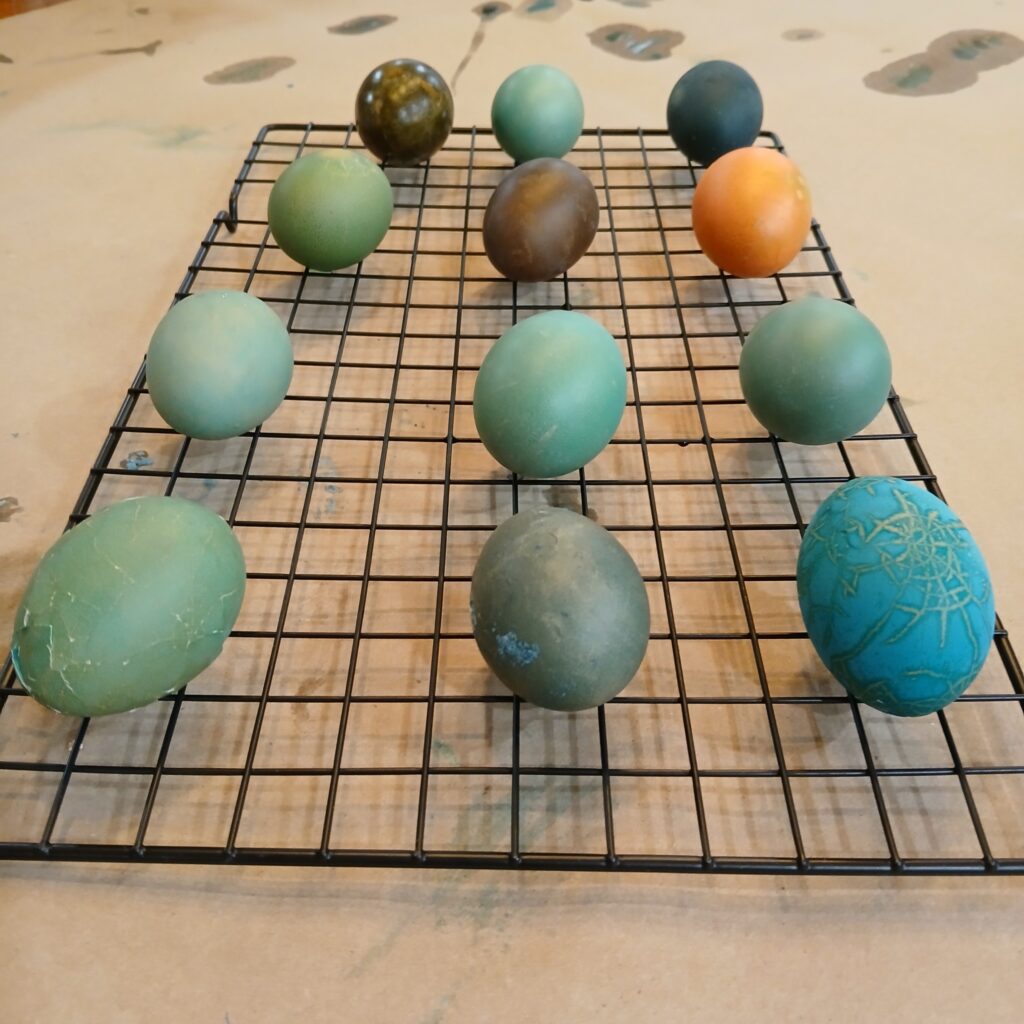
Once the Eggs are the color you like, place them on a drying rack to dry.
That’s it, so easy!
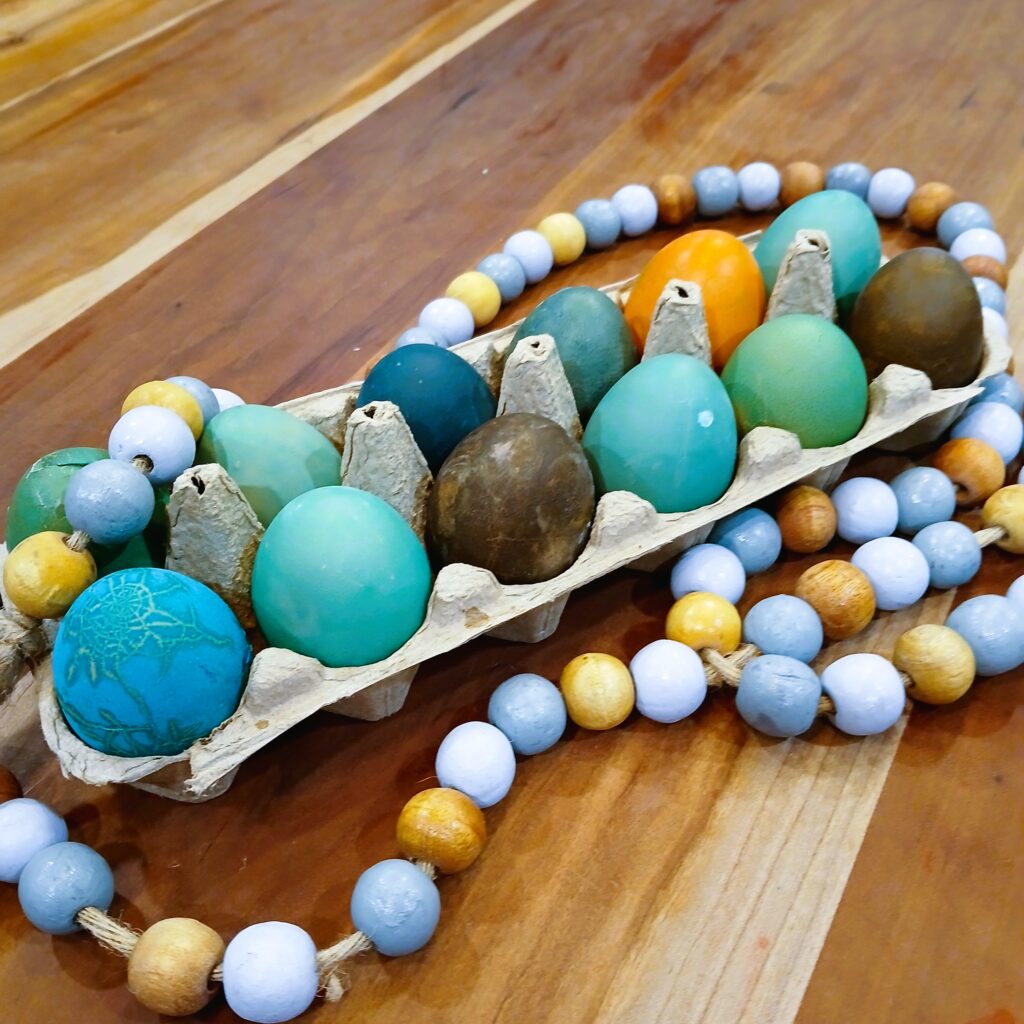
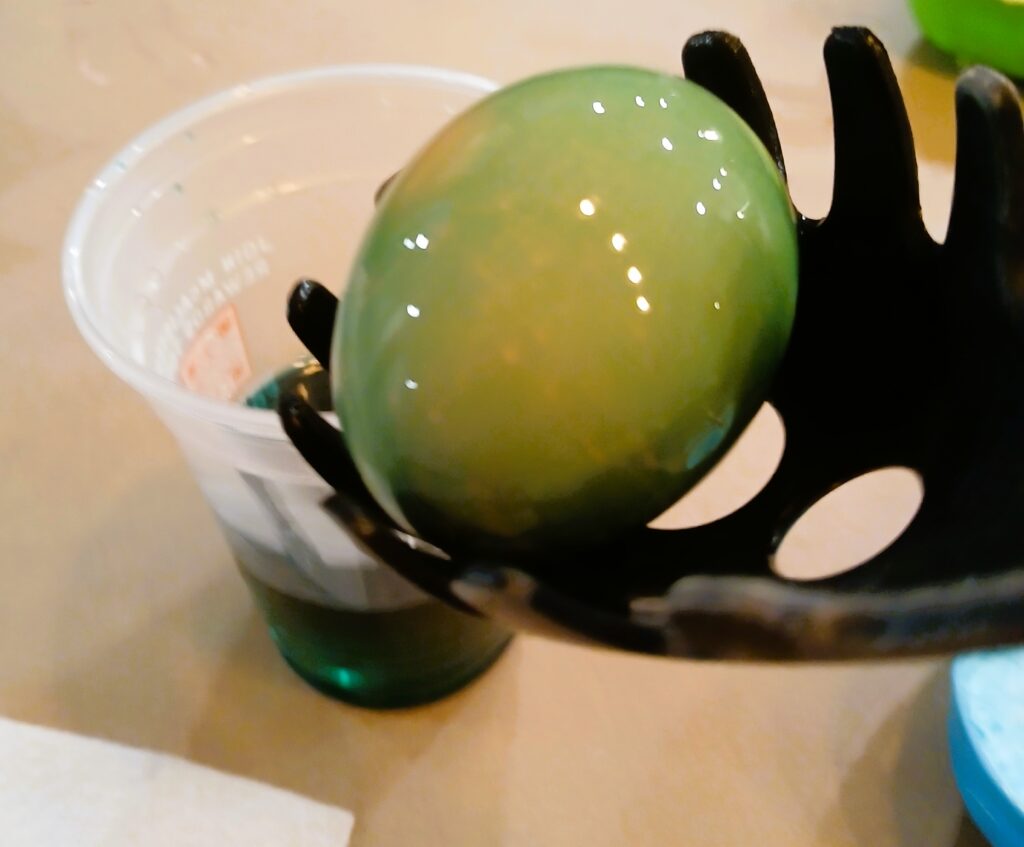
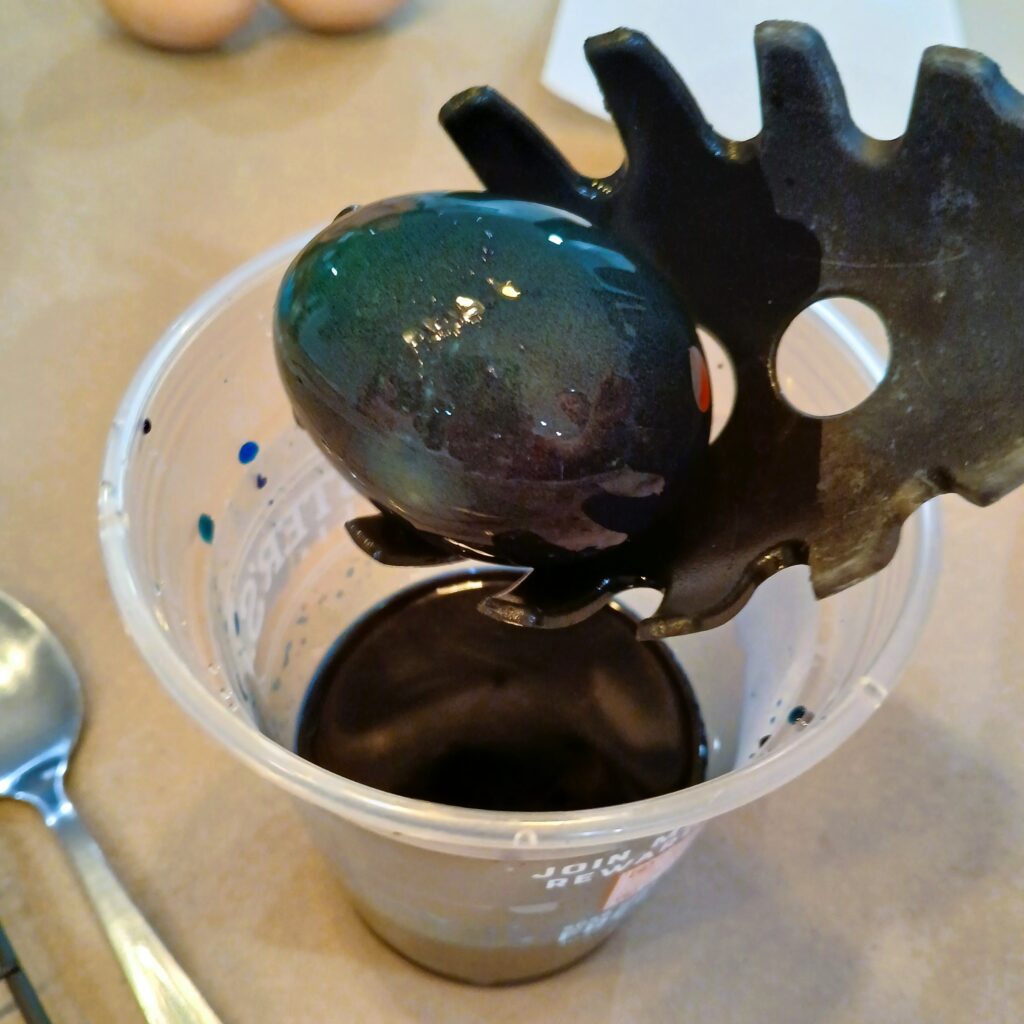
I love how these eggs turned out!
For full transparency, they did not take the color like we thought they would. In our cups, we mixed one cup Orange, one cup Purple, one cup blue, and one cup was Teal. The orange looks more like a natural egg in the picture but it did take on a more orange color. The purple surprised me the most when it came out brown.
The kids loved how natural they looked, like you might stumble across something similar in nature.
This was a fun project for the kids and I hope you enjoy it as much as we did!