High tensile electric fence. You either love it or hate it.
In my opinion, I believe that those who are oppose to high tensile electric fence feel the way they do because they think it’s unreliable or overly complicated.
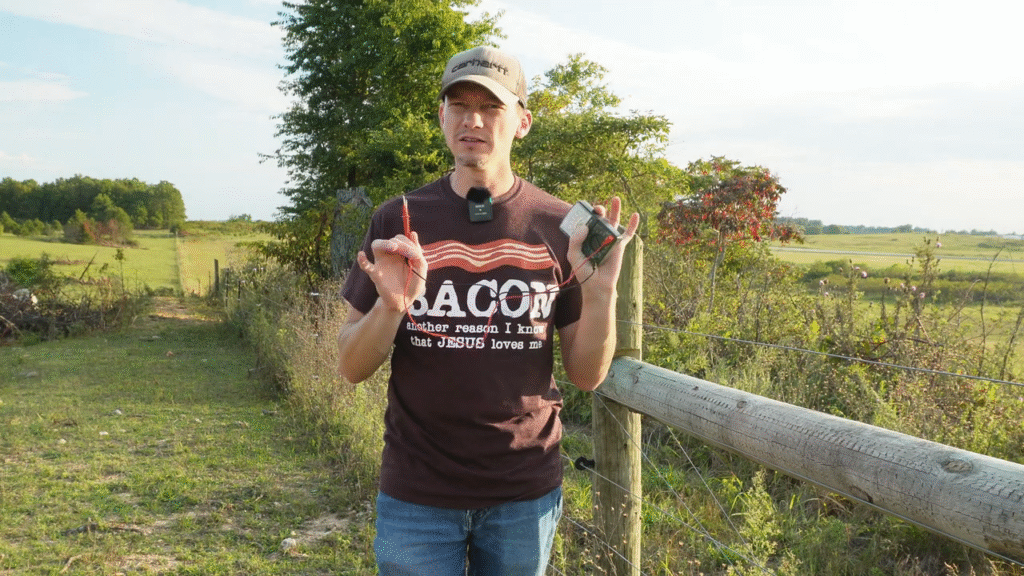
In this post I’ll go over a hand full of ways you can trouble shoot your electric fence to make sure you are getting the most out of your fencing system.

Power and Connection
In any kind of diagnostic, you always start with the simplest possible problem. Does your energizer have power? Whether it is solar powered, battery powered, or plugs into an outlet, a power failure is obviously going to shut down your electric fence. You might be surprised how often an electrician gets to charge a service call to flip a tripped breaker. So, make sure the fencer unit is getting power.
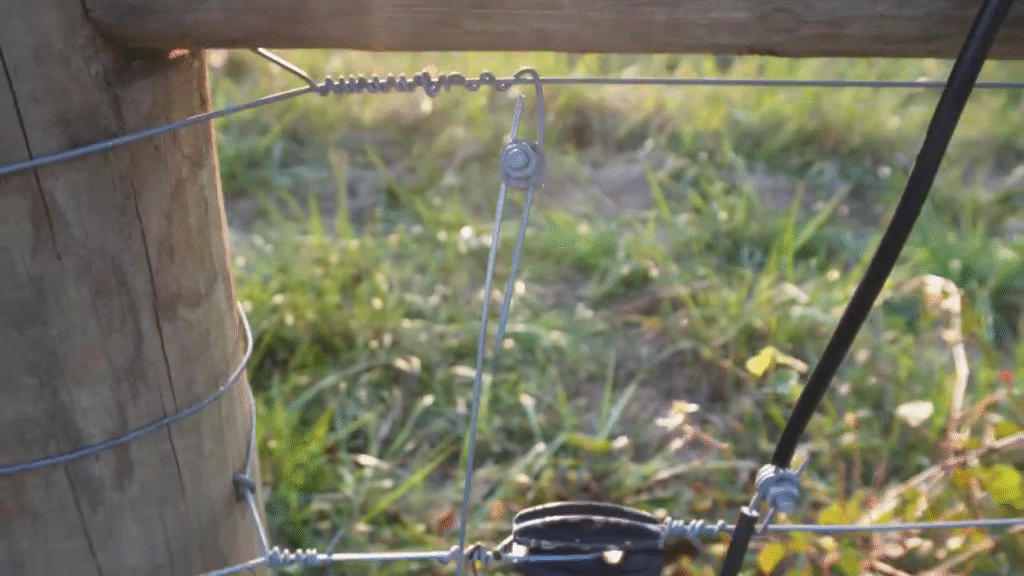
Make sure all of your connections are tight. Connections to the energizer, cutout switches (if you have them), jumper wires, etc. You’ve heard the saying “loose lips sink ships”, well loose connections keep your electric fence system from working properly…
Check the Energizer
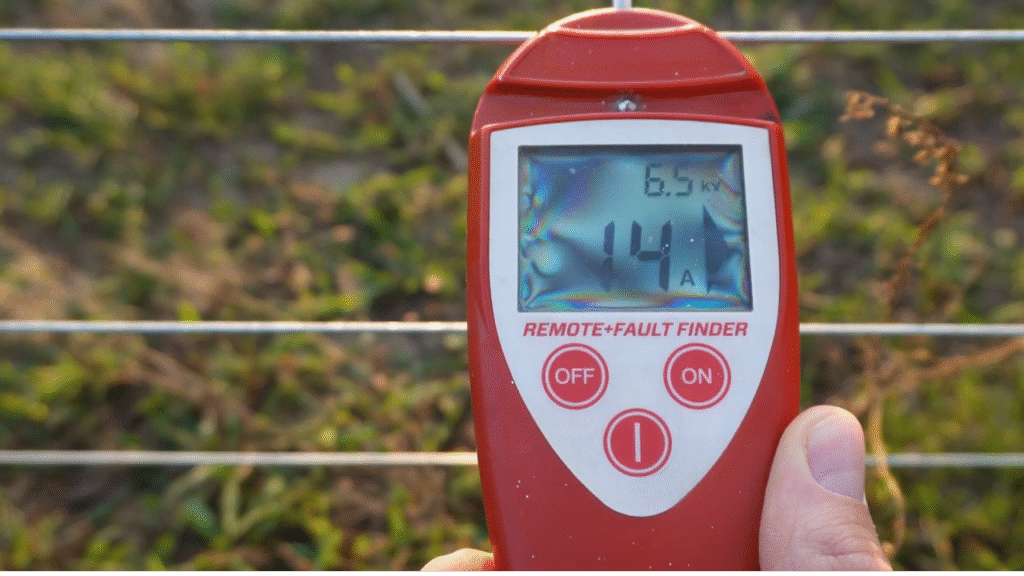
The next thing to do is make sure the energizer unit itself is putting out the correct voltage. This step is best done with a multimeter. You want to disconnect both the fence and ground wires going into the unit then and put the positive and negative probes of the multimeter on the respective posts of the energizer with it turned on. The voltage should read somewhere near the max voltage that the energizer is rated for. If it reads low, less than half of the voltage rating, then there’s likely something wrong with the unit.
Check Your Ground System
The third step is to make sure that your ground system is doing its job. One of the most common problems with electric fence systems is improper grounding. Most manufacturers have similar requirements when it comes to a ground system, a minimum of 3 ground rods (usually galvanized) spaced 10 feet apart. This should be close to the energizer and in ground that stays somewhat moist.
Now I’ve probably gone way too far when it comes to my ground system, but it’s has worked out well for me so far. I have ground rods at various points around the perimeter of the farm that are connected to the fence wires that are not energized and then tied back into the ground system for the energizer. The purpose here is to make sure that anything that touches two wires at the same time, such as trying to go through the fence, will get the full force of the energizer.
Testing the Ground System
There are a couple ways you can test the ground system. The first way is to put your voltage tester on the ground wire and see if any power is leaking through it. If you get more than 300 or 400 volts (depending on the energizer) your ground system is insufficient, and you need more ground rods.
The second way to test your ground system is to go to the furthest point from the charger and short the fence out by driving a rod or piece of pipe into the ground, no more than 12” should be necessary, and connecting it to the fence. Of course, unless you want to get shocked you should probably turn the energizer off. Once you’ve grounded it out, turn it back on and check the voltage of the fence.
If the hot wire on the fence reads more than 2000 volts, you need more ground rods. In order for the electric fence system to shock whatever is touching it, the power that the energizer is sending out on the fence has to get back to it through the ground, completing the loop. If you’ve ever wondered why a bird can sit on an electric fence wire without getting shocked, it’s because the bird is not grounded. Now, if it were to touch a second wire that is grounded, the bird would get shocked. I hope that all makes sense.
Time to Test the Fence
After testing for power to the unit, unit voltage, and the ground system, the next thing to test is the fence itself. Turn the power on and starting close to the energizer, start checking the voltage of the fence. If you have low voltage, half power or less, you’ve likely got a short somewhere in the fence.
This can be from any number of things, a limb forcing the wire to contact the ground, a broken insulator allowing the wire to make contact with a post, tangled wires from something running through the fence, wet grass or vegetation making contact with the fence, basically any number of things you can imagine. The easiest way to find these types of shorts is to walk the fence, testing it every 50 to 100 feet.
You’re looking for something obvious or a significant drop in voltage. Once you find that drop in voltage, you’re likely near the short. Once you locate it and remove it, you should have a good high voltage reading. If you have multiple zones in your system, you can shut them all down, then turn them back on one by one and check for a voltage drop that way. This will help you find your problem quicker.
Bonus Tip
Energizers are all rated for a certain length of fence. Depending on the brand this can be expressed in a couple different ways. Some brands rate theirs in acres, such as a 100 acre energizer. Those can be hard to nail down in terms of what exactly what you’re getting so make sure you understand just how much they can handle. Others will rate theirs in miles of fence, such as a 40 mile energizer.
This is a little easier to figure, but also be aware that some are rated based on 1 wire over 40 miles and some on multiple wires. Again, you have to read into them to make sure they fit what you’re trying to do. Sometimes a voltage drop, when everything else is correctly installed, is due to having a fence system that is too big for your energizer.