Let me start off by saying that I know sourdough bread is all the rage nowadays. I’m not here to argue that yeast bread is healthier than sourdough. We all know that sourdough is the healthiest option by far, but that doesn’t necessary mean it is the only way to go.
I have two issues with sourdough. 1. Andrew doesn’t care for the twang of sourdough and 2. With four kids, a husband, a dog, plants, cows, pigs, chickens, and donkeys that we have on the farm, I have absolutely no desire to keep anything else alive and worry about feeding. This is probably my biggest beef with sourdough. I don’t want to put in the extra effort and worry if I killed it or not.
As much as I would love to be the ultimate homesteading mama, I am far from it. Which is fine. I’m all about moderation. I want to give my family the best food options but I also know my limits and in this season of life, sometimes I just have to go with convenience.
With that being said, yeast sandwich bread is a much healthier option than store bought any day of the week. Just look at the ingredients on the back of sandwich bread, it’s a mile long. Not only that, but it doesn’t mold, like ever. Bread should mold. If bacteria won’t eat something, we shouldn’t either.
So if you are like me, and are feeling overwhelmed with wanting to do all of the healthy “cooking from scratch” for your family, I suggest replacing one processed food item with something homemade.
That’s where I am at currently and I chose to start with bread. I have since added a few more options to make from scratch instead of buying processed.
Anyway, back to the bread. This sandwich bread is very easy to make and can be done in just a couple hours or so.
Tools you will need:
As always, my go to tools for bread making are a wooden bowl, a wooden spoon and a large tea towel, a bread knife and 2 loaf pans. My loaf pans are 9 X 5. I got one pan 20 years ago as a wedding gift and the other one I splurged for a pioneer women loaf pan from Walmart when I decided to start making bread. It’s so pretty, maybe one day I will decide to spend the $8.00 again to buy a matching one, but maybe not, you never know about me.
Just like with my artisan bread recipe, you don’t need fancy gadgets to make this bread or anything with dough, in my opinion.
Alright, let’s get started!!!
Disclaimer: This is not my recipe, you can find the original recipe here. It is from Frugal Fit Mom, who I just love.
I cut her recipe in half because I only have two bread regular sized bread pans and this amount makes two perfect loaves for my pans.
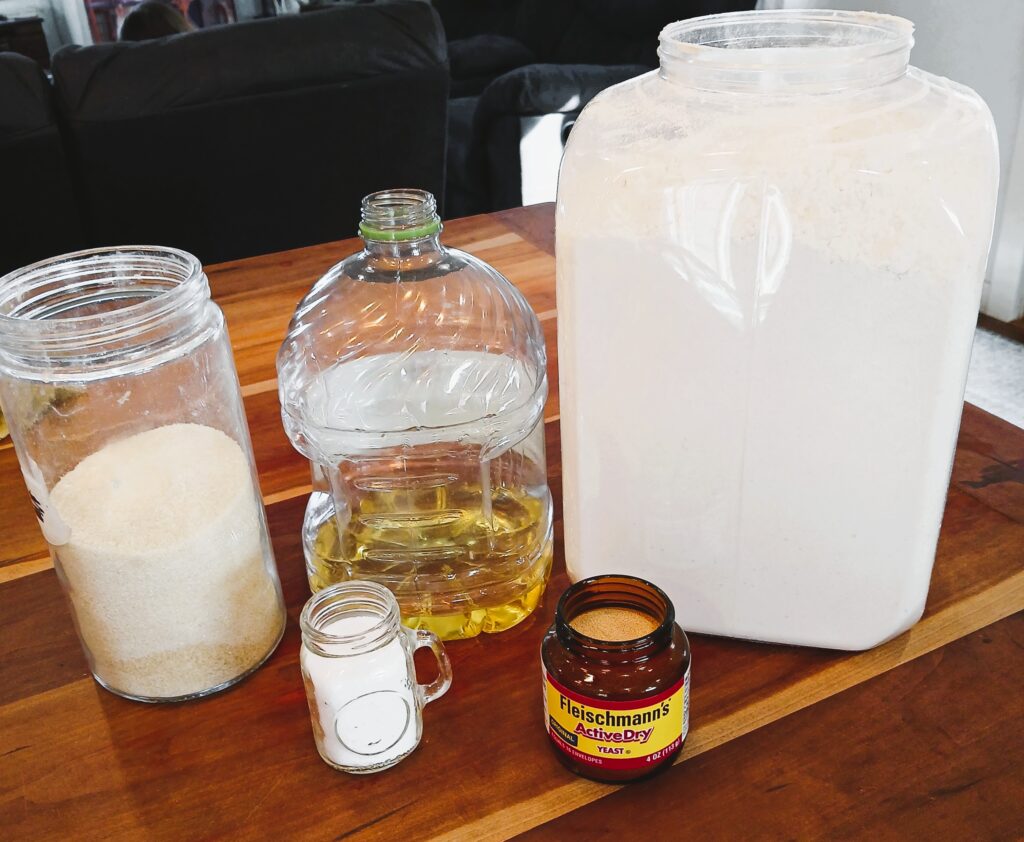
Grab your ingredients:
2 ½ cups Warm Water
¼ Cup Sugar
2 tbsp yeast ( I use active dry yeast)
2 tbsp oil
2 tsp salt
5 cups of flour
I did not get a picture of this, but first you will want to proof the yeast. Which is just simply adding your yeast and sugar to the warm water. Stir and let sit for 5 minutes while you get the rest of the ingredients ready.
The temperature of the water is important, if it’s too cold the yeast will not activate and if the water is too hot, it will kill the yeast. So if your dough doesn’t rise, this could be the problem.
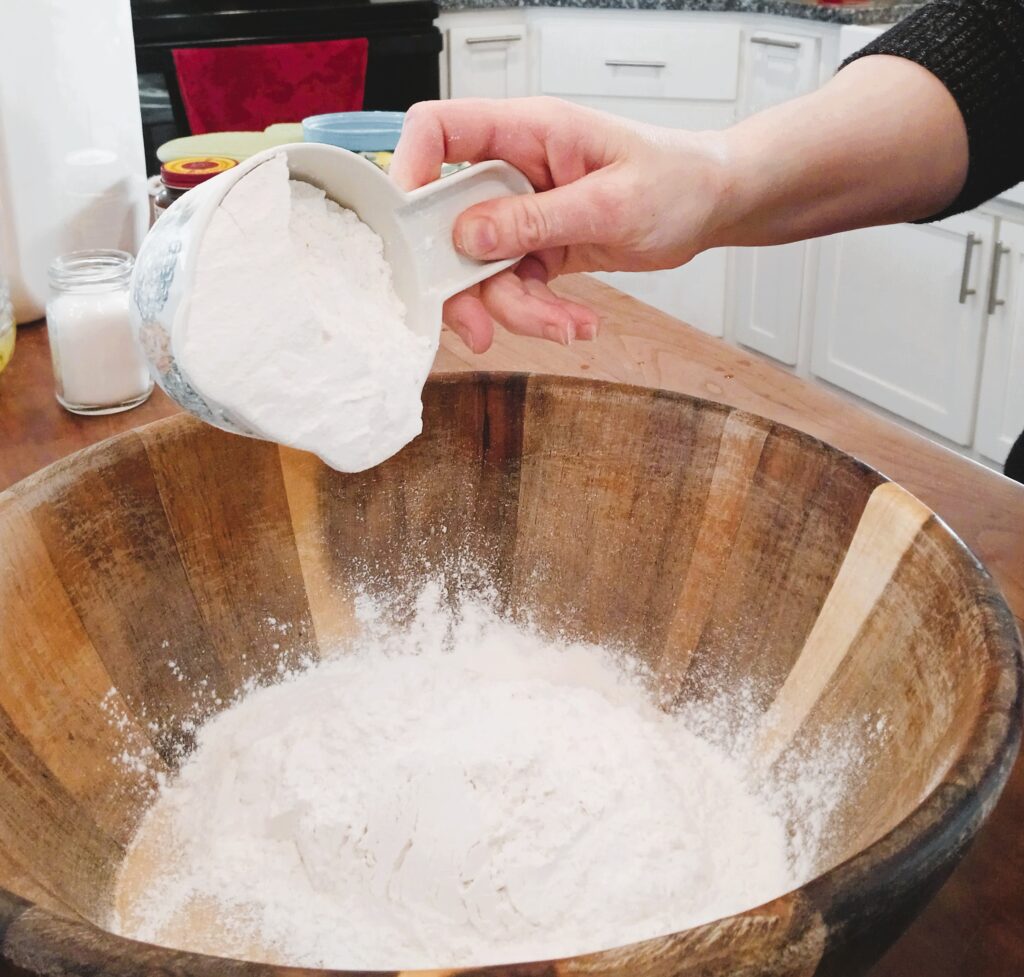
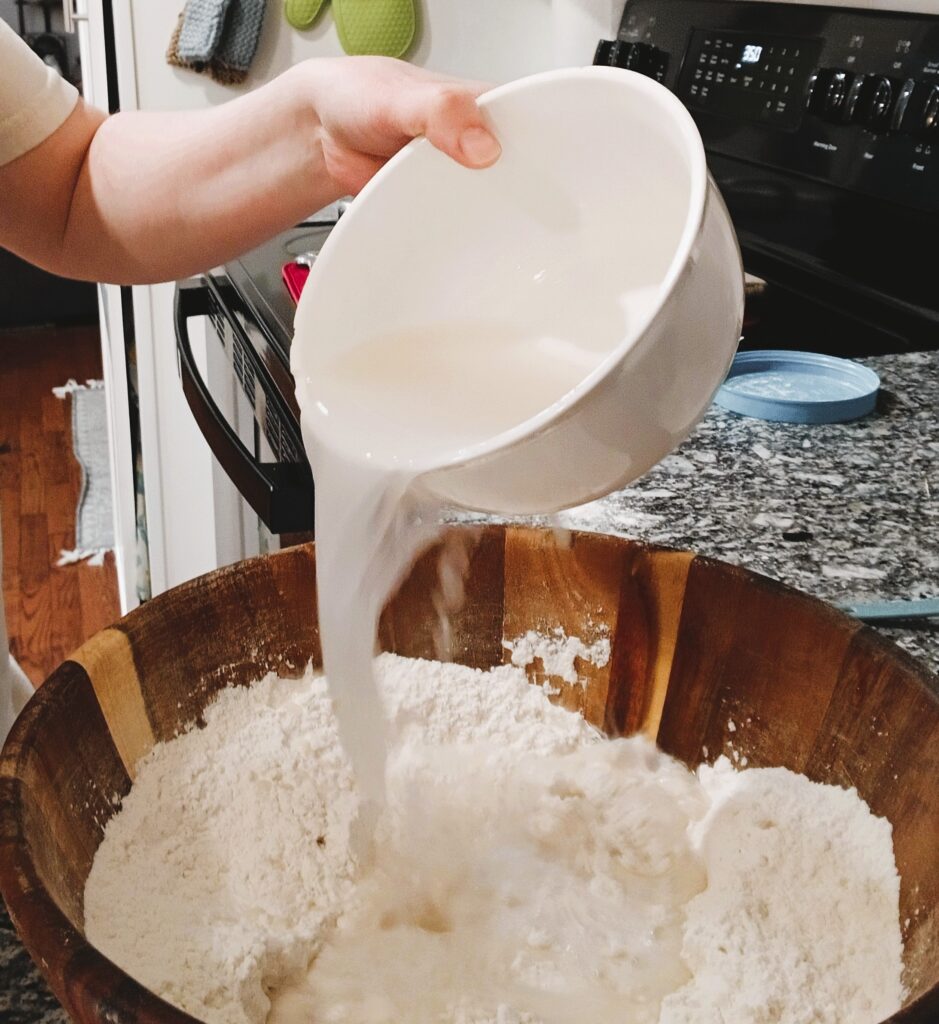
Now add the flour to your bowl.
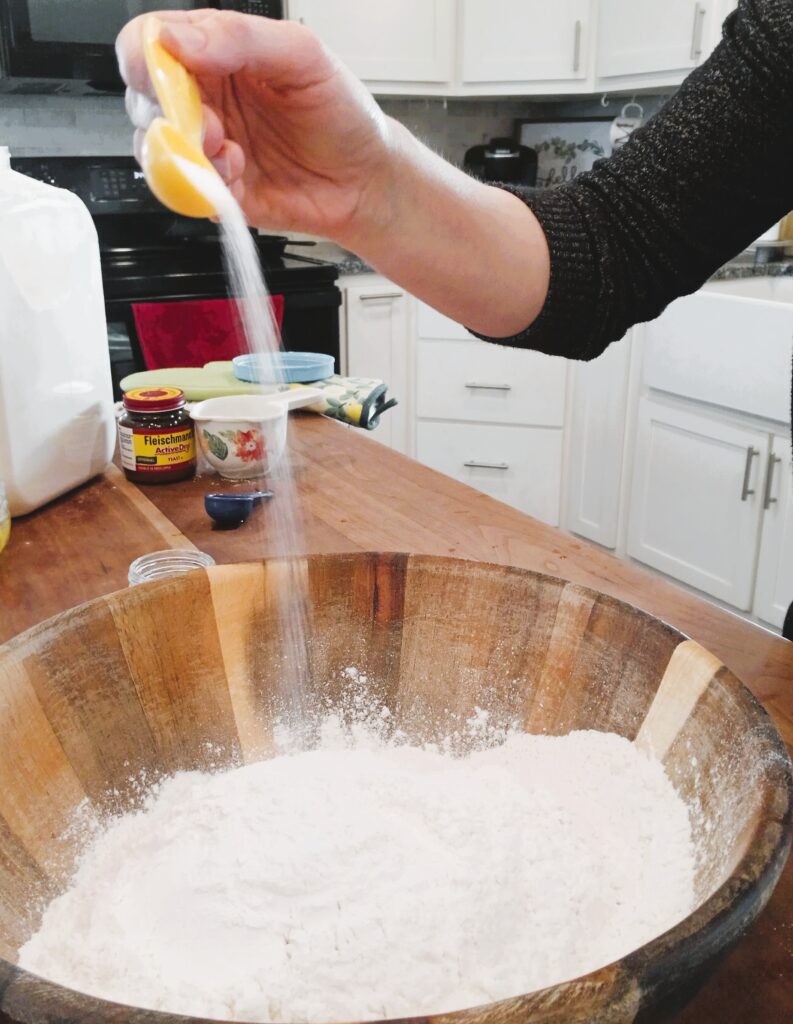
Next, add in the salt and mix.
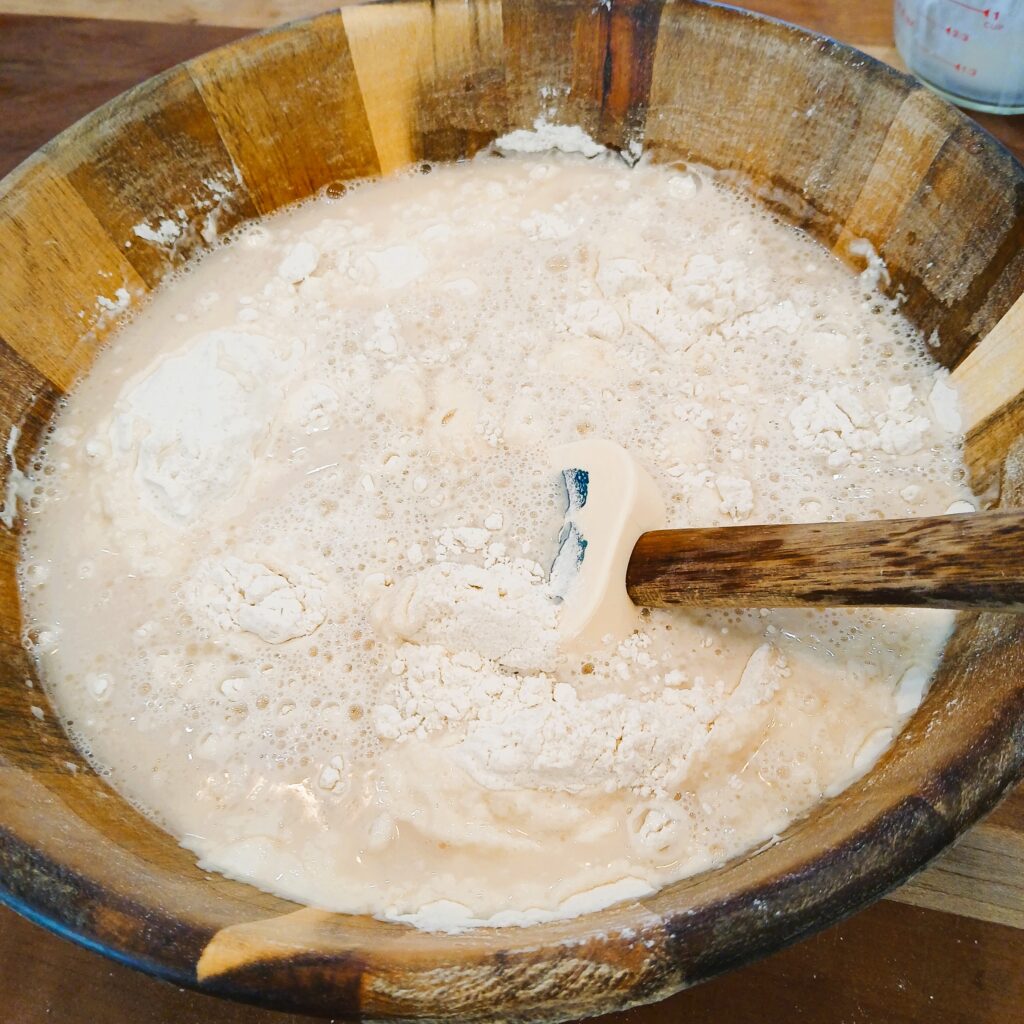
Now add the yeast water to the flour and salt mixture.
Mix that all up. Stir until it is all mixed and you can shape it into a ball. The dough needs to be pliable, which means workable. If it’s too sticky add a little flour at a time and if it’s to dry, add a little warm water at a time. I tend to always err on the side of a little sticky.
Once you have the dough mixed, cover with a towel. Any type of towel will work. Cotton or linen towels are a good choice, because they allow for air flow.
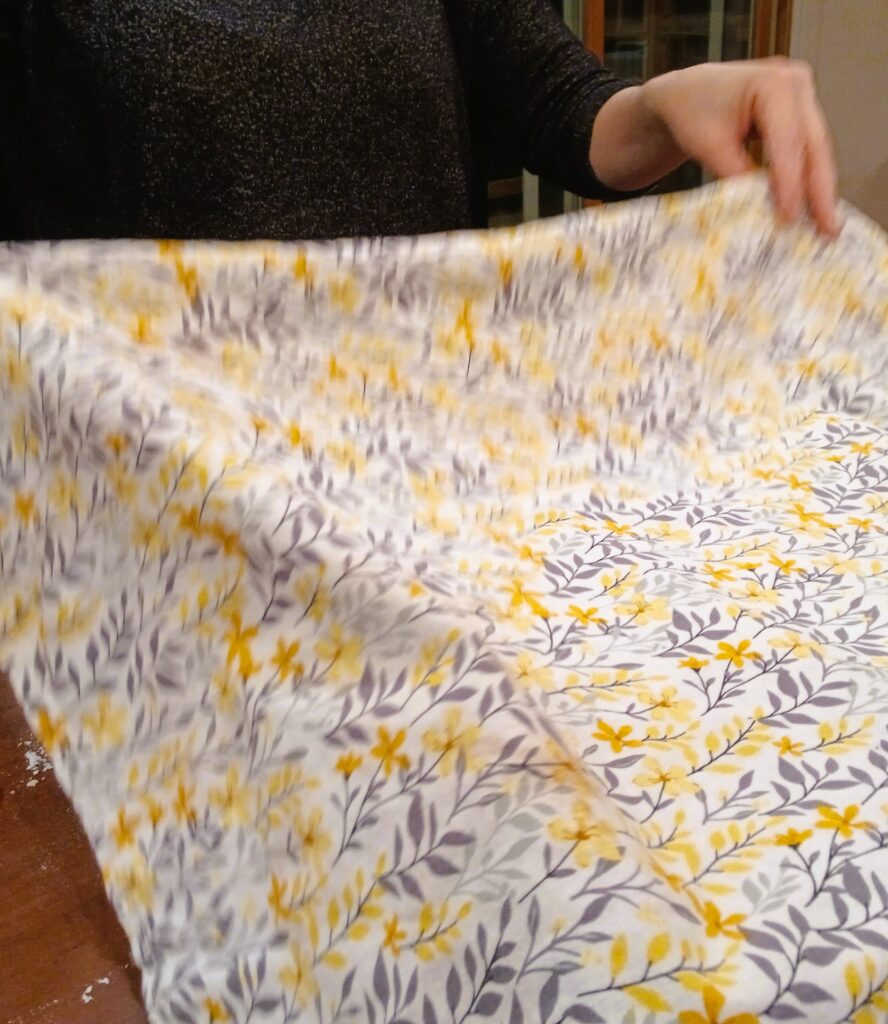
Let the dough sit covered for at least an hour or until it has doubled in size. As with any dough the temperature and humidity in your house will make a difference to the time it takes to rise.
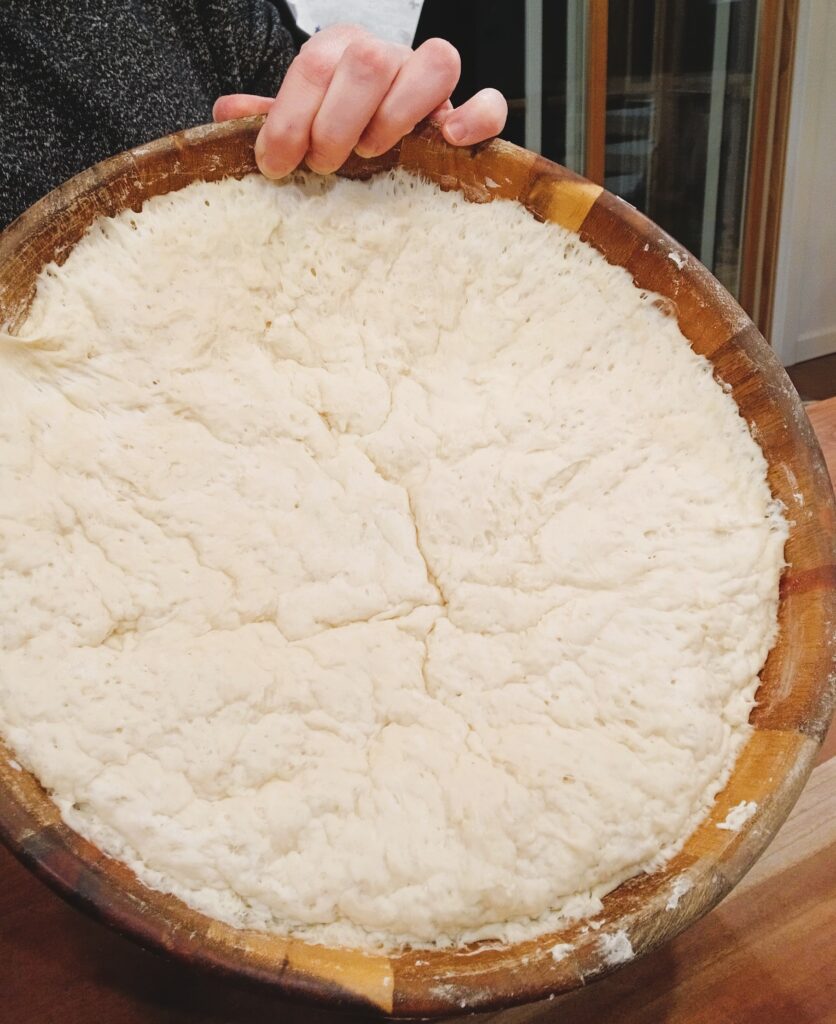
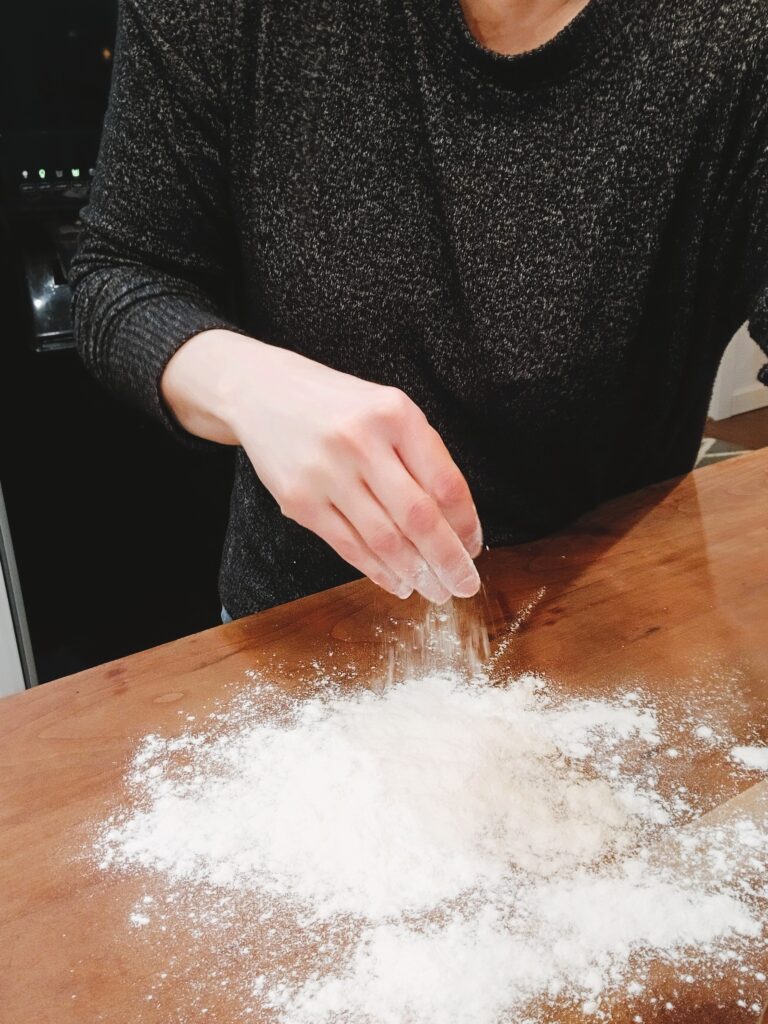
When the dough has doubled in size, punch it down and put it out on a well floured surface.
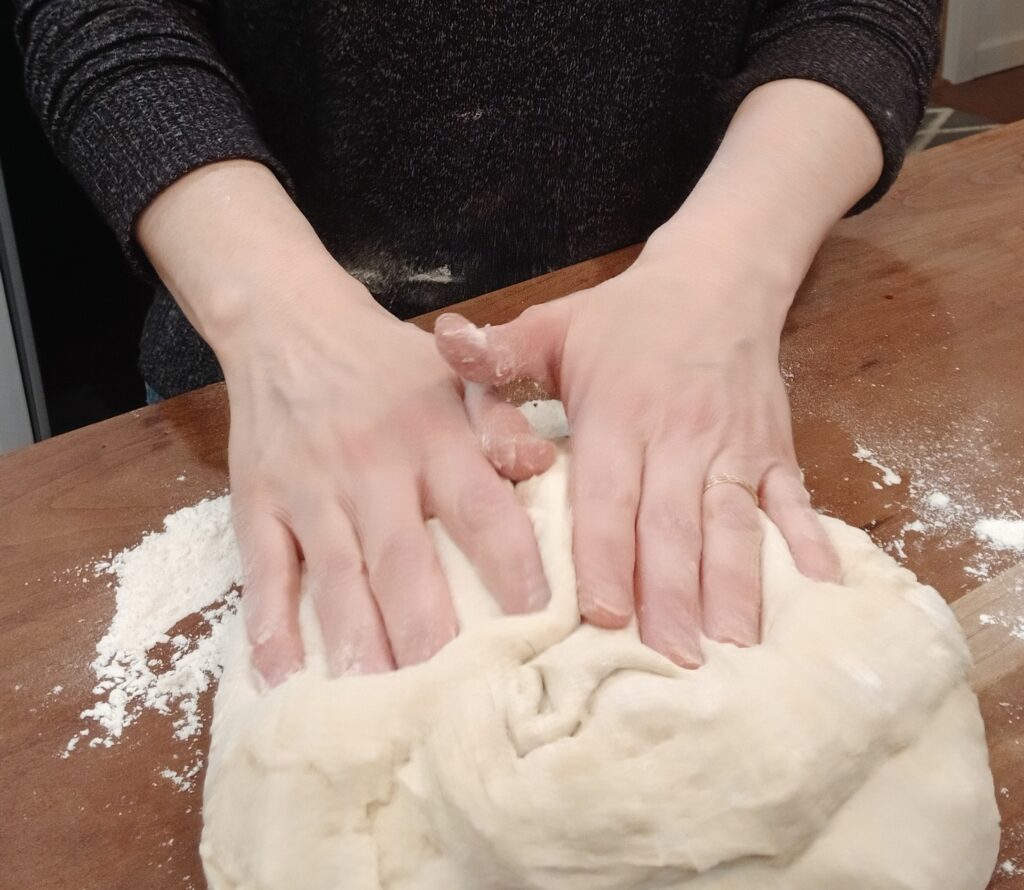
Now it time to knead. This is a great time to work out any frustration you have.
If you don’t know how to knead dough, you are really just working it around like you would if you were playing with playdough. Pull at it slightly (without tearing) and tuck it back into itself while also pressing down. I feel like this is a confusing description, so if all else fails just watch a You tube video to get a good technique.
I have discovered with this dough, that the more I knead, the better it is. Once I forgot to knead the dough and my loaf had a big hole in it when I went to cut it. Kneading it helps to get rid of the air bubbles in the dough.
Not sure why it looks like I am digging into the dough here. Anyway, moving on.
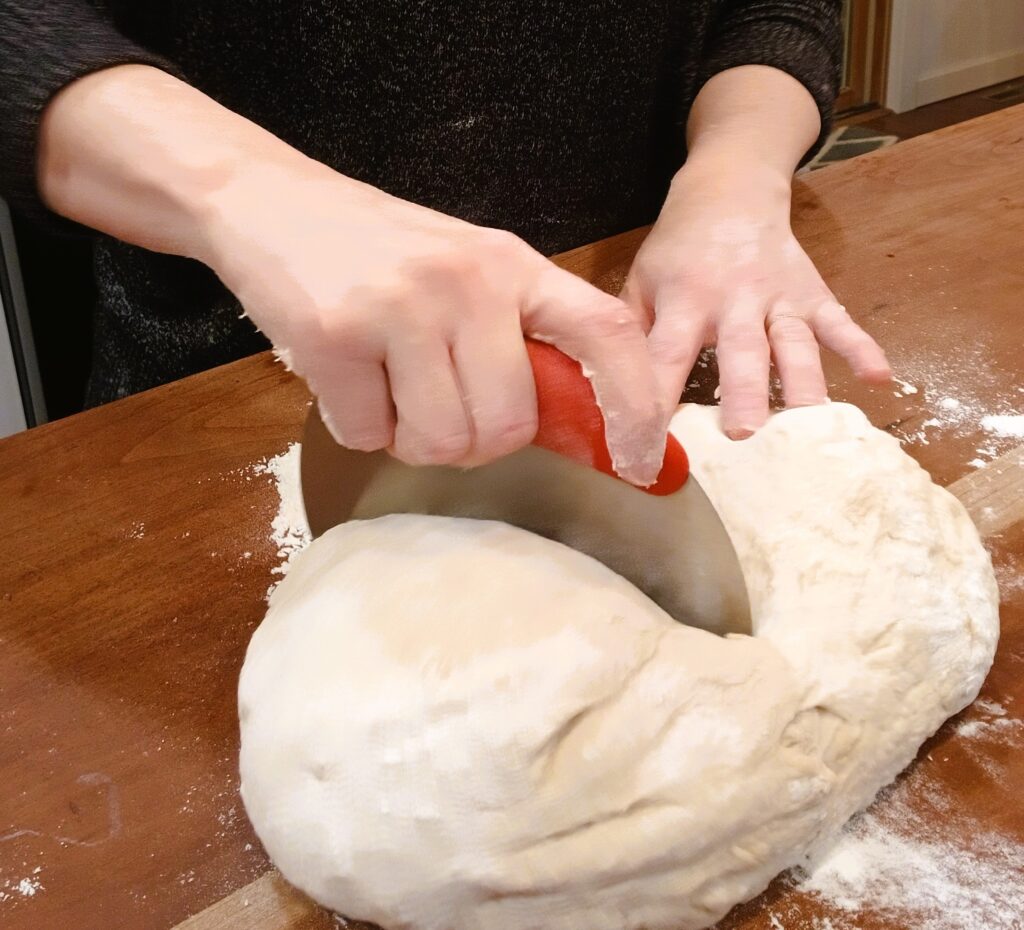
Once the dough is kneading, form into a ball and then cut in half.
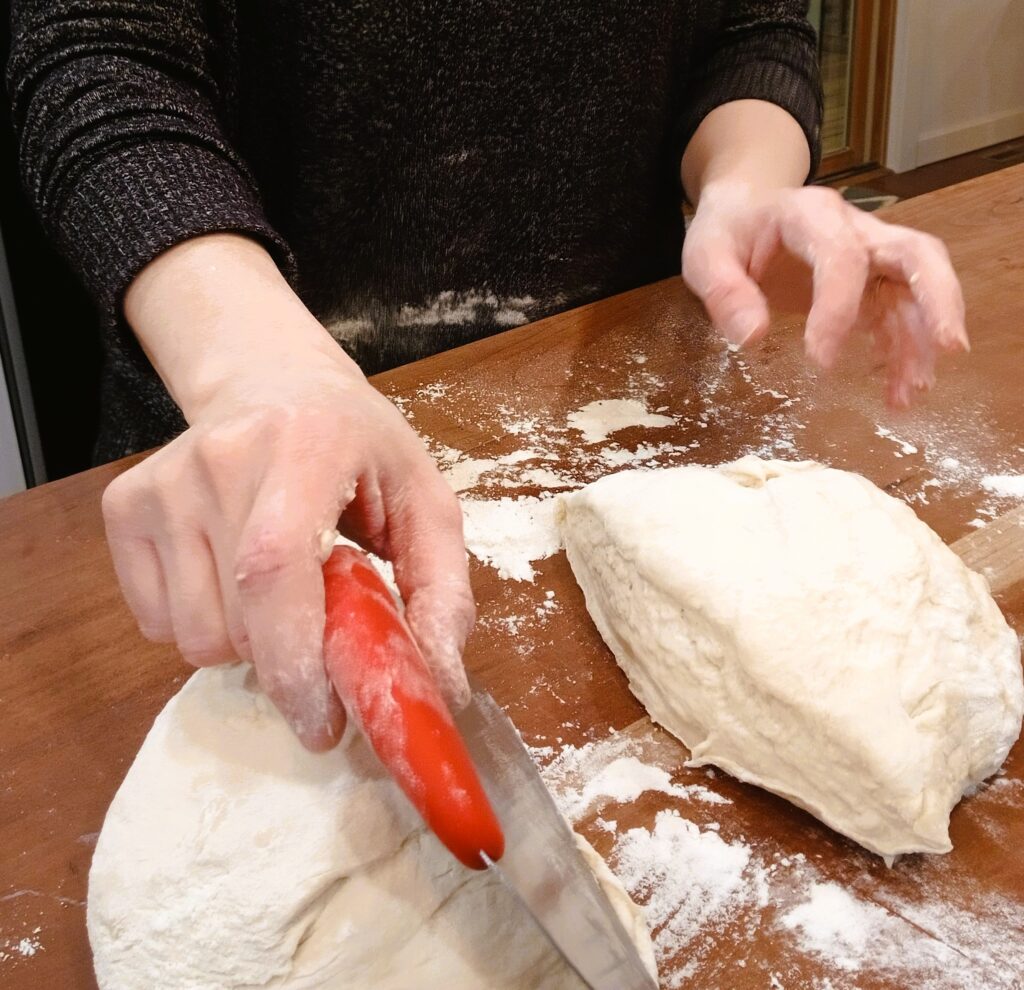
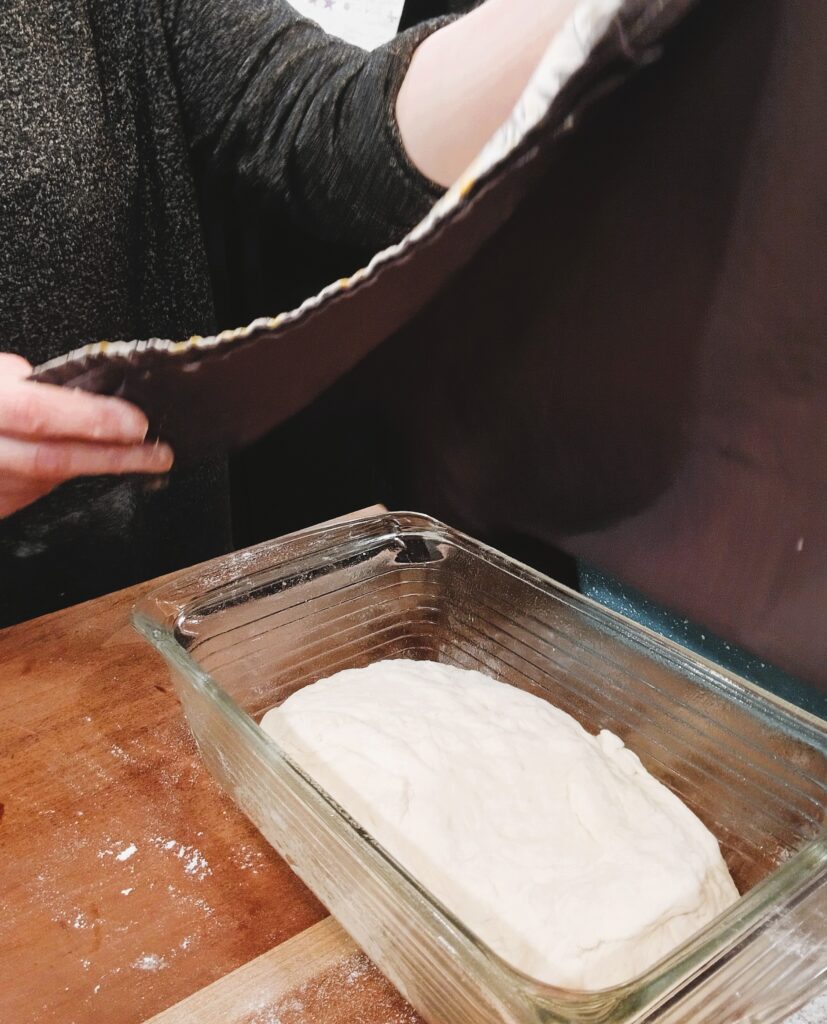
Take each half and form into a loaf shape and put into two greased loaf pans.

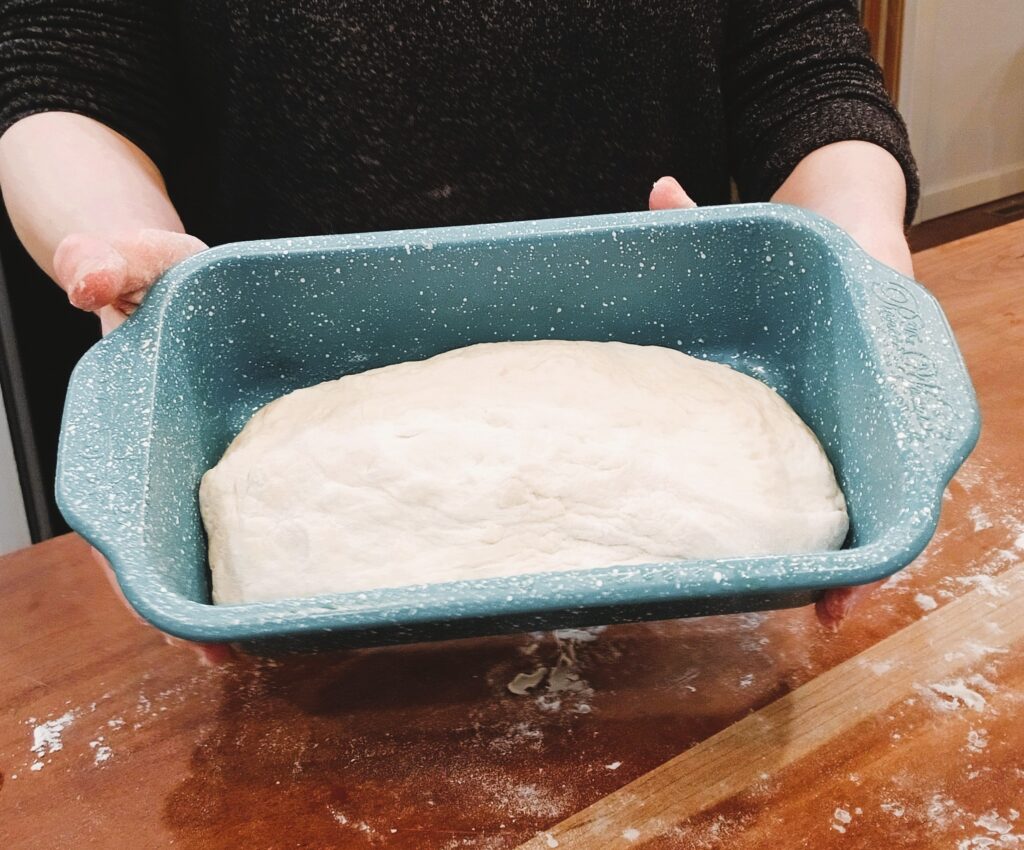
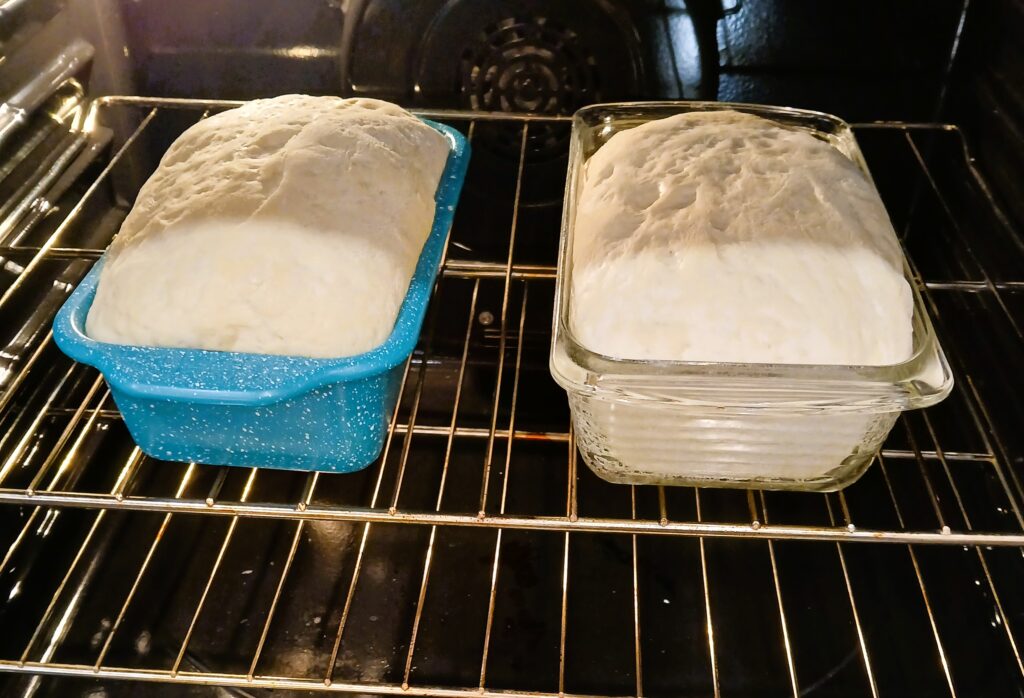
Cover again with a towel and let the dough rise in the loaf pans for 20-30 minutes.
Bake in the oven at 375 degrees for 25-30 minutes until golden brown.
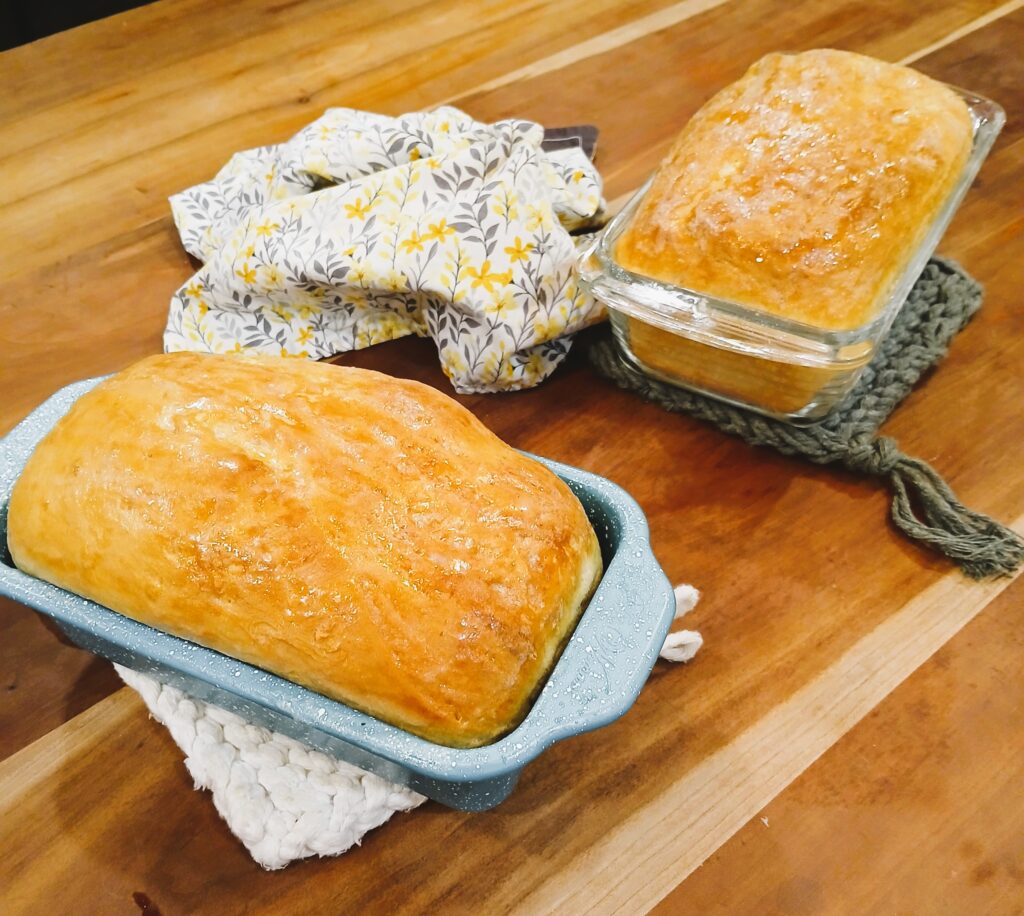
When the dough comes out of the oven brush with melted butter or you can do what I do and rub with a stick of butter.
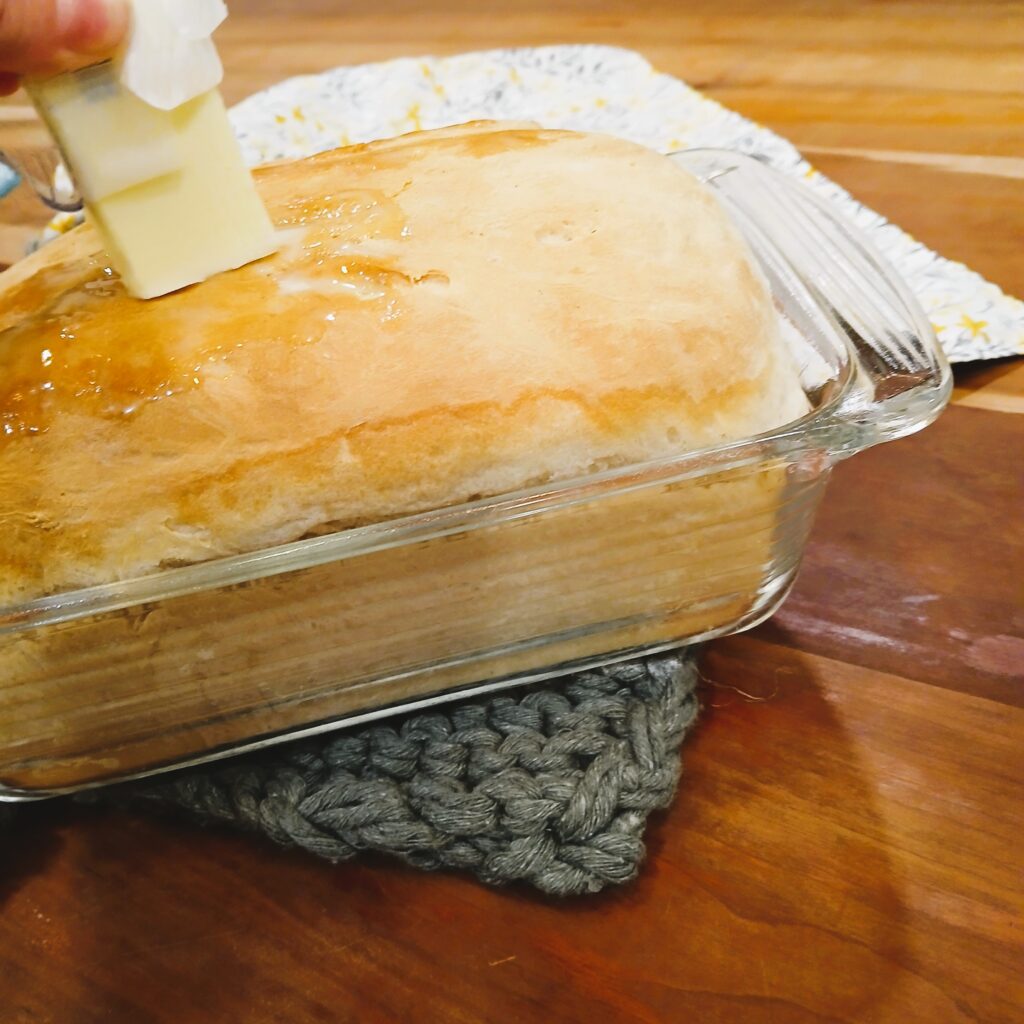
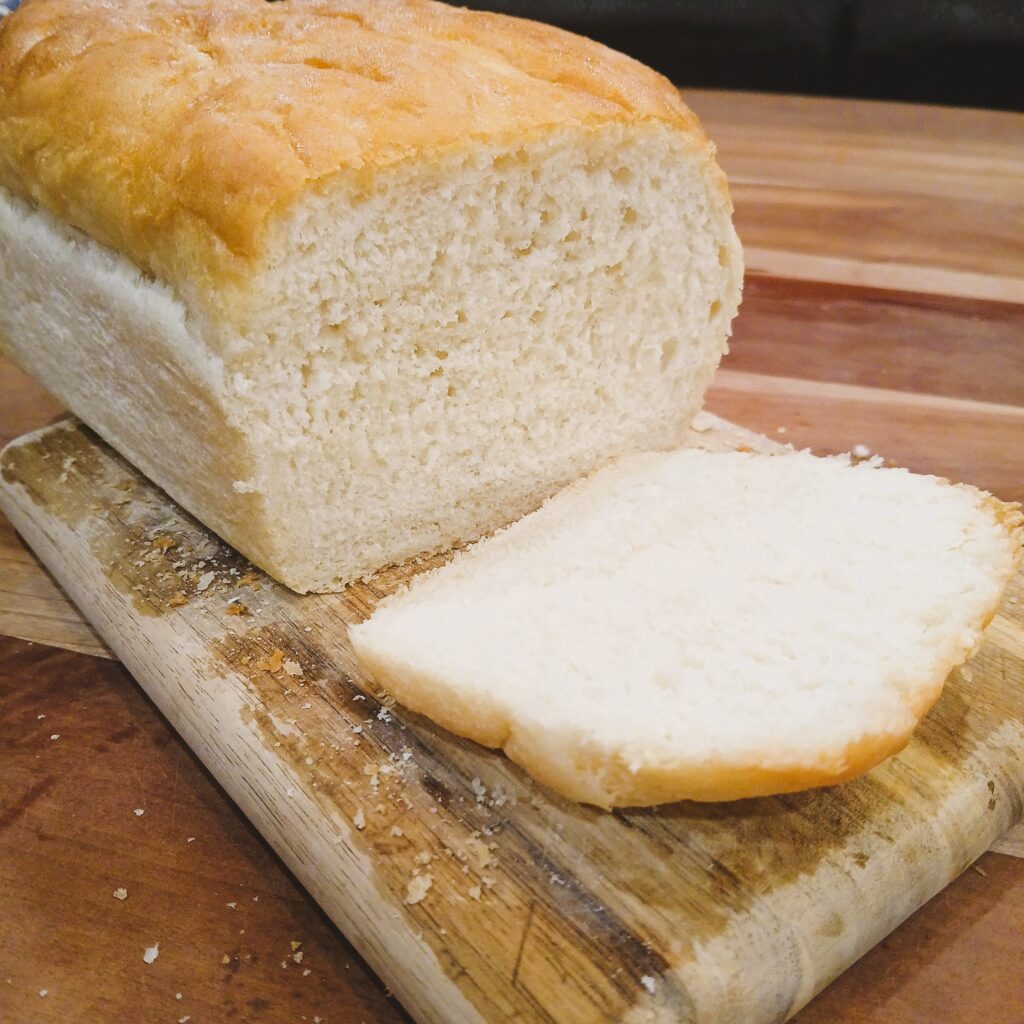
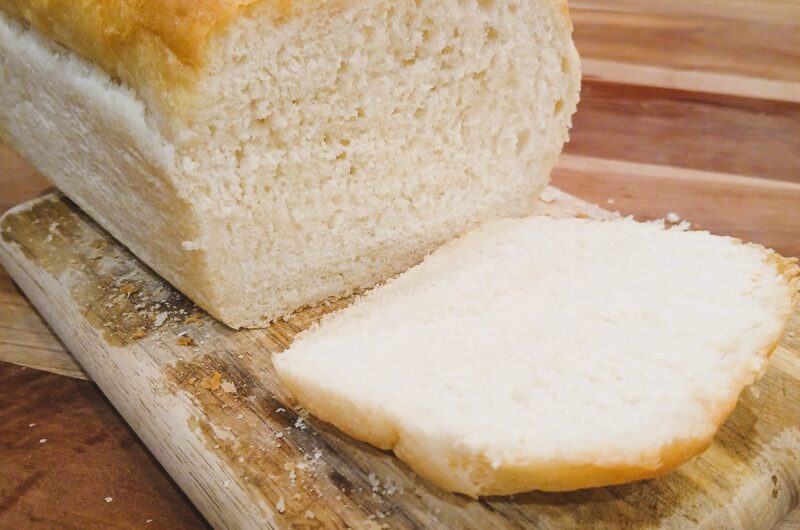
Once the bread has cooled, you can slice with a bread knife. You don’t necessarily have to wait until it has cooled. You can slice it warm. Nothing beats warm fresh bread with a little butter.
Tips on storing your bread
As I mentioned earlier, making bread at home means you are forgoing all the preservatives and additives, which means you will be battling moldy and stale bread. Which again, is a good thing, just a little inconvenient. My bread usually starts getting moldy between five and seven days in the pantry.
Here are a few things you can do that might help:
Slice up all the bread and store in a freezer bag. Then take out only what you think you might eat within a couple days. Once I take out our bread from the freezer, I store it in a plastic bag in the pantry. I am currently working on trying out cotton or linen bread bags to see how they store bread.
If your bread goes stale, you can toast it in the toaster or you could slice it into small pieces and bake in the oven to make your own croutons.
These are just a few things that I have found helpful. I’m sure there are a lot of other tips and tricks for storing and using white bread.
I hope you found this post helpful and give this recipe a try. It’s a great recipe to start making your own sandwich bread. Enjoy!
The Best White Sandwich Bread
Course: BakingDifficulty: Easy12-16
servings1
minute25
minutesIngredients
2 1/2 Cups Warm Water
1/4 Cup Sugar
2 Tbsp yeast (Active Dry)
2Tbsp Oil
2 Tsp Salt
5 Cups of Flour
Directions
- Proof water, sugar, oil and yeast for 5 minutes.
- Add, salt and flour. Mix until well combined
- Let rise for 1 hour or until doubled in size.
- Punch down dough and pour out onto a well-floured surface. Knead the dough, cut in half and shape each half into a bread loaf.
- Place the dough into greased bread pans and let rise for about 10-20 minutes.
- Bake dough in oven at 375 degrees for 25-30 minutes until golden.
- When the loaves come out of the oven you can add melted butter to the tops.
- Makes 2 regular size sandwich loaves.