This is by far my favorite bread to make. It is so easy, yet feels so fancy. I’m all about fancy bread.
Baking bread is one of those odd things that don’t quite make sense. Most bread recipes, like this one, are very easy. I have found in my short amount of time baking that bread recipes are also pretty forgiving in most cases. I’m getting to the point where I don’t measure perfectly anymore and it still turns out great each time. However, bread making is incredibly intimidating for most people, myself included. And, once you make one loaf of bread, you will feel like you can do anything. It’s odd. I forgot to mention that it is also addicting, so be prepared that once you make this bread, you won’t want to stop.
What you will need:
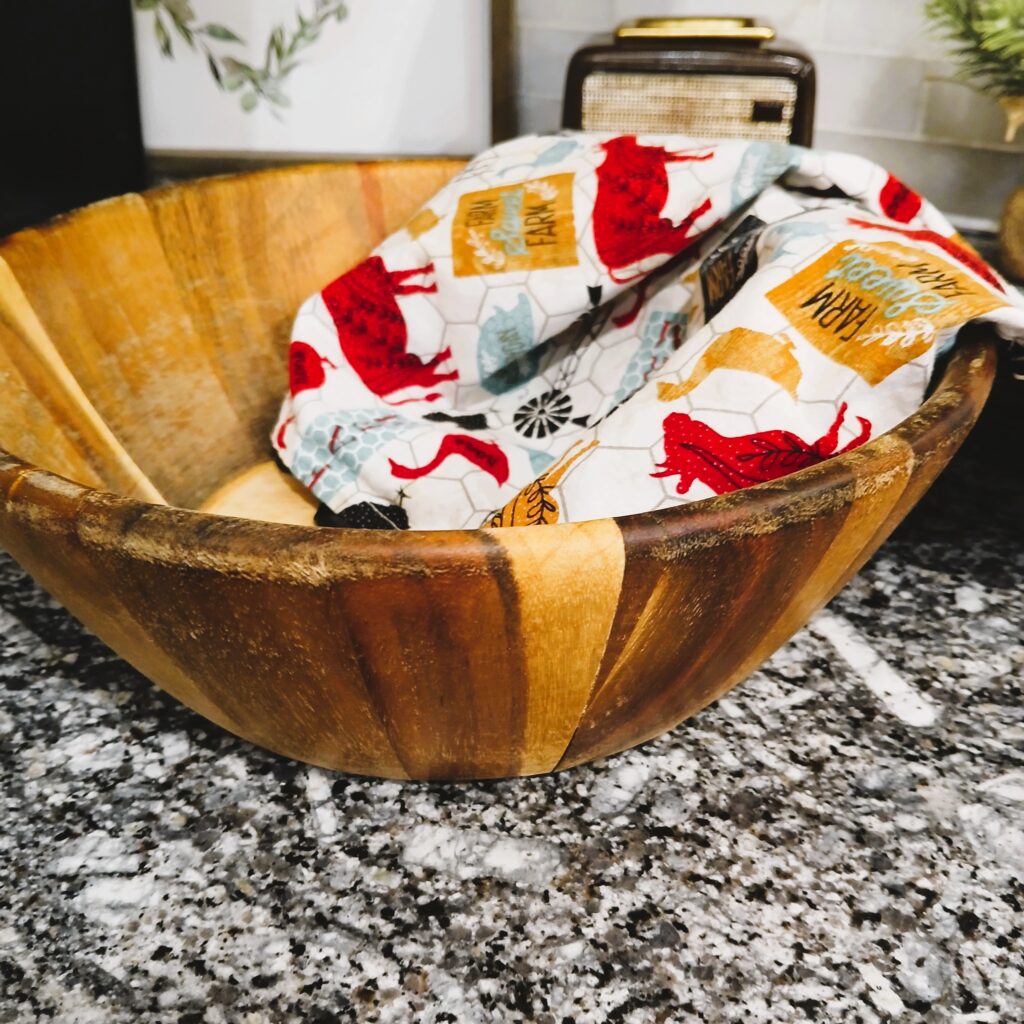
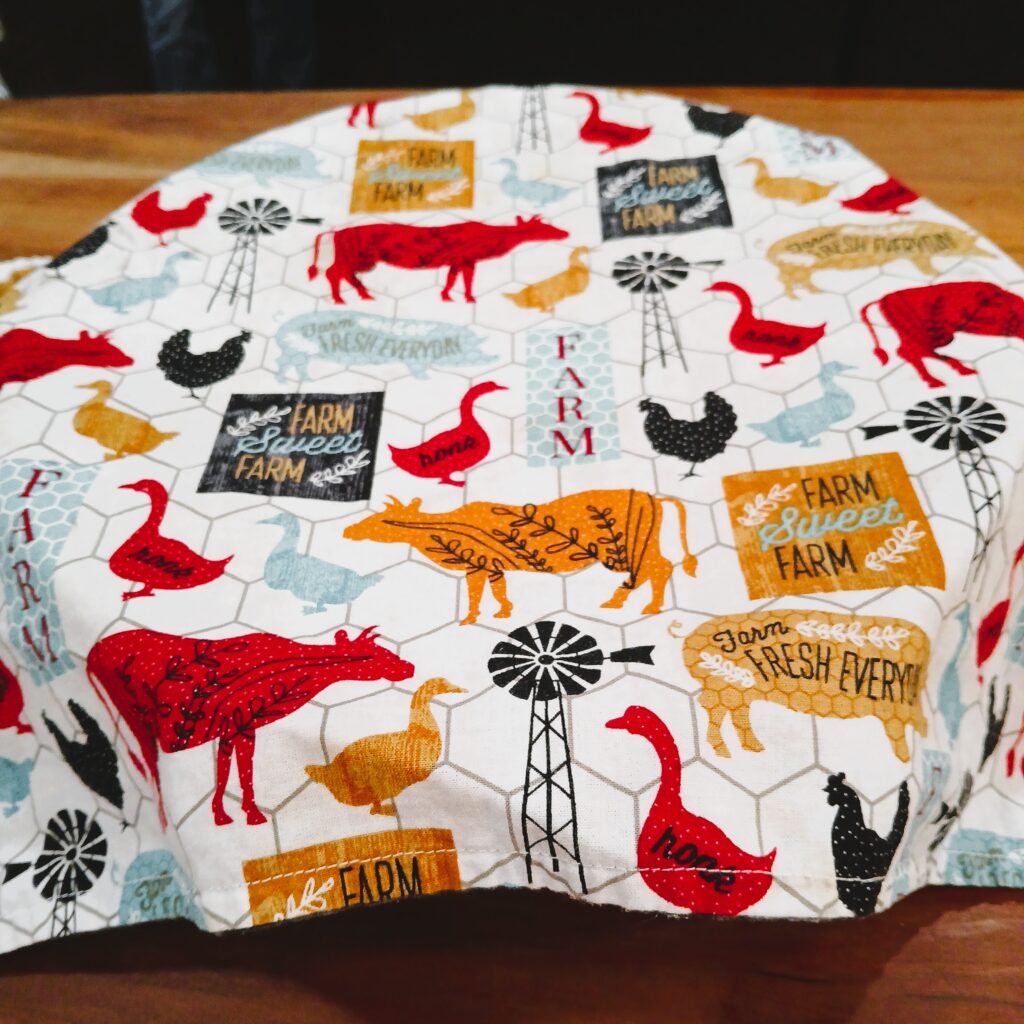
My go to tools for bread making are a wooden bowl, wooden spoon and a large tea towel.
I don’t know if it’s true, but I have always heard that dough is better in a wooden bowl. My mother in law gifted me this one one year for Christmas and it is my go to bowl for breadmaking. I actually need another one. I use a wooden spoon because, well, I use a wooden bowl so it makes sense to me. I’ve never tried a dough whisk, but I’m sure they work well too.
I’ve started making my own tea towels. I love this one, the print is perfect and the size is large enough that it gives a nice cover over this bowl. It’s cotton too which helps the air flow. You will want some kind of towel to cover the dough. I have even used a t-shirt in the past. It doesn’t have to be fancy.
I think a lot of times, we hesitate to start doing something because we think we have to have all the “right” tools. Usually the “right” tools means spending money. That doesn’t have to be the case, use what you have. I promise you will be proud of the outcome. Case in point, I have been lusting over a Kitchen aid stand mixer for years and have used the fact that I don’t have one as an excuse to not make certain recipes. Now that I have started making things without one, I am to the point now that I don’t think they are all that necessary. I won’t be spending my money on one of those anytime soon.
Okay, Let’s get started!!!
Disclaimer: This is not my recipe, you can find the original recipe here.
Here is what you will need:
-
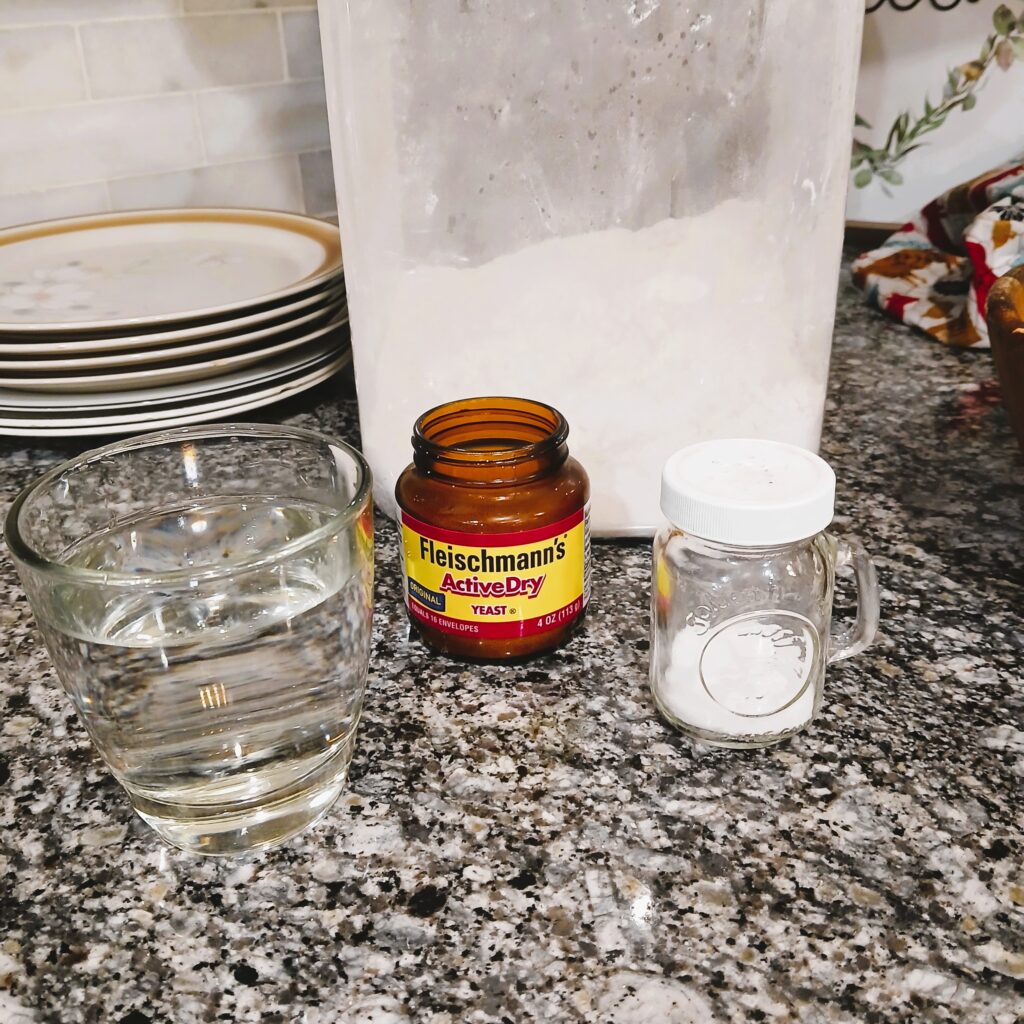
- 3 Cups of Flour
-
- 1 Teaspoon of Salt
-
- 1/2 Teaspoon of Active Dry Yeast (You can use Instant Yeast if you prefer). If you are using a packet of yeast, you will only use a small amount out of the packet, so you can clip the packet closed with a paper clip and store the rest for later.
-
- 1 1/2 Cups of Warm Water
That’s it. Only four ingredients.
If you are using Active Dry Yeast, the first thing you need to do is proof it. To do that add the yeast to your warm water and stir. Set aside while you mix up the rest of the ingredients.
Now you will add 3 cups of flour to your bowl.
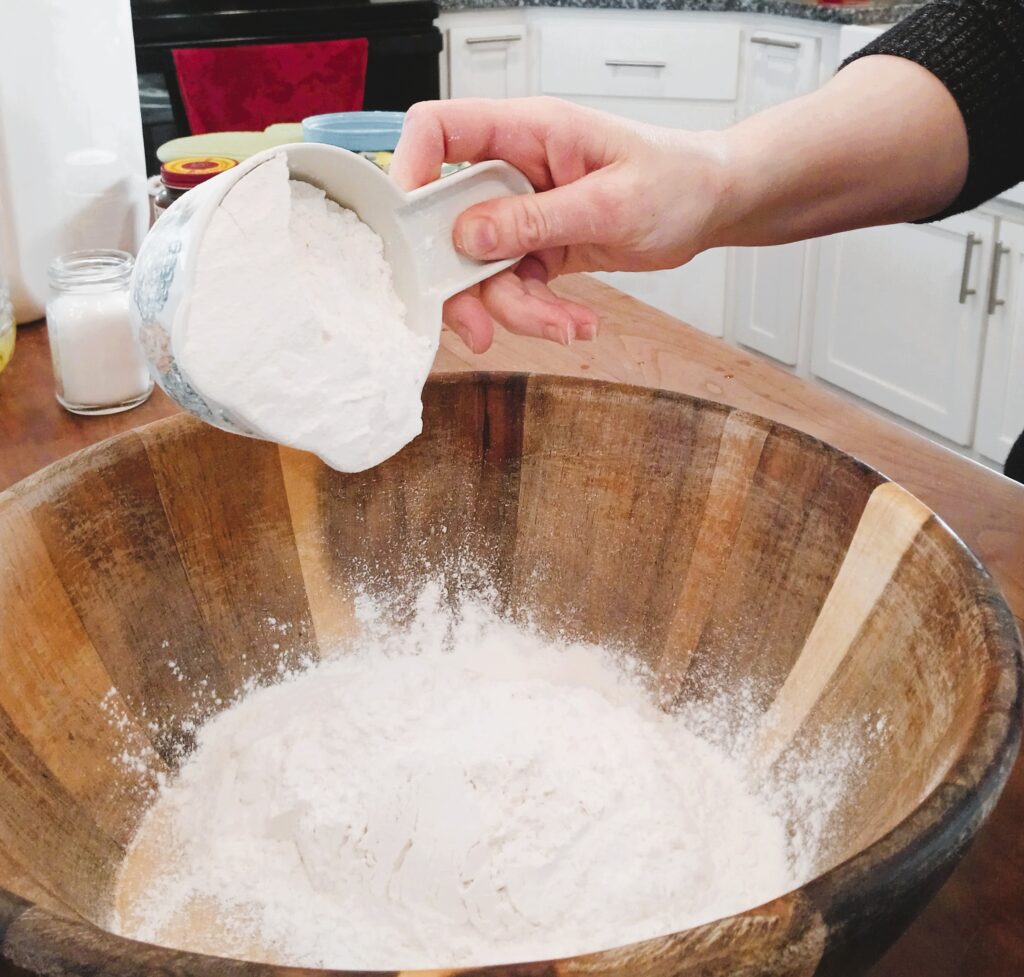
Then 1 teaspoon of salt.
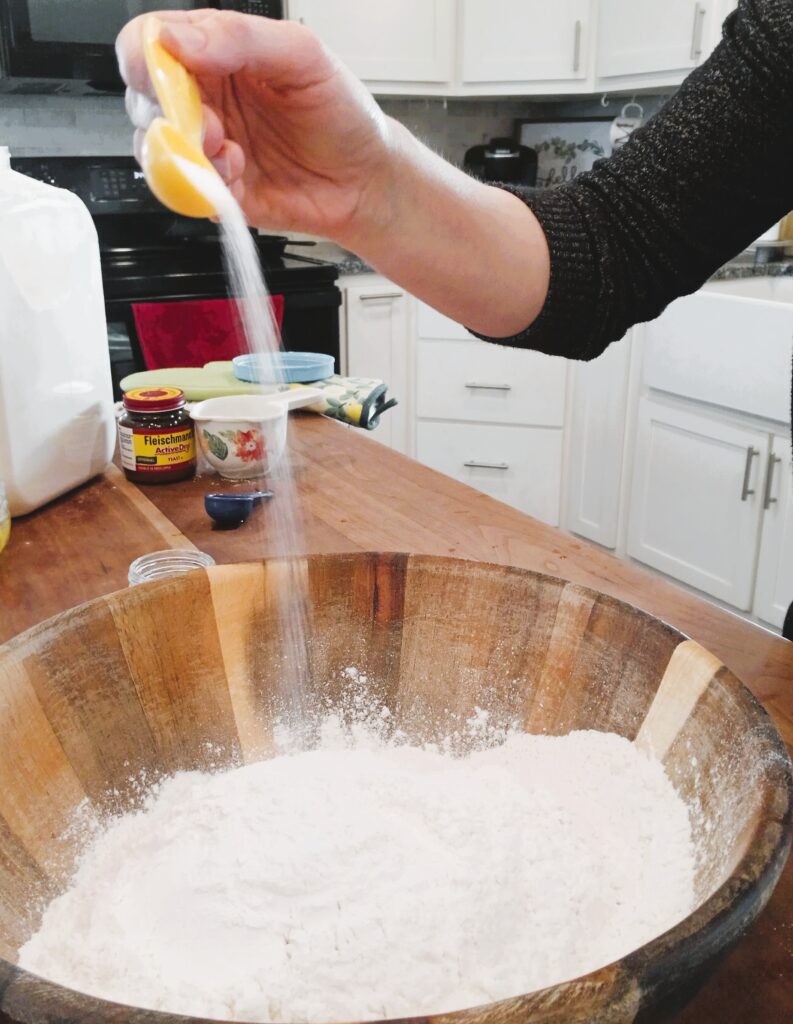
Mix that together. If you are using Instant yeast, you can add that now.

If you are using Active Dry Yeast, add the yeast water to your dough, and stir together.
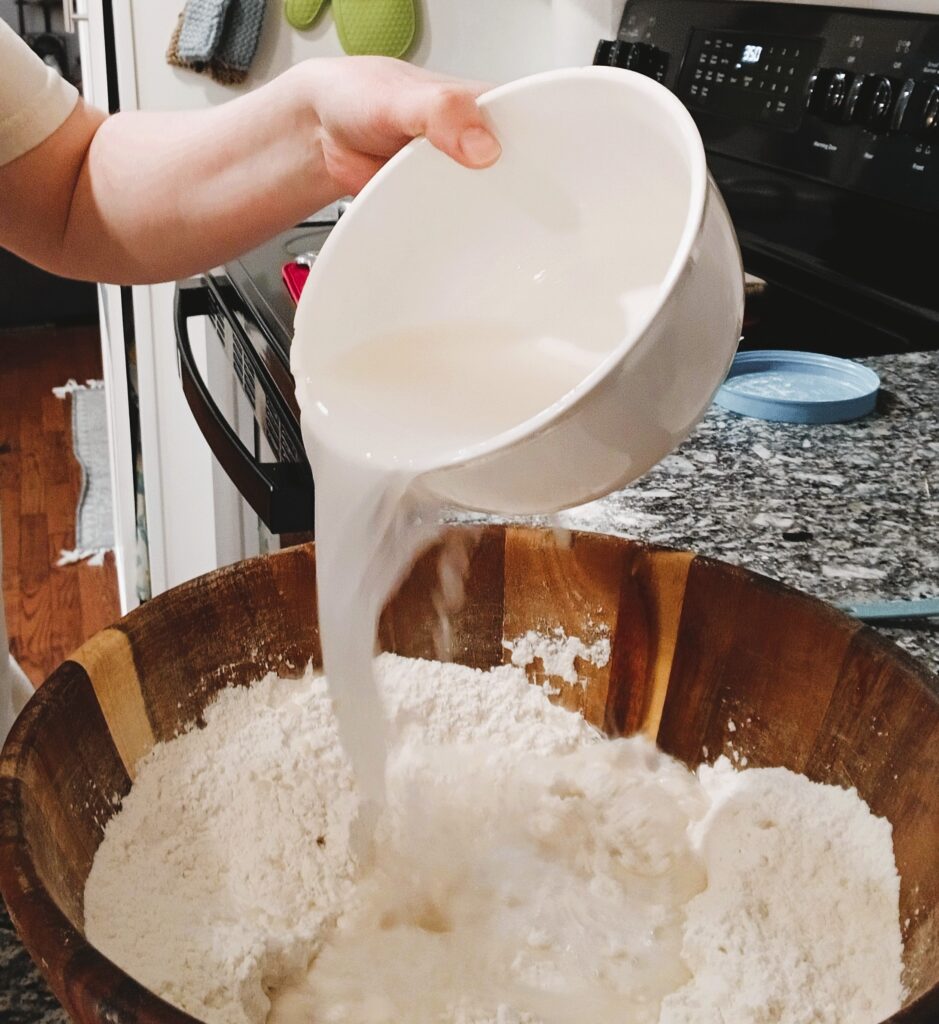

Stir until it all comes together. I think this is the scariest part of making bread. This part was my biggest fear with making bread. How to know what the dough should look like. If it’s too wet, it will be very sticky and may not bake all the way through. If it’s too dry, it will be crumbly and fall apart.
My best advice is that it should be pliable, meaning you should be able to work with it and shape it.
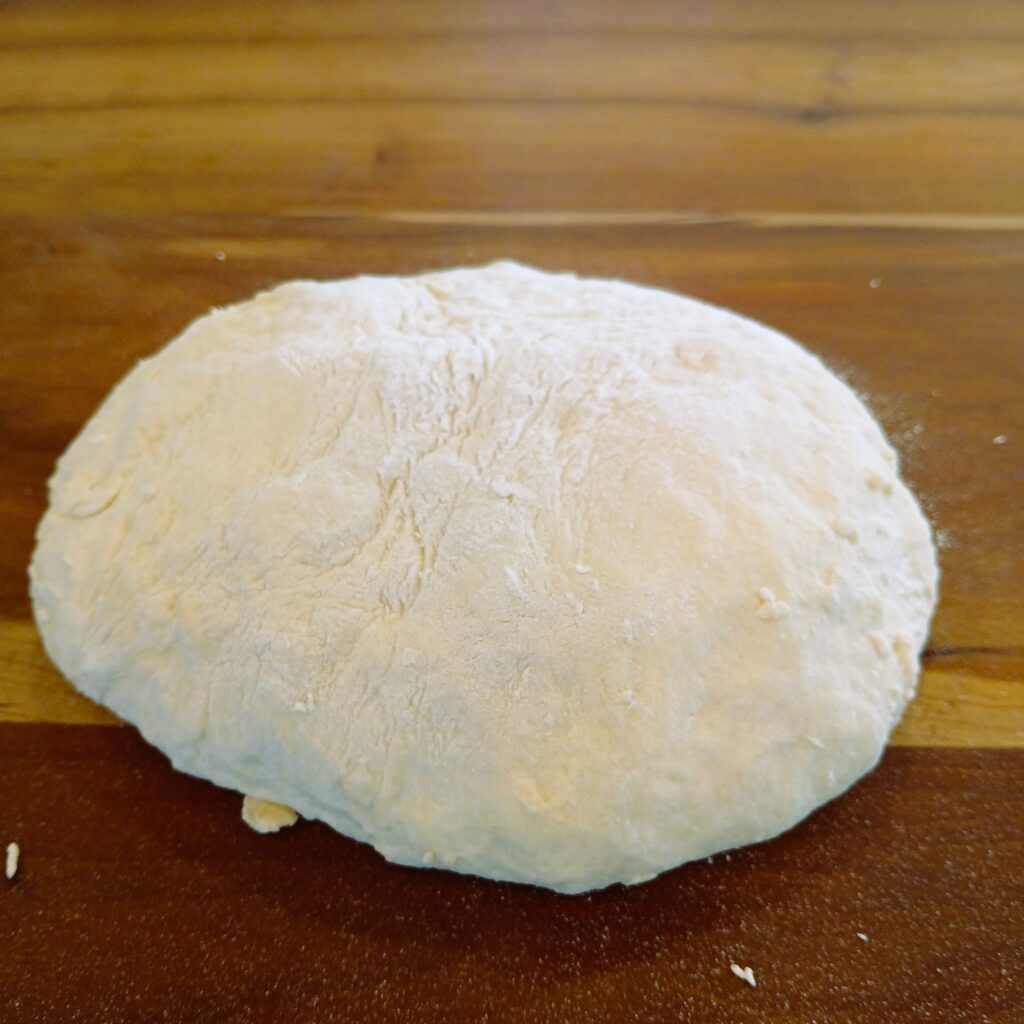
After I have everything combined, I will usually put flour on my hands and work the dough around a little with my hands. Just turning the dough and getting it into a ball shape in the bowl.
It’s ok for this dough to be a little more sticky than regular bread dough.
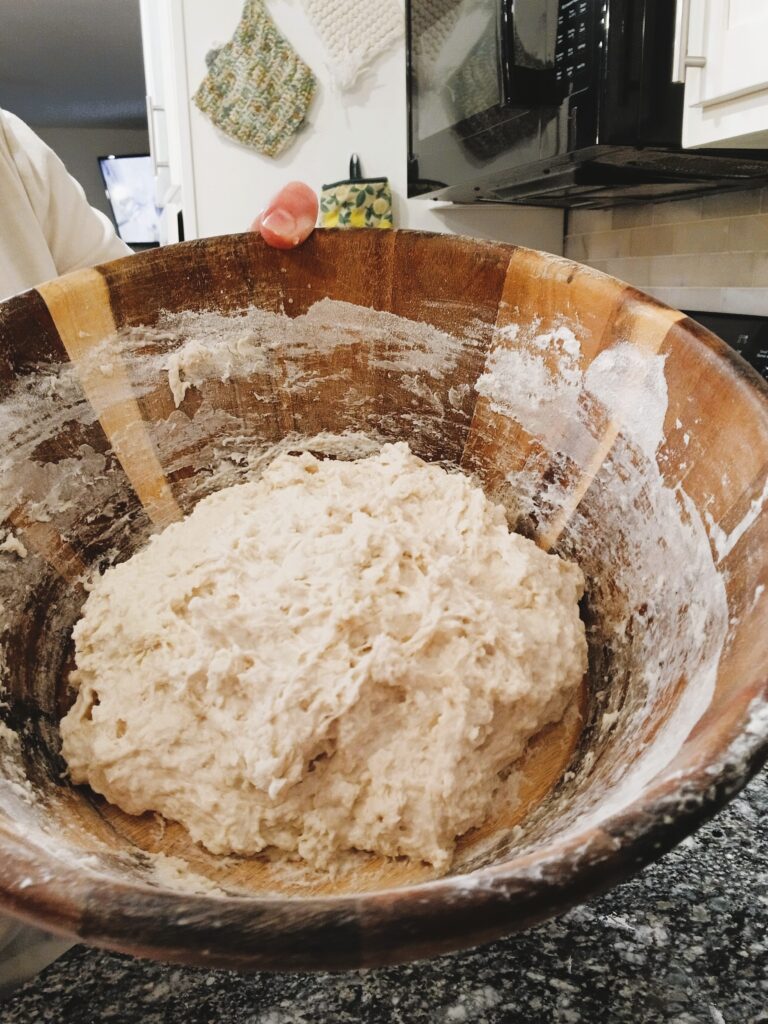
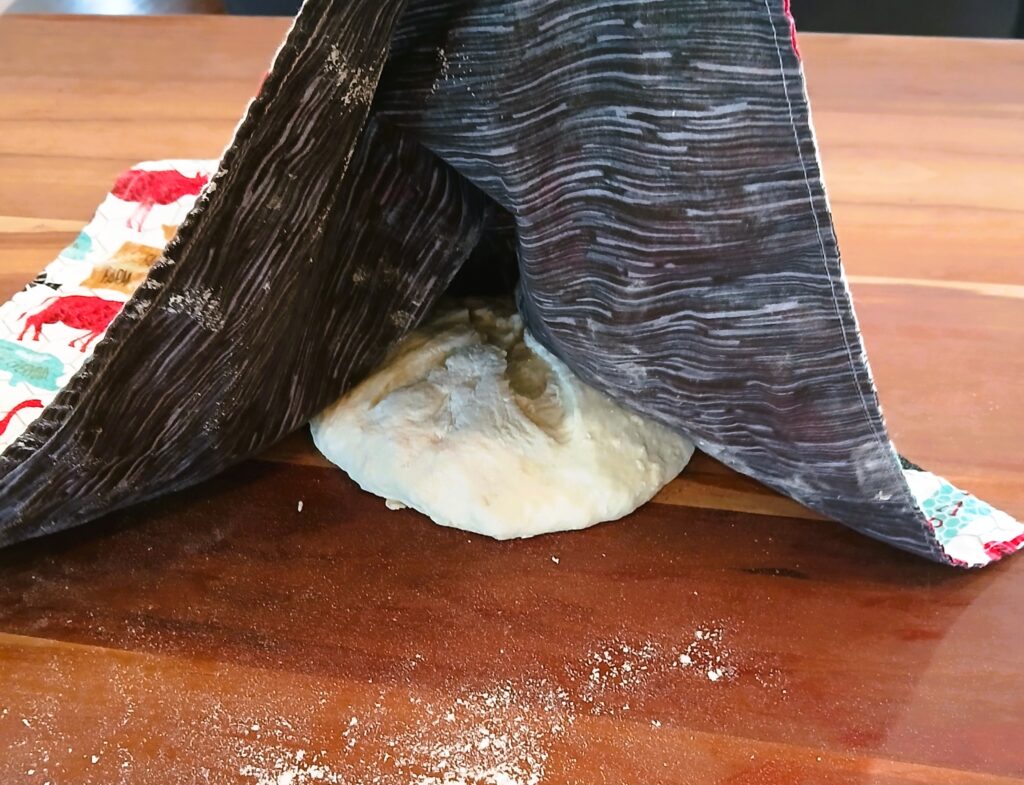
Once the dough looks good, it’s time to cover with your favorite cute towel and let her sit.
The recipe calls for sitting the dough at room temperature for 8-24 hours. I almost always make this dough at night and let it sit on the counter overnight.
I have found that the longer it sits and naturally ferments, it gets a stronger flavor and reminds me a little bit like sourdough.
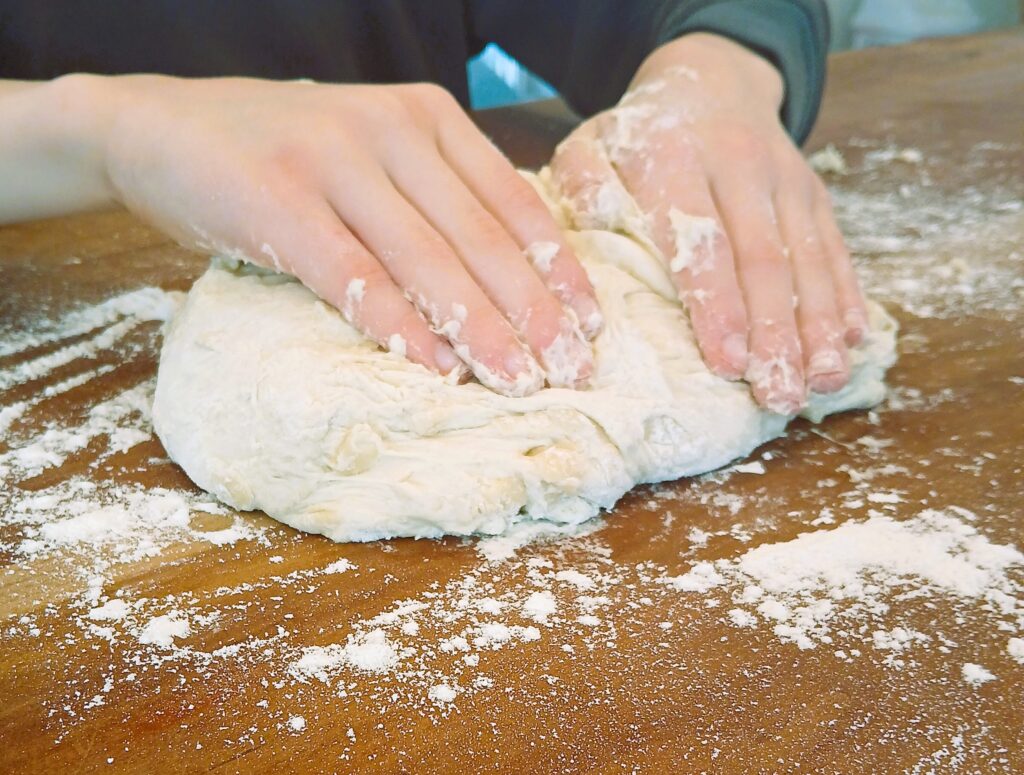
Now comes the fun part. Kneading the dough.
The recipe doesn’t actually mention kneading, but in my house we knead dough. And by we, I mean the kids.
They thoroughly enjoy working with dough. I don’t think I have ever been able to do this alone. They can sense when I get the dough out. My son is helping me on this day.
What we try to do is pull back one side and fold into the dough and continue this around the dough while making a ball shape.
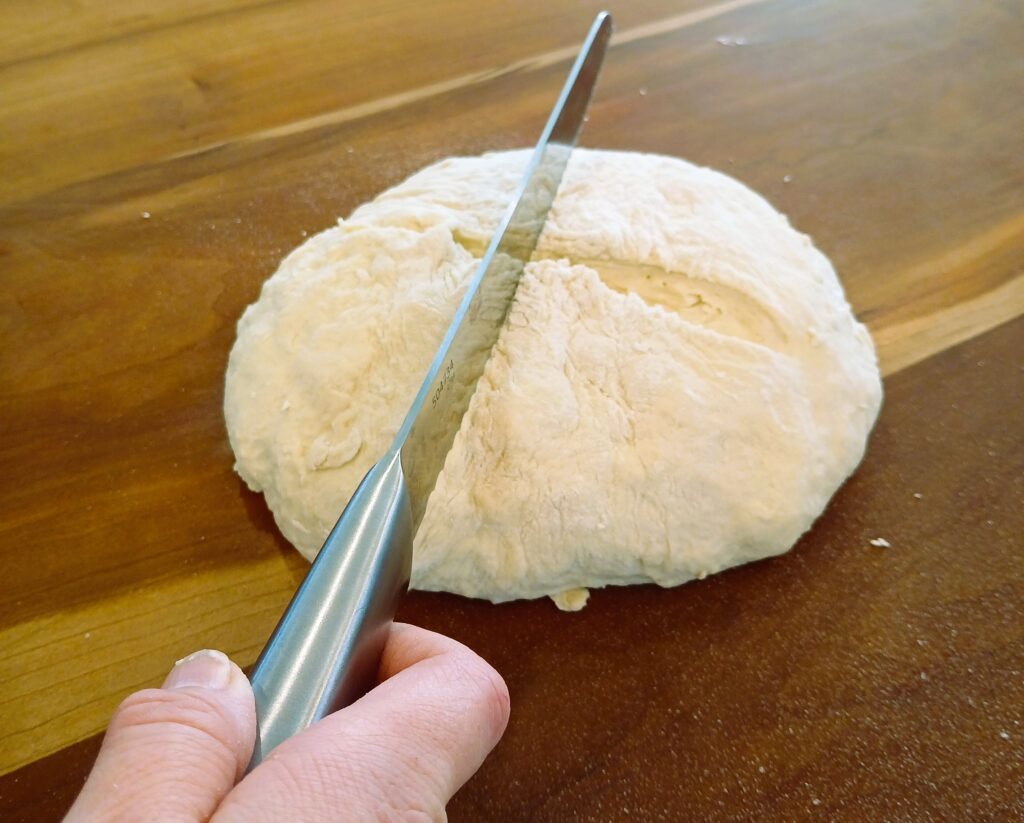
Once you have the dough shaped into a ball, you can use your bread knife or a lame to make an “X” on the dough. I use my bread knife.
It’s time to cover the dough again and let it rest for 30 minutes.
While the dough is resting. Set the oven to 450 degrees.
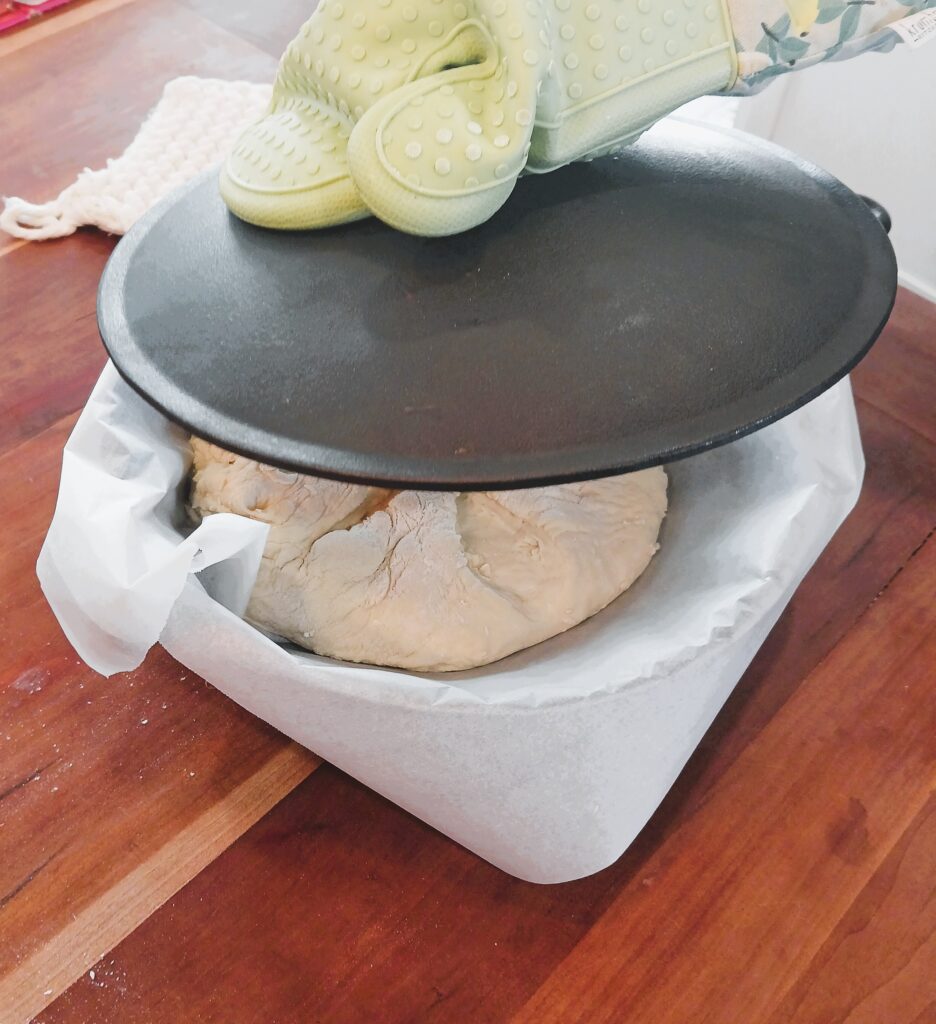
With the oven pre-heating, place the dish you plan to use in the oven.
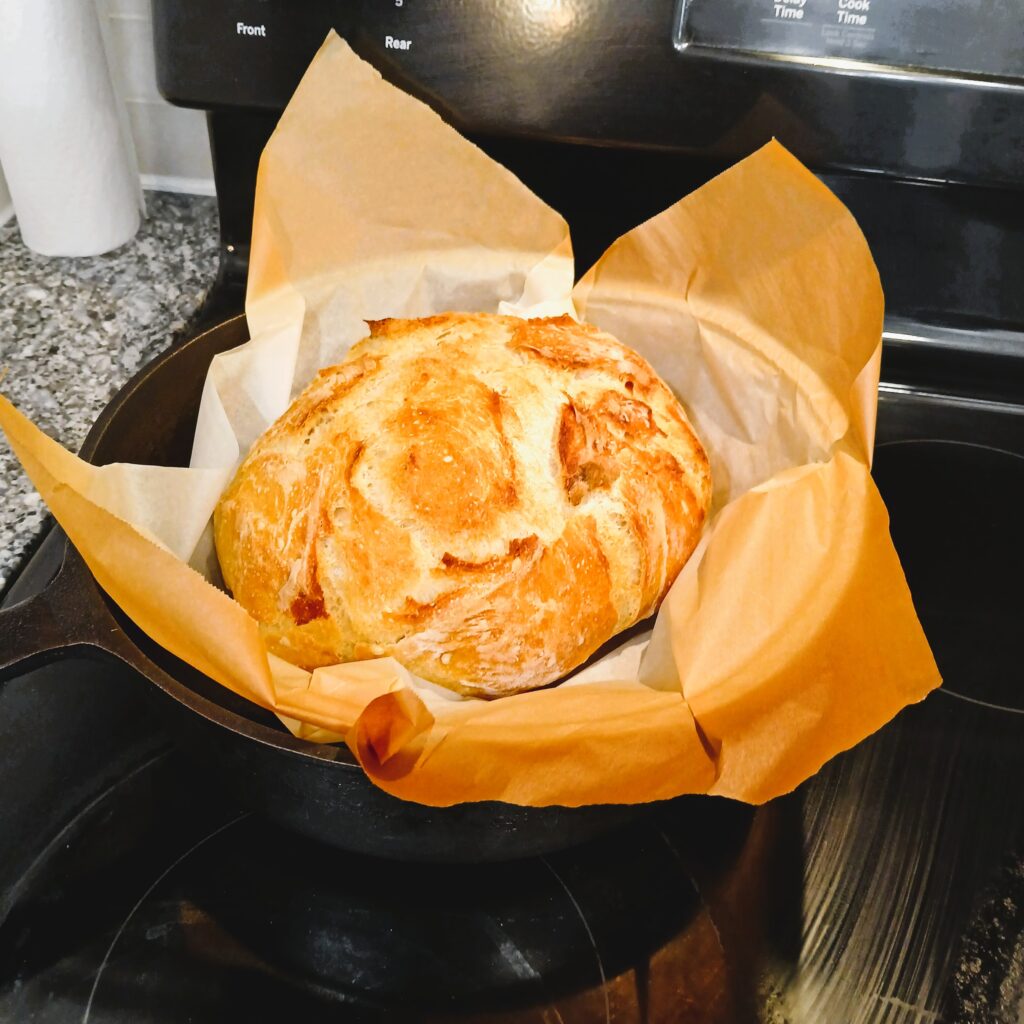
I like to use my cast iron Dutch oven. You can use any oven safe dish you have as long as it has a lid and high sides.
Remember, your pan will be hot so carefully place the dough inside the pan.
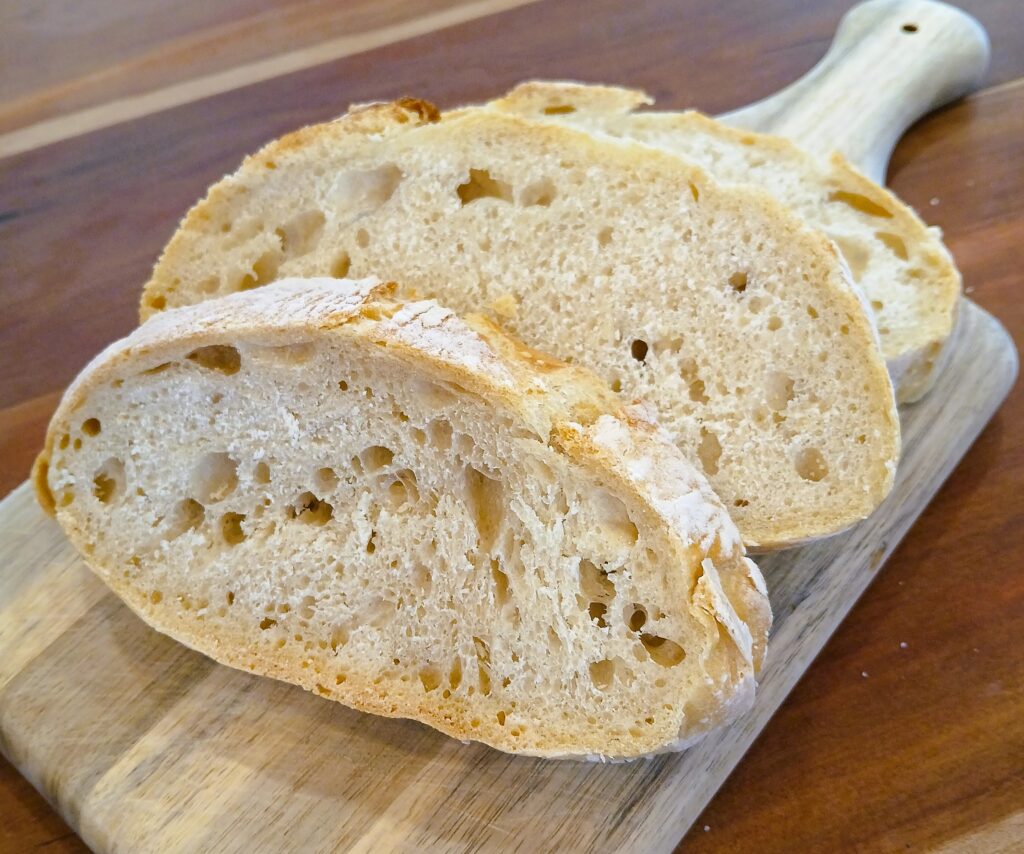
Cover and bake for 30 minutes. Then uncover and bake an additional 10-15 minutes until golden brown.
Let cool, then slice.
There is nothing better than warm bread, so you could spread a little butter on and eat a slice warm or…..
Use for sandwiches or…..
Our current obsession is eating a slice of bread with soup. It’s just so yummy. To make things even easier on myself, I will buy the Bear Creek soup from Walmart and put it in a crock pot to cook all day. It’s perfection. This post is not sponsored by Bear Creek or Walmart, I just really like their soup.
For Special occasions (and the reason I first tried this recipe) I use this bread as a bread bowl for spinach dip. I rarely put spinach dip in any other vessel.

I have come a long way since my post about making this spinach dip.
The artisan bread bowl was the star of our Christmas Charcuterie spread.
Definitely try this for your next gathering to really impress your guests.
I hope you enjoy this recipe.
Thanks for reading!

Artisan Bread Recipe
Ingredients
-
3 Cups of All Purpose Flour
-
1 Teaspoon Salt
-
½ Teaspoon Active Dry Yeast (You can use Instant Yeast)
-
1 ½ Cups Warm Water
Directions
-
If you are using active dry yeast, first start by proofing the yeast. Simply pour the warm water into a bowl or measuring cup and add the yeast, let it sit while you get the dry ingredients. (If you are using Instant Yeast, you can add the yeast in with the flour and salt)
-
In a separate bowl, combine the flour and salt.
-
Add the yeast water to the flour mixture and combine. You want the mixture to be a little sticky, if it is too sticky, just add a small amount of flour. If it’s too dry, add a little water.
-
Let the dough sit at room temperature for 8-24 hours.
-
Place the dough on a well-floured surface and form into a ball. Let it rest for 30 minutes.
-
Pre-heat oven to 450 degrees and place a baking dish with high sides into the oven. I like to use a cast iron Dutch oven, but you can use any oven safe dish ware with high sides with a lid.
-
You can place a piece of parchment paper in the pan after you pull it out of the oven, before you add the dough if you would like. You don’t have to use parchment paper; it just makes it a little easier to get out of the pan once the bread is done.
-
Cut an “x” on the top of your dough and carefully place into the hot baking dish and cover.
-
Bake 30 minutes covered. Then bake another 10-15 minutes uncovered until golden brown.