Affiliate Disclosrue: This post may contain affiliate links. As an Amazon Associate planeview.farm earns from qualifying purchases. This means I may receive a commission if you click on a link and make a purchase, at no extra cost to you. For more information see Terms of Service.
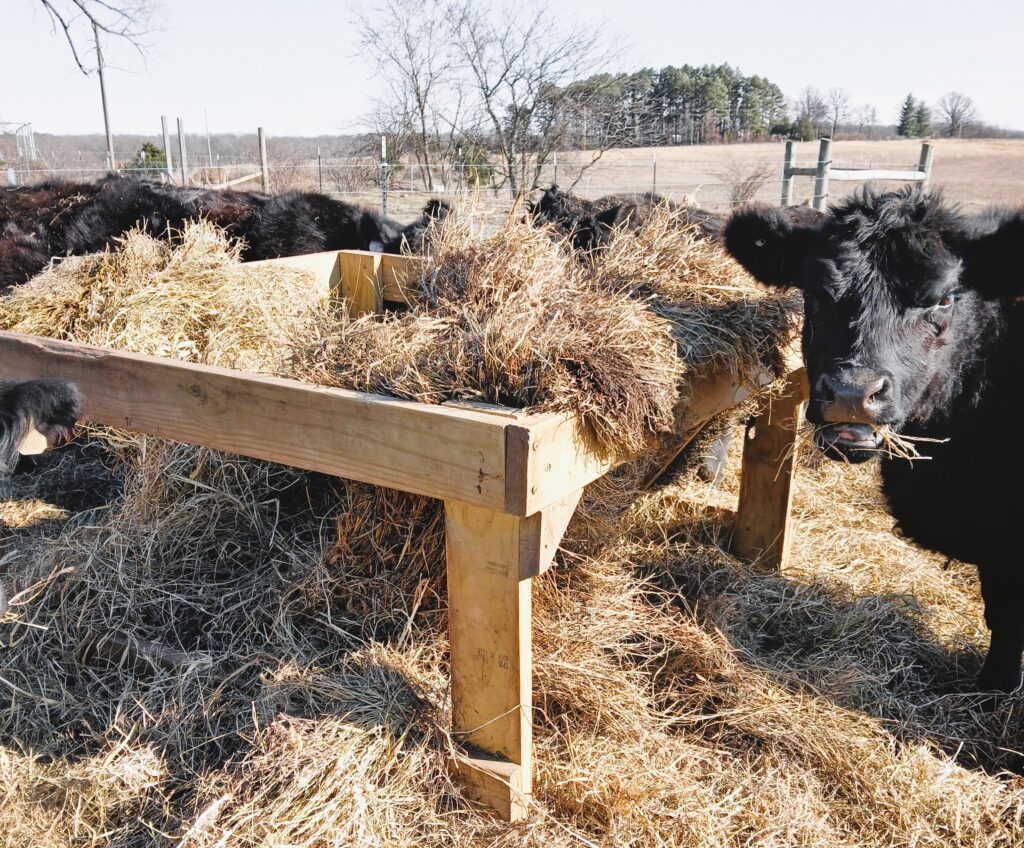
No matter the time of year, chances are you will need to feed your cows hay for various reasons. Building your own round bale feeder can be a game changer! It’s a low-cost way to cut waste, keep feed clean, and make sure your cattle stay healthy. Let’s dive into how to build a DIY round bale feeder so you can save money and feed your cattle efficiently.
Planning Your DIY Round Bale Feeder
Good planning makes all the difference. Here’s what to think about before you start your build.
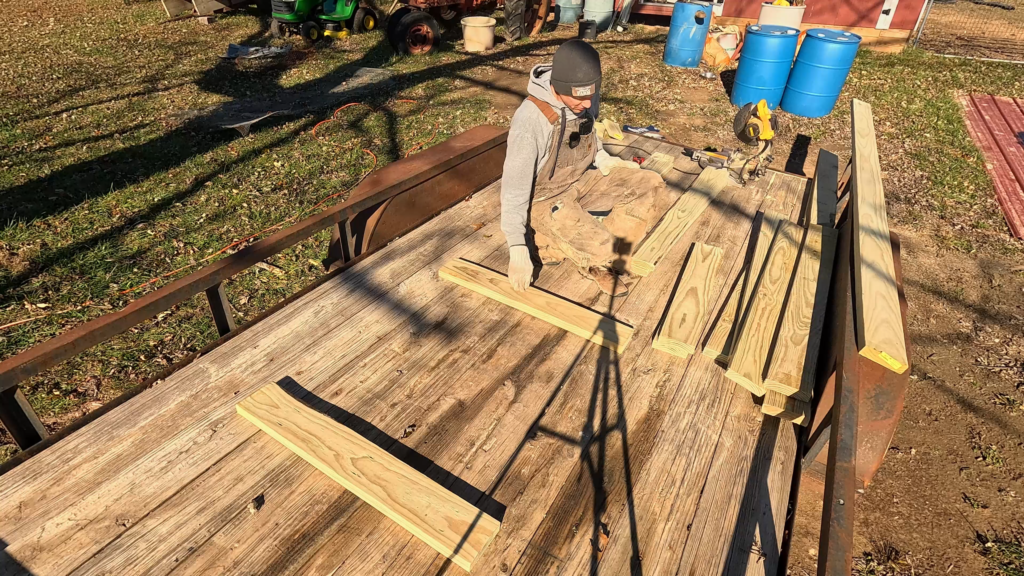
Gathering Materials and Tools
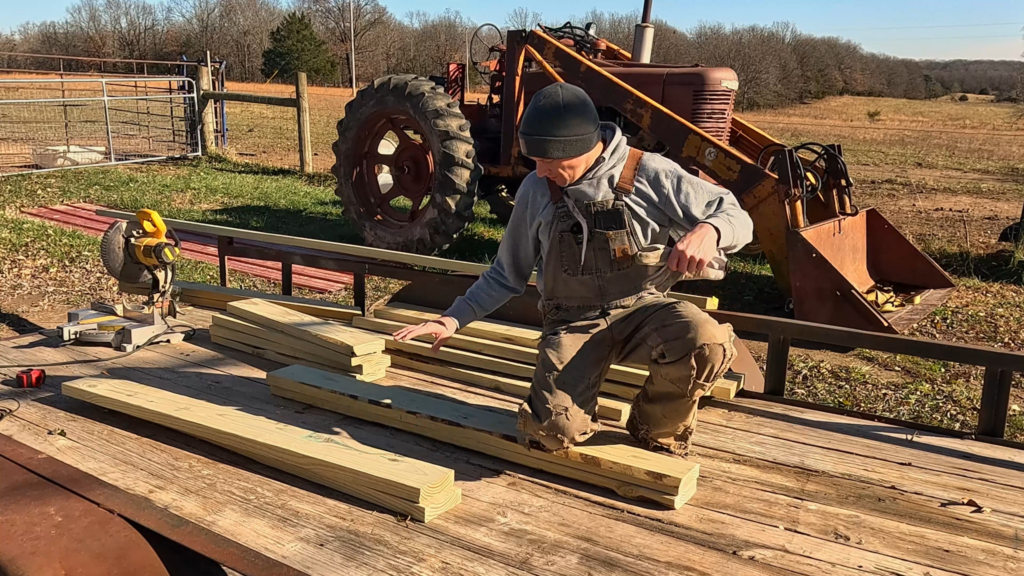

First, you’ll need lumber. 2×6 pressure-treated wood works great. You’ll also need screws, nails, a saw, a drill, and measuring tape. Click here for a complete materials list. You could also use other wood types. Just be sure they can hold up to the weather and your cattle.
Understanding Dimensions and Customization
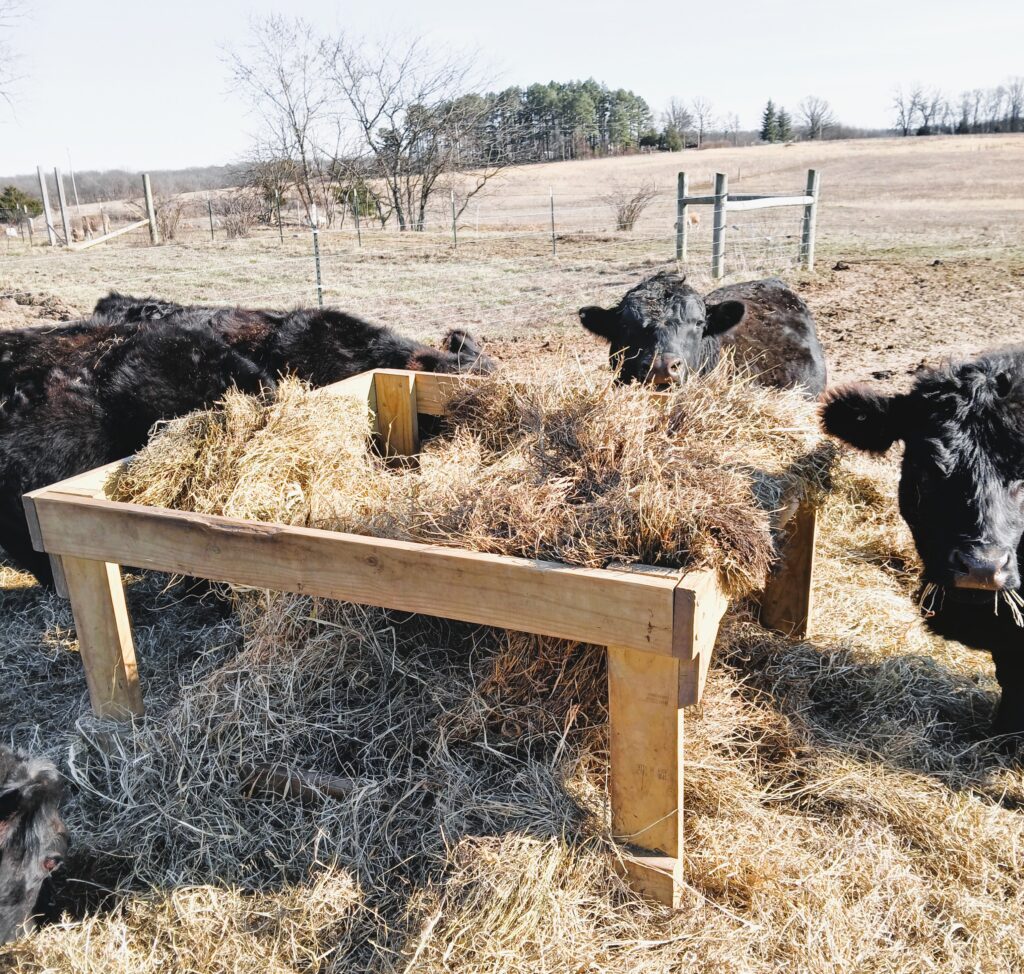
This feeder is designed for 4×5 round bales. Change the size to fit your cattle. You can adjust the plans if needed. Accurate measurements are a must! The legs on this feeder are 3 feet tall. If you have bigger cows, make them taller. Short cows? Shorter legs.
Safety Considerations
Safety first! Wear safety glasses and gloves when cutting wood and using power tools.
Constructing the Feeder Frame
Time to put everything together. Let’s build this feeder step-by-step.
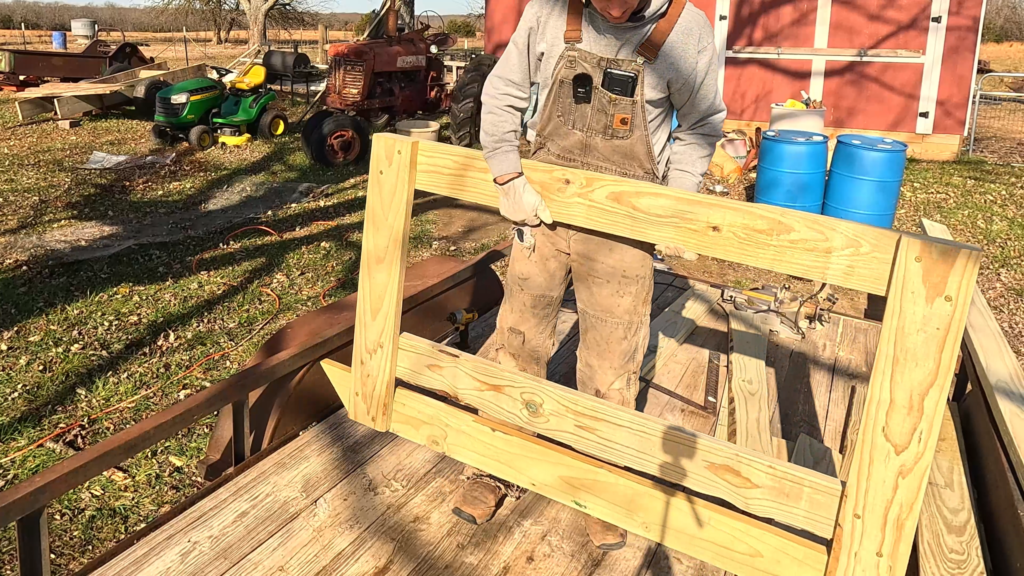
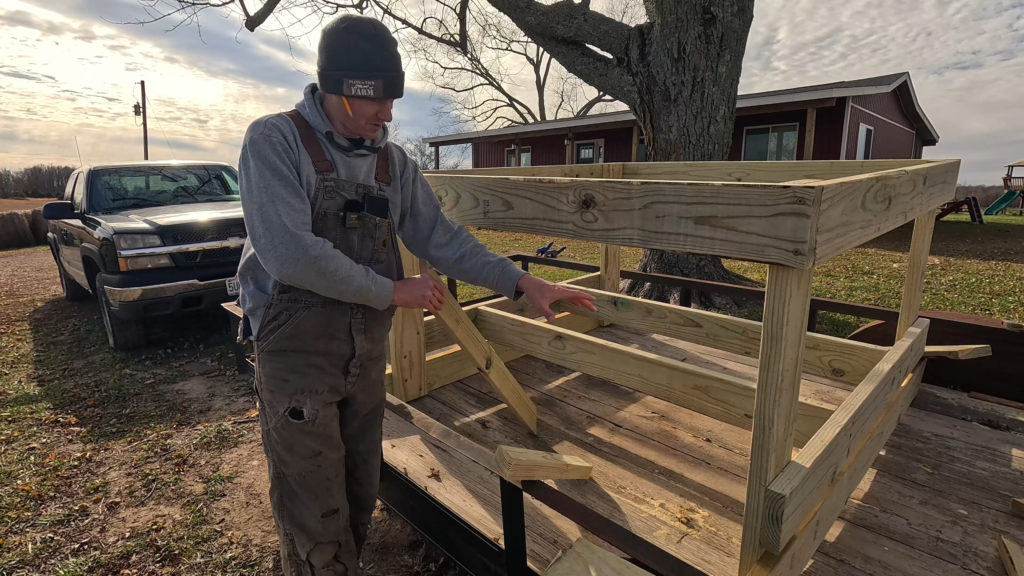
Assembling the Ends
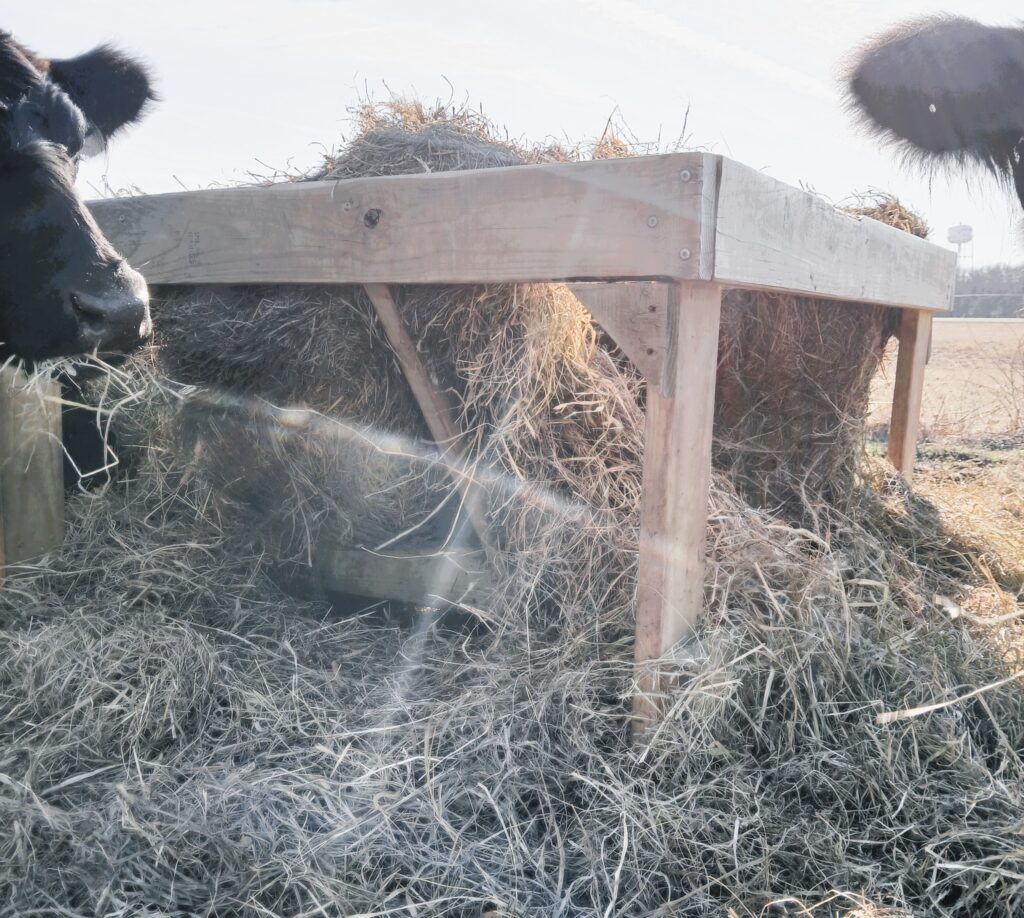
Start by building the two ends of the feeder. This means attaching the skids. The skids go on the ends, not the sides. Why? This allows more space for the cows to reach the hay. The board that holds the bale weight needs to be 24 inches high.
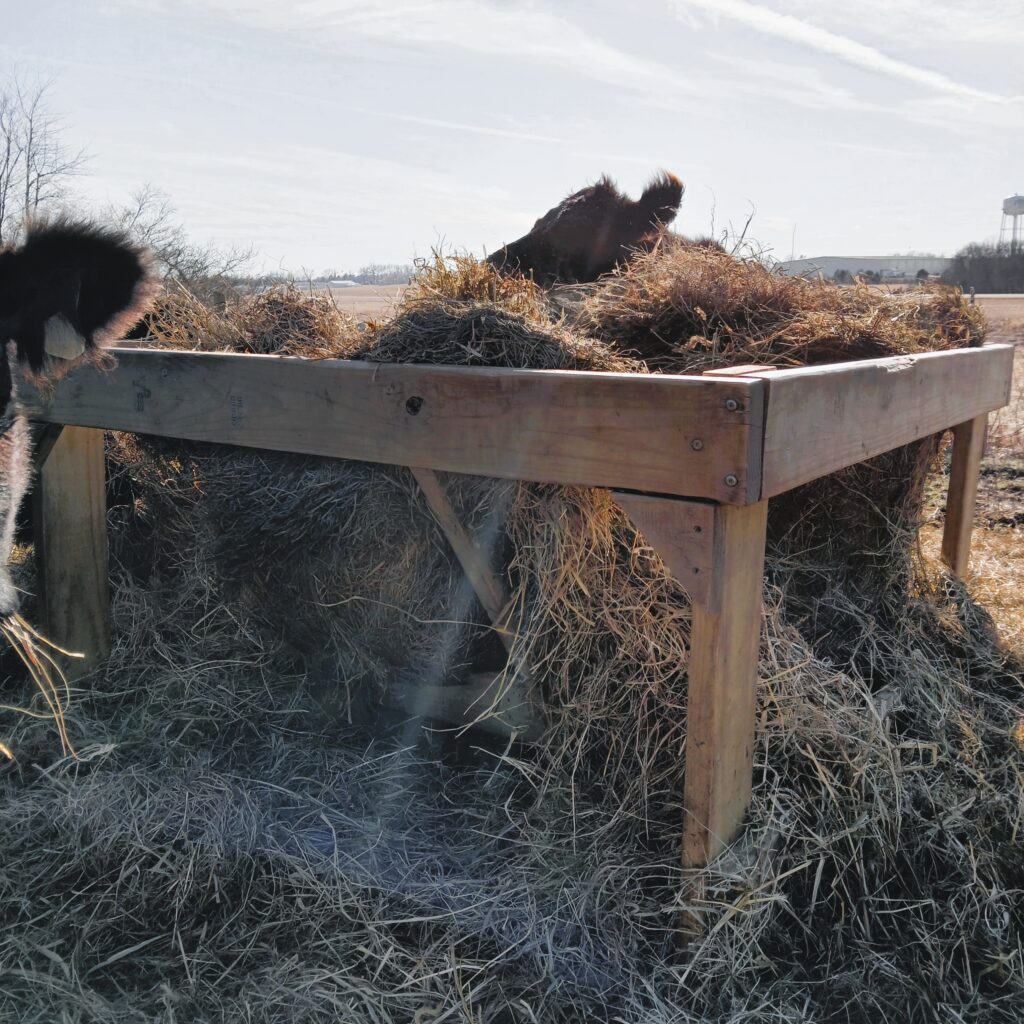
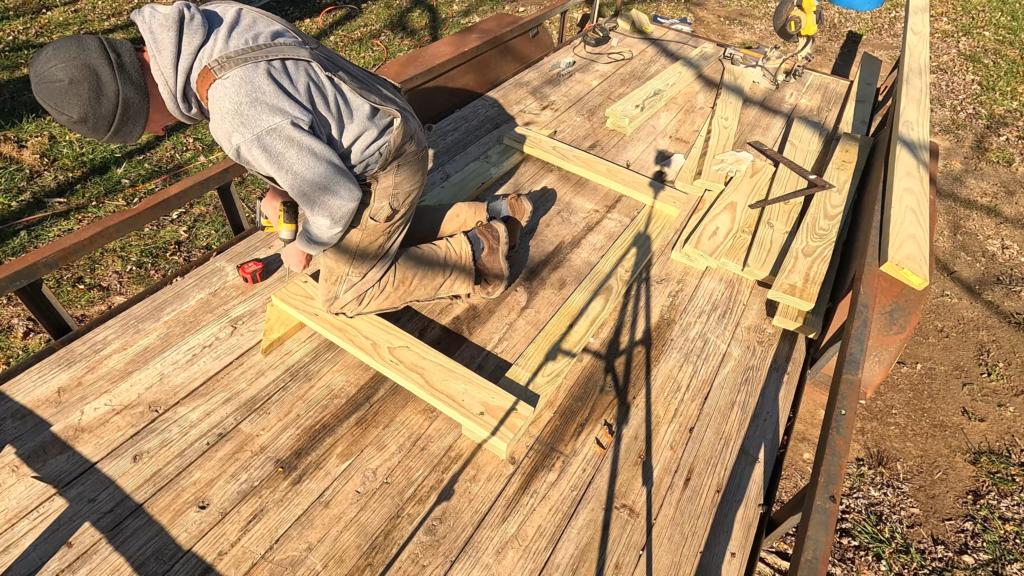
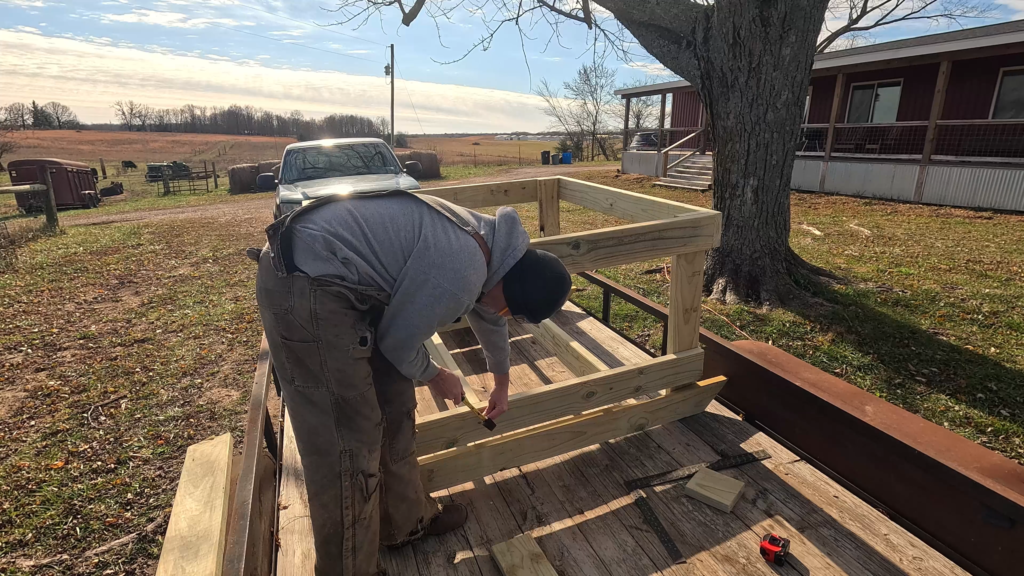
Connecting the Sides
Connect the two ends with side boards. Make sure the frame is square and solid. It’s okay if it’s not perfect. Treated lumber shrinks, and the ground is never perfectly flat. Do your best with what you have.


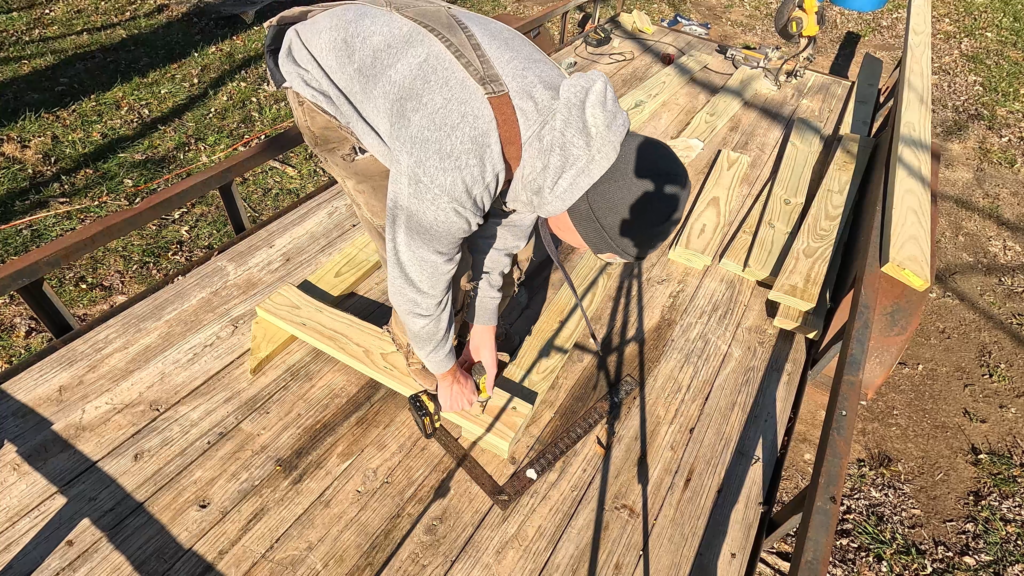
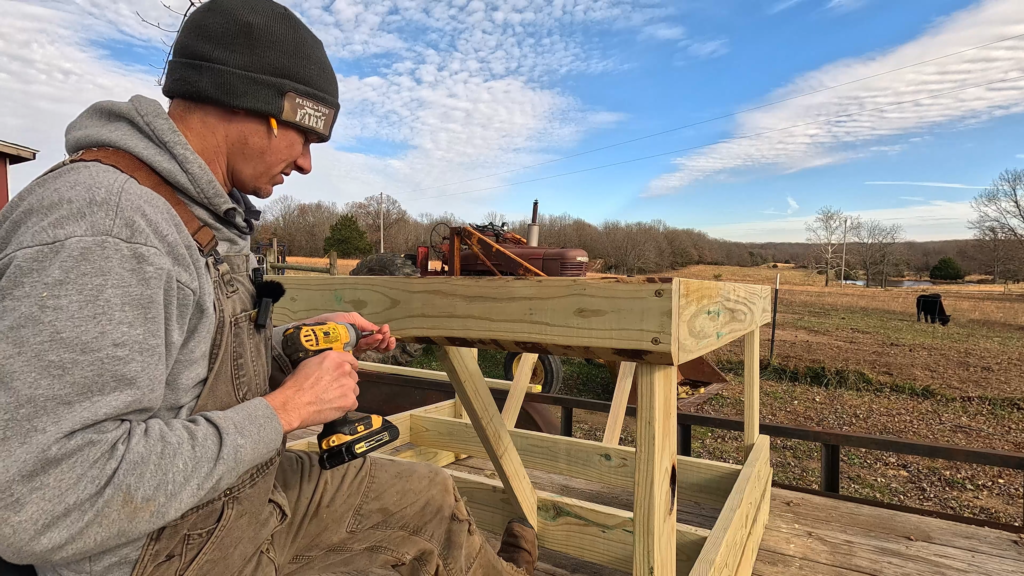
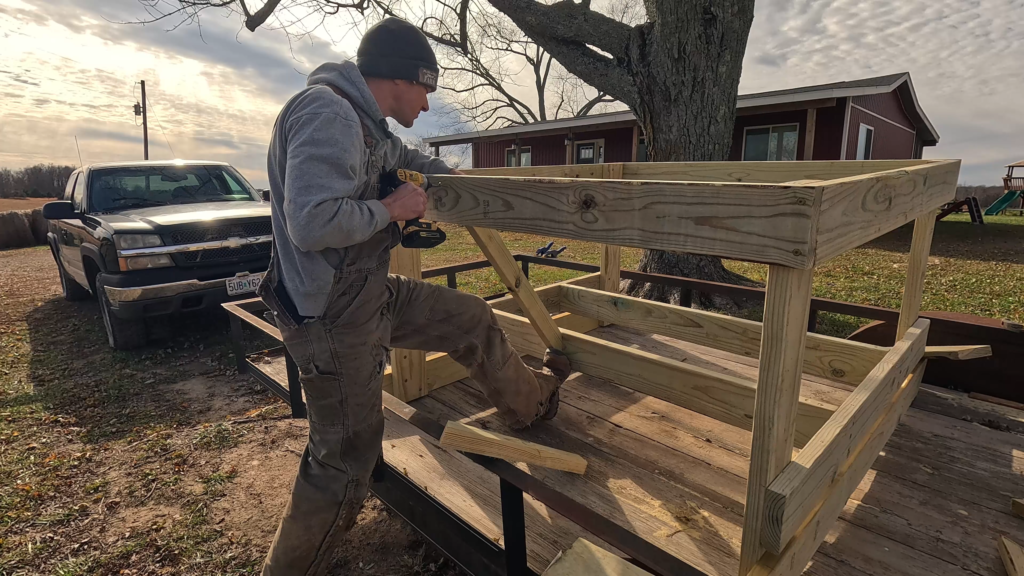
Reinforcing the Structure
Use structural screws to hold everything together. Nails can help, too. A strong frame keeps the feeder from falling apart. This ensures it can handle the weight of the hay and the cattle.
Adding the Bale Support and Dividers
These parts are key for holding the bale and keeping the peace among your cows.
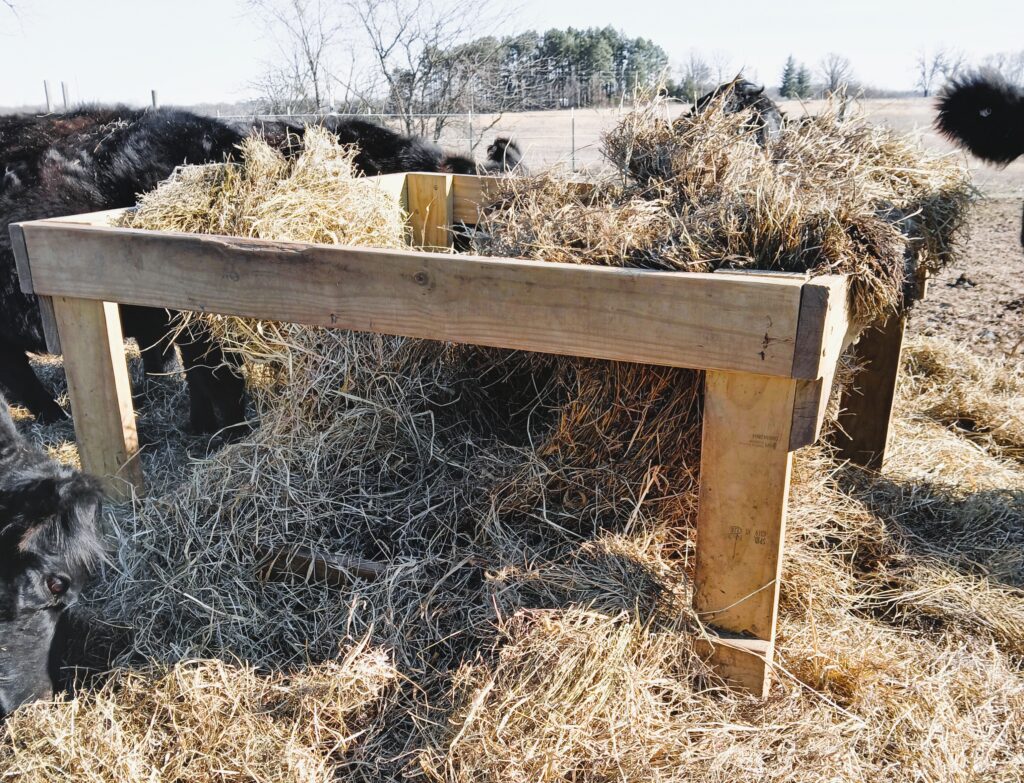
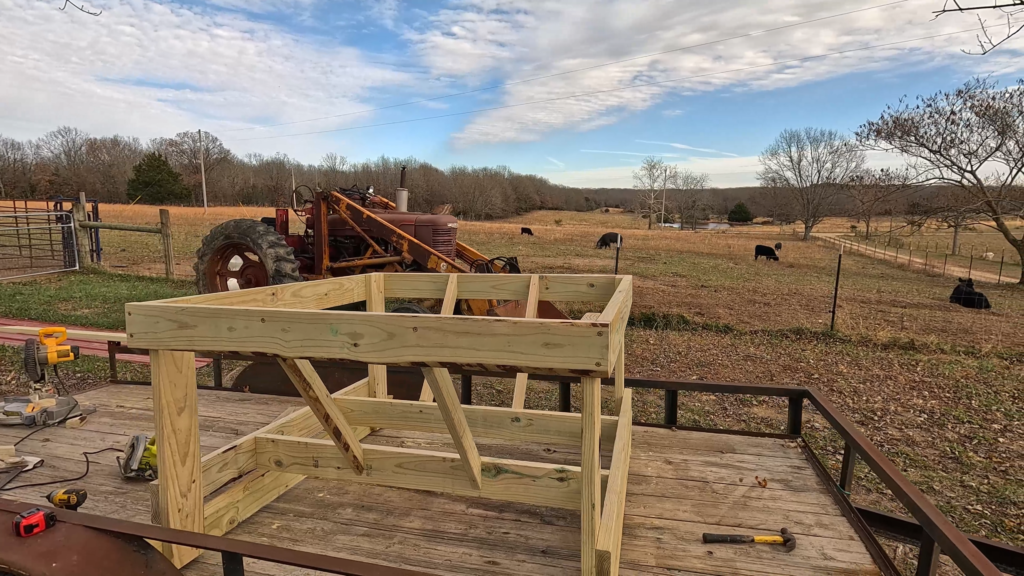
Installing the Bale Support
The bale support is important. It carries the weight of the round bale. Attach it 24 inches from the top. This placement helps keep the hay in place.
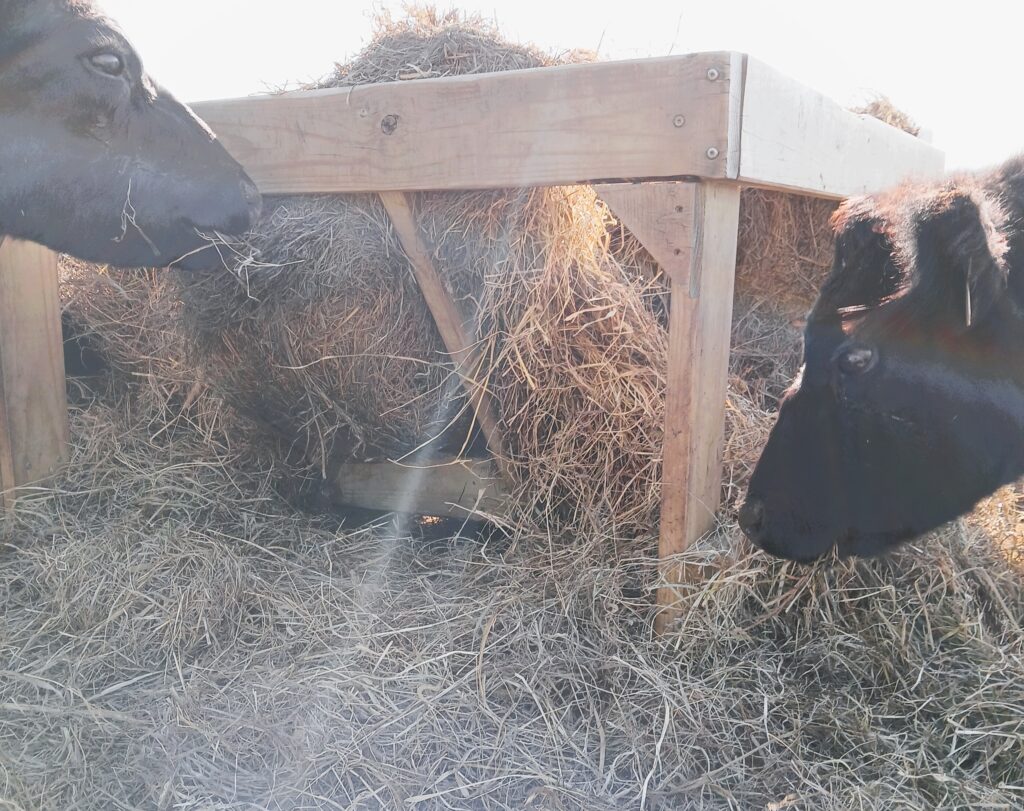
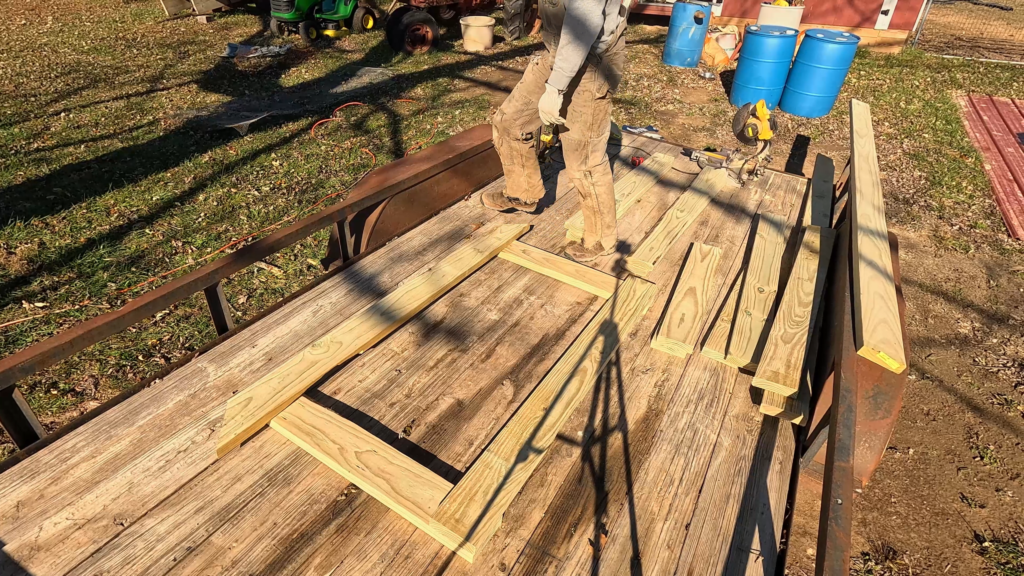
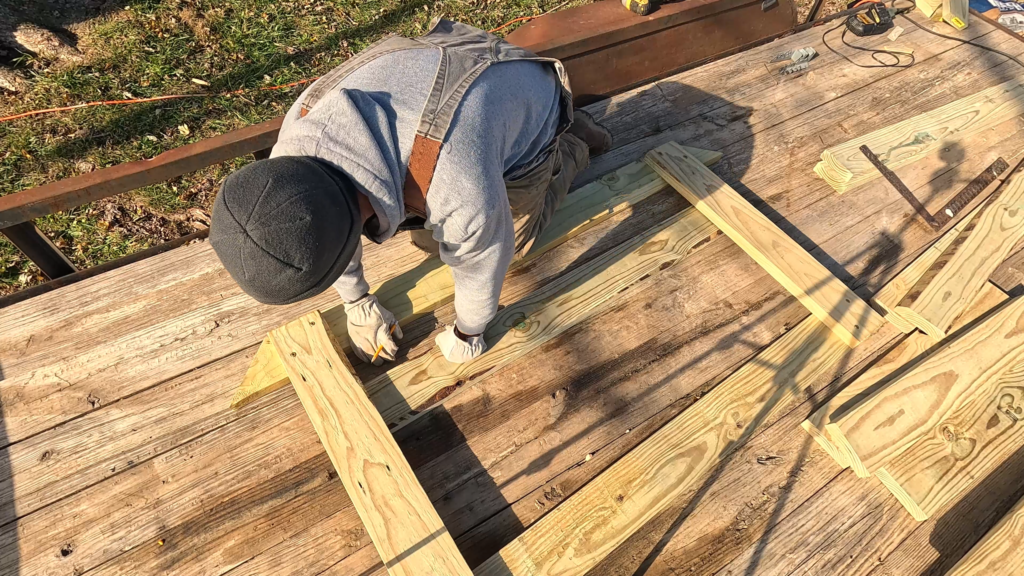
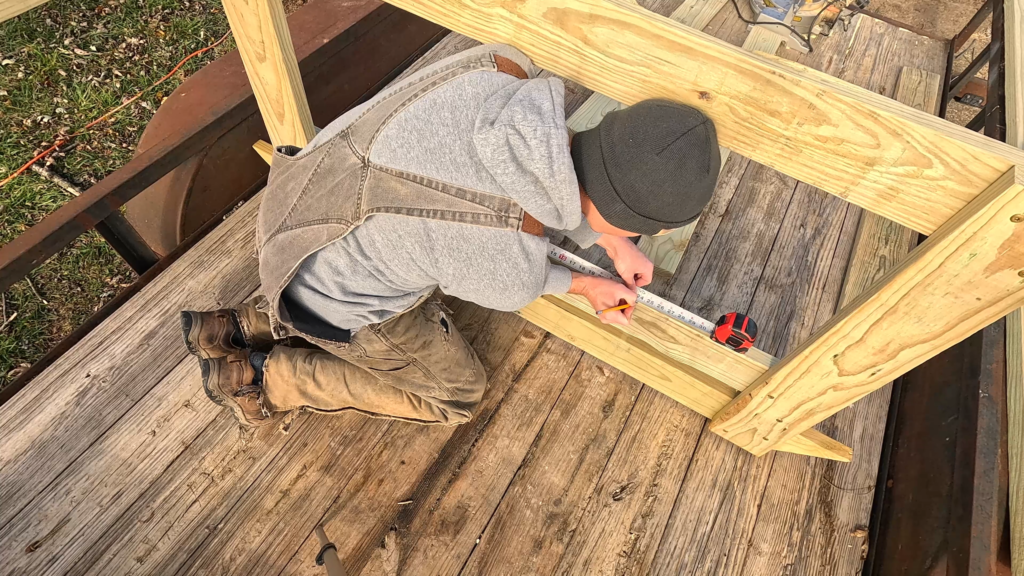
Creating Feeding Dividers
Dividers give each cow their own space to eat. This cuts down on fighting. Space them 19 inches apart. Use a 2×4 or a ripped 2×6 for the dividers.
Ensuring Proper Fit
The fit might not be perfect. The main thing is that it works. Focus on function, not looks.
Finishing Touches and Placement
Almost done! Just a few things left to do.
Inspecting for Sharp Edges and Hazards
Check for any sharp edges or nails sticking out. Smooth them down to prevent injuries to your cattle. Make sure everything is safe for your animals.
Selecting a Suitable Location
Pick a spot that drains well. It needs to be easy for you to get to with your tractor. A good spot will keep the hay feeder from getting too muddy.