Affiliate Disclosure: This post may contain affiliate links. As an Amazon Associate planeview.farm earns from qualifying purchases. This means I may receive a commission if you click on a link and make a purchase, at no extra cost to you. For more information see Terms of Service.
Pour over coffee is a simple and clean way to brew your own cup of Joe. If you’ve been looking for a way to kick that plastic filled Keurig to the curb, this is it.
Our Keurig coffee maker has been on the fritz for awhile now. I have been researching ways to make a cleaner cup of coffee. My main requirements are that it has to be quick and no plastic involved.
There are so many ways to brew coffee that it makes my head hurt thinking of them all. According to Google, the main methods are using a drip coffee maker, French press, Percolator coffee, and the pour over method.
All of this then leads to whole coffee beans versus ground coffee. Brands and styles all make a difference. It’s so overwhelming. I just want a simple cup of coffee!
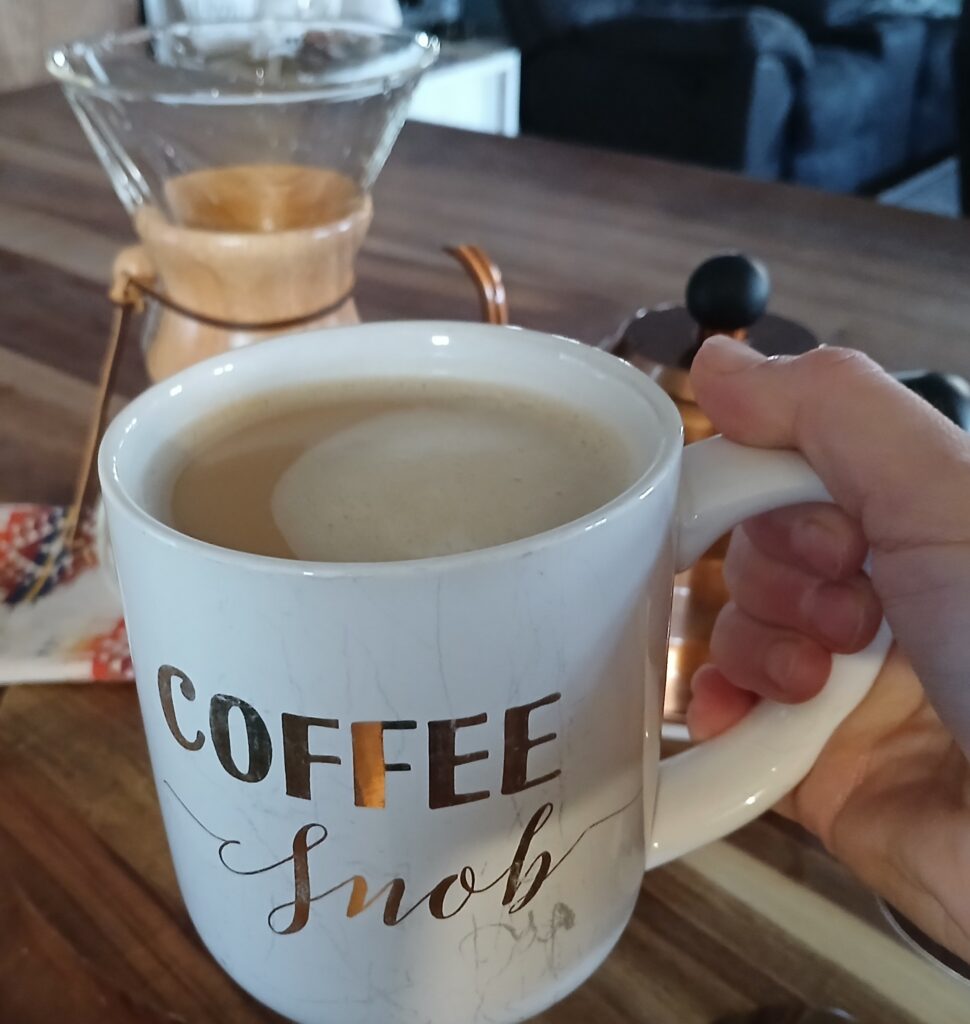
Here’s what you need to know about me. I am a simple Southern Missouri gal. I am nowhere close to a coffee connoisseur.
My husband and I were both raised on Folgers ground coffee. Black and simple.
My homesteader friend suggested I try the pour over method. That’s all she has ever used. She goes the extra mile to roast and grind her own beans. I deeply admire her for that, but I’m not going that far.
What Is Pour Over Coffee?
Pour Over Coffee is simply a brewing method of pouring boiling water over coffee grounds. The coffee grounds are in a filter and as you pour water over the grounds it drips into a mug or carafe.
The description is also the instructions, it’s that easy.
Let’s walk through the process together, shall we?:
There are two things that I consider a must have for this method. 1. A tea kettle, specifically one with a goose neck spout. This is the one I use. 2. A pour over coffee maker. This one includes a stainless steel reusable filter.
First thing to do is add your desired amount of water into the tea kettle and boil on the stove. The particular kettle I have does not whistle when it’s done. Steam comes out of the holes in the lid to indicate it’s ready.
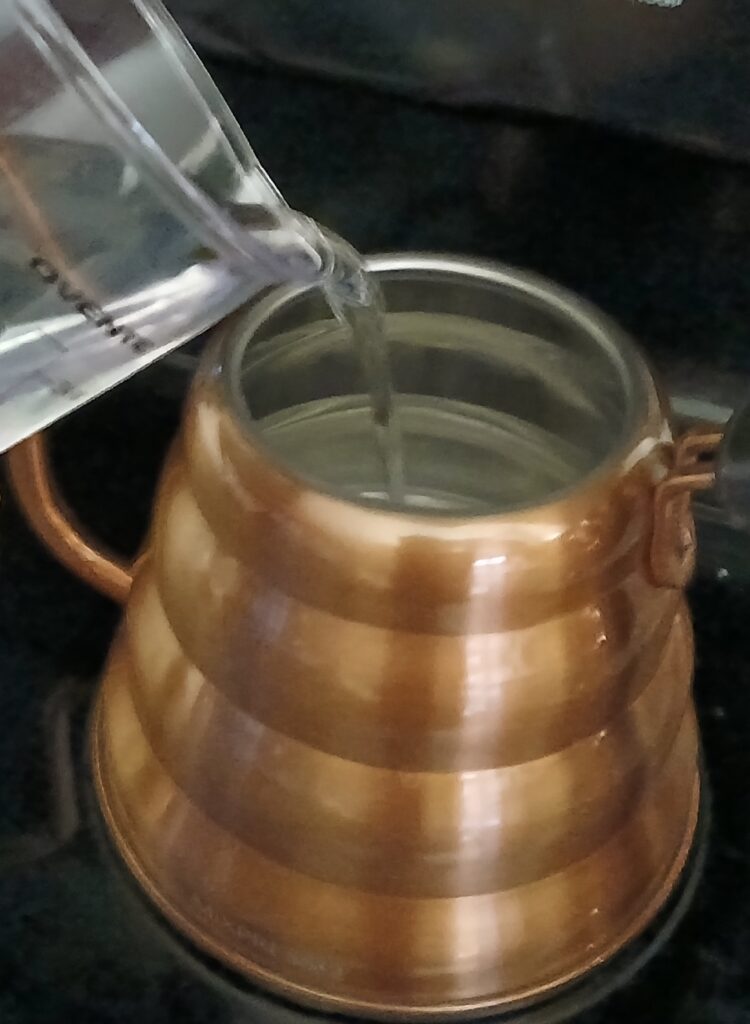
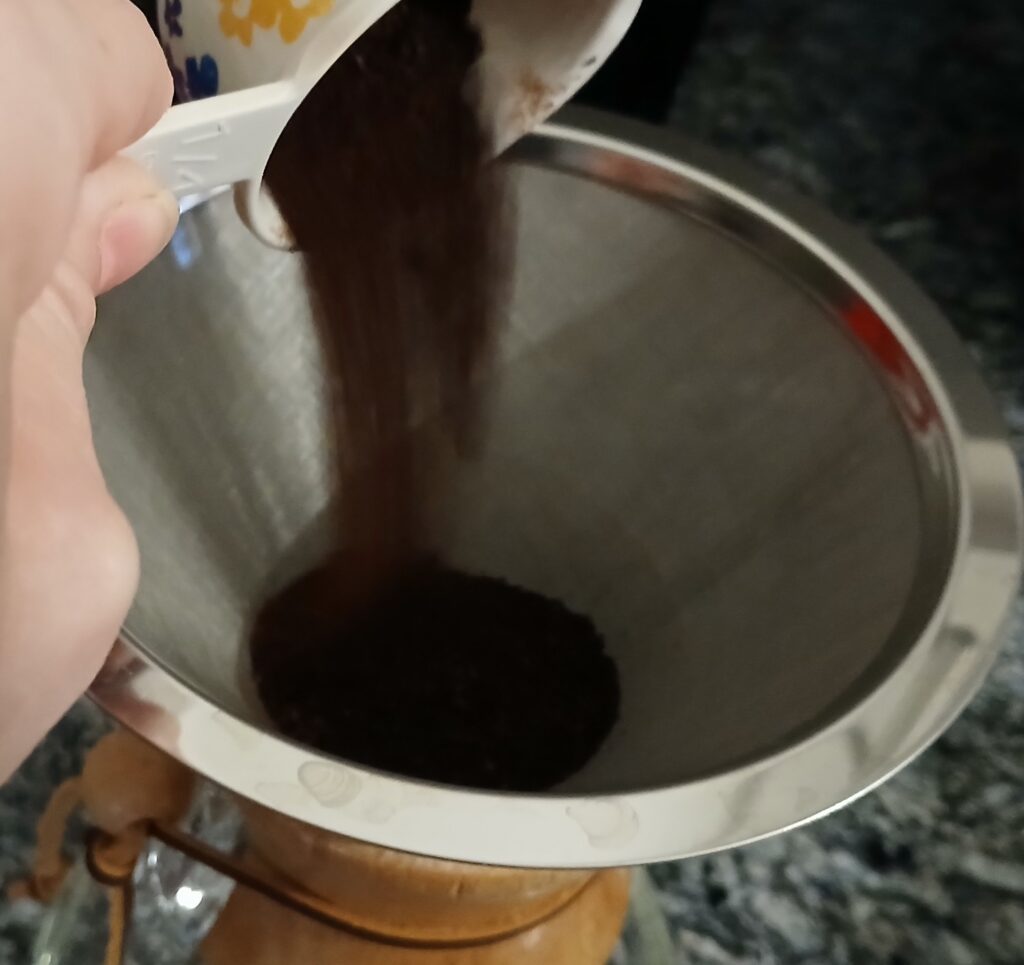
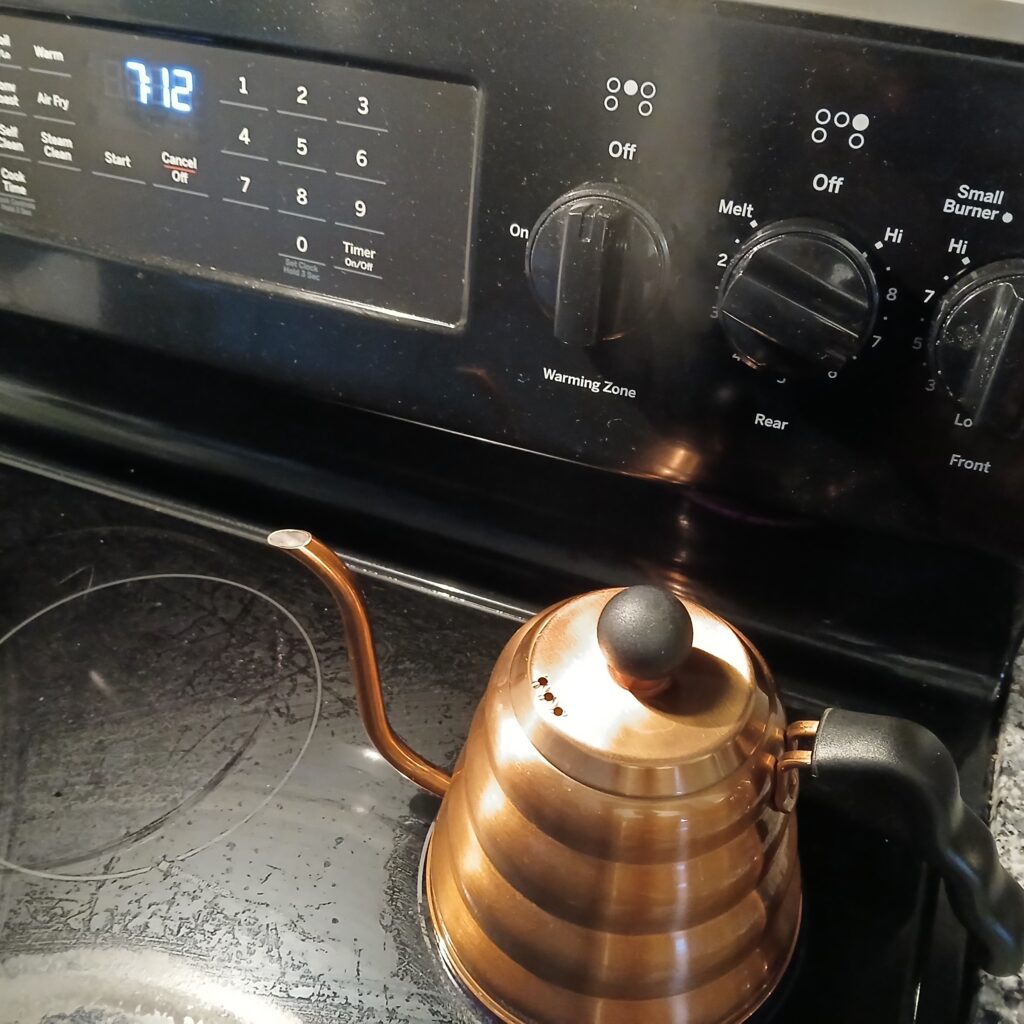
While you are waiting for the water to boil (which only takes about 5 minutes or less), add the desired amount of coffee grounds into the filter. You can also whip up this easy coffee creamer as well.
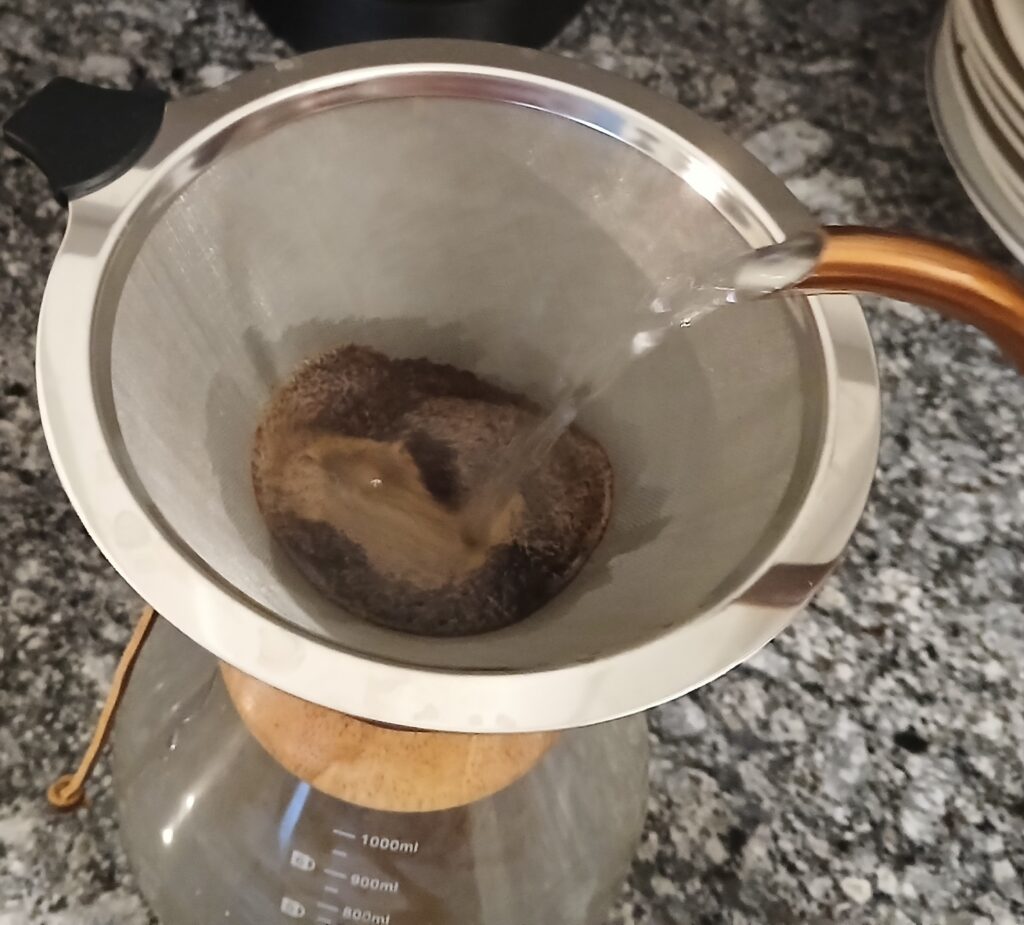
Now, and this is the fun part, when the water is ready, pour it slowly over the grounds. It’s best to take your time pouring around the grounds. I usually pour about half the water, wait a minute and then slowly pour the rest.
Here’s what I discovered through trial and error:
The trickiest part of this brewing method is trying to figure out how much water and coffee grounds to use.
Most of the recipes on-line gave measurements in grams. I did not want to have to weigh my water and coffee grounds every morning. For me to use this method every day, it has to be quick. I work full time and have to be out the door before seven in the morning.
I knew I would have to turn the grams into cups for a quicker routine.
I first measured how much water and coffee grounds in grams and then poured that into a measuring cup to transfer to cups. I made notes of each one.
I brewed three pots of coffee to test my water to coffee grounds ratio.
With the first brew, I used 3 cups of water to 3/4 cups of coffee grounds. This made 1 1/2 cups of a regular 8 oz coffee mug. This brew was very bitter.
The second brew, I used 2 cups of water to 1/4 cups of coffee grounds. This made 400 ml of coffee as you can see in the picture. Which equaled to almost 1 1/2 mugs of coffee. It was less bitter. I liked it a lot better.
This specific cup of coffee took me straight back to my childhood of sneaking a drink of my dad’s coffee at his favorite truck stop. 76 truck stop to be exact. Anyone else remember those?
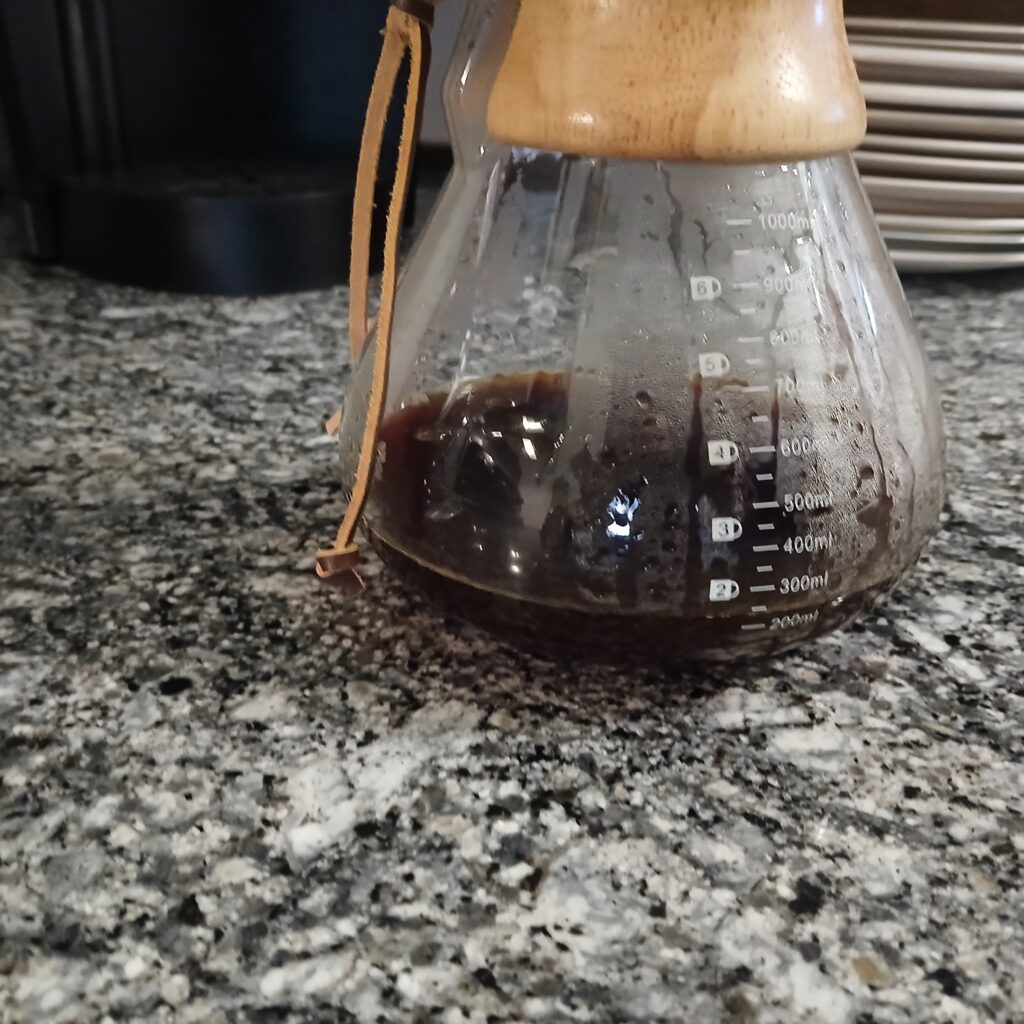
The first and second attempts didn’t make enough coffee for both my husband and I.
So, I tried again. This will be my ratio from now on.
4 cups of water to 1/2 cups of coffee grounds. This makes about 3 cups of coffee in our 8 oz mugs.
The coffee cup I have pictured is my largest coffee cup. This cup holds 16 oz of liquid. Most of our mugs are 8 – 10 oz.
Another trick is to first pour the water on the grounds in a circular method just enough to get them wet. Wait about 30 seconds for the grounds to bloom. Then slowly pouring the rest of the water, again in a circular motion, around the rest of the grounds.
I loved that my coffee pot came with a reusable filter. However, I think I am going to purchase these unbleached coffee filters to make clean up even easier. I noticed some sediment got through in the filter it came with.
Let me know if you also brew your coffee this way! If iced coffee is more your style, check out my cold brew coffee recipe. Thanks for stopping by!